Controlling lights with your own computer
Controlling light with your own laptop
(Under construction by Daan)
This is a tutorial about how to control lights on the go, using your own laptop, outside of the blackbox.
In this tutorial, we will use a device called a DMX interface to communicate with an LED light or dimmerpak, using the free software called QLC+. We will need to download a driver for the DMX interface, and install a fixture profile for the light you wish to use. I will guide you through these simple steps
1. Materials needed
We will need a couple of ingredients for this to work. You should be able to find all of these in one of HKU’s uitleens. You'll need a:
- Working laptop or computer
- If you’re on Mac, a usb-c dongle to connect the USB device
- DMX interface (ENTTEC USB Pro MK1 or 2)
- DMX cable
- LED light with DMX input (or a dimmerpak with DMX input, and a halogen light)
2. DMX interface & driver
Before connecting the DMX interface, we need to install the driver for it. The company that makes the interface is called ENTTEC, and they also make their own light control software. We need to install this software so our computer can communicate with the interface. The software is called EMU, you can download it here.
You need to make an account to download the file (any email will work, no verification needed). If you a re opposed to this, a blackbox employee can give you the file if you want.
After installing the driver, we can now start connecting our devices. The interface we connect with a USB cable to our computer, and using a DMX cable we connect the DMX output of the interface to the DMX input of our light.
Laptop -> DMX interface -> LED light (Foto toevoegen)
3. DMX interface in QLC+
The software we use to control lights in the blackbox is QLC+ (among other softwares, for different use cases). You can download QLC+ here. When you open QLC, this window will pop up:
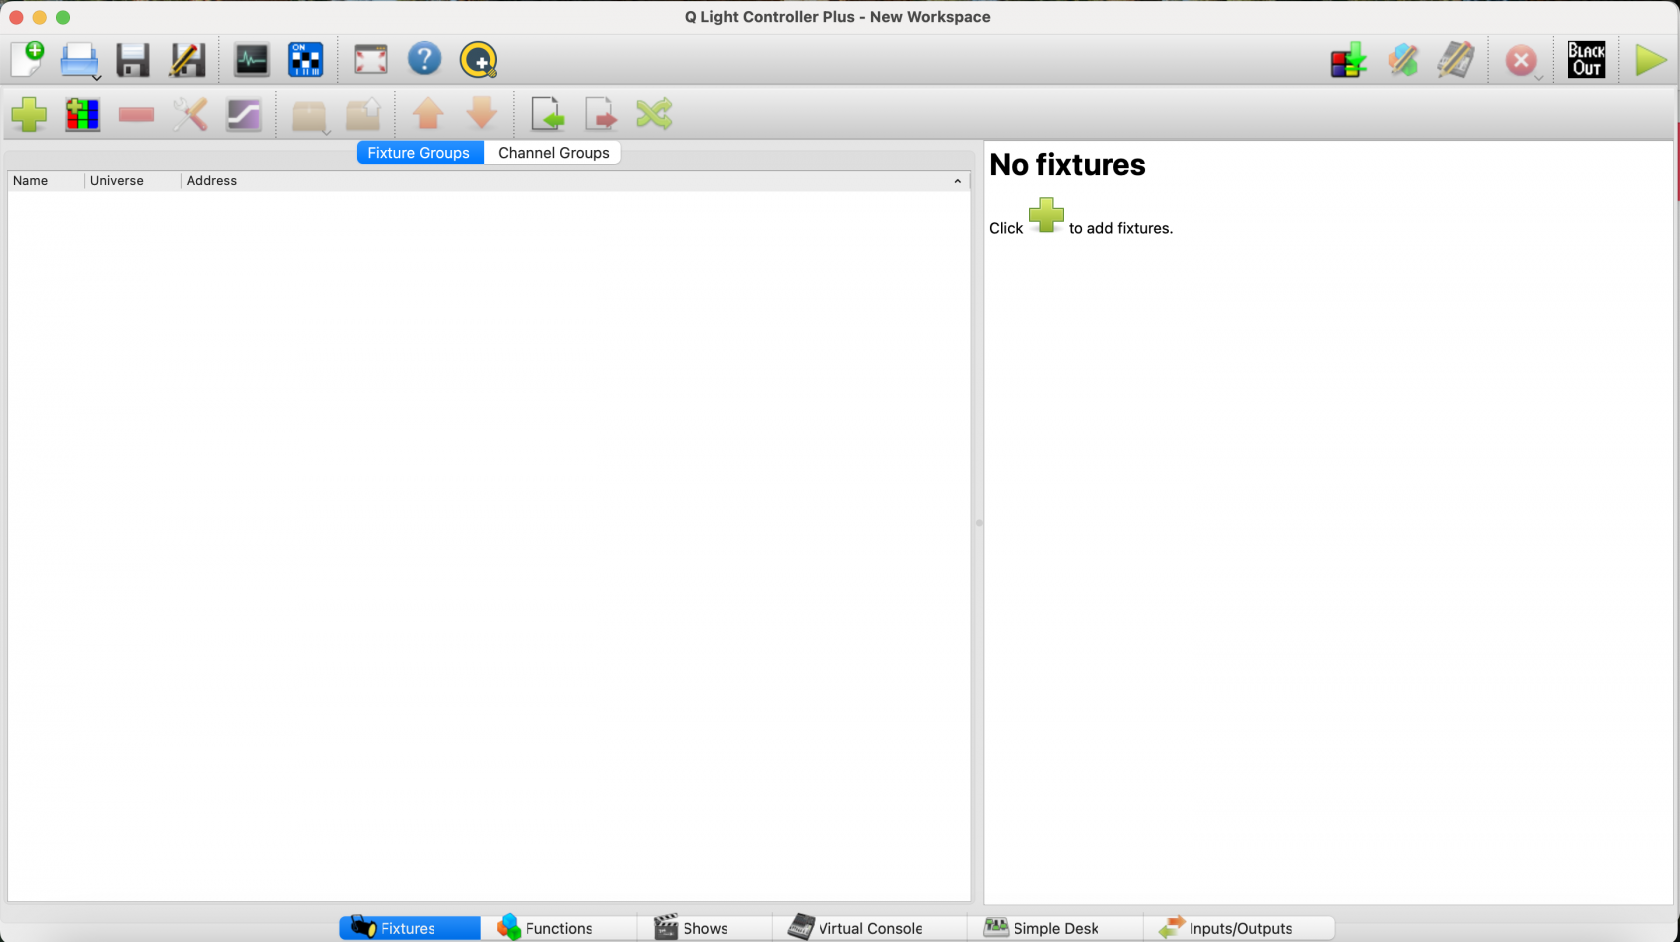
Click on Q Light Controller Plus. An empty QLC file will pop up.
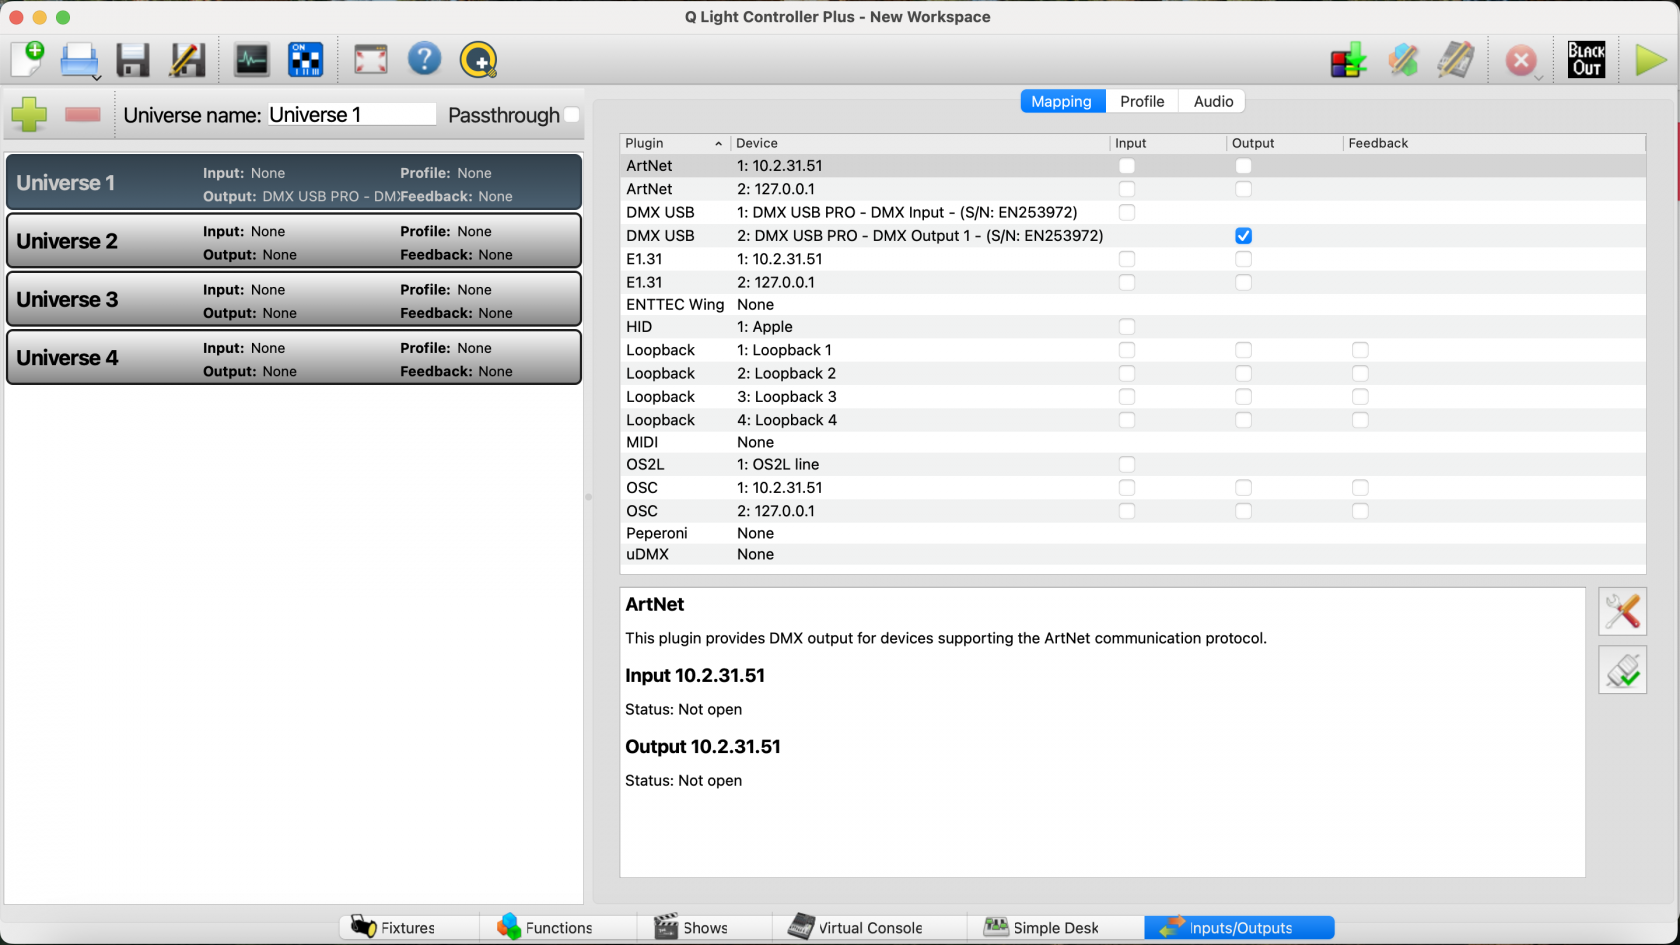
In the bottom we see a bar with several options, including fixtures, functions, shows, etc. The first step is to check if QLC is recognising our DMX interface. To do this, in the bottom bar, navigate to the inputs/outputs tab.
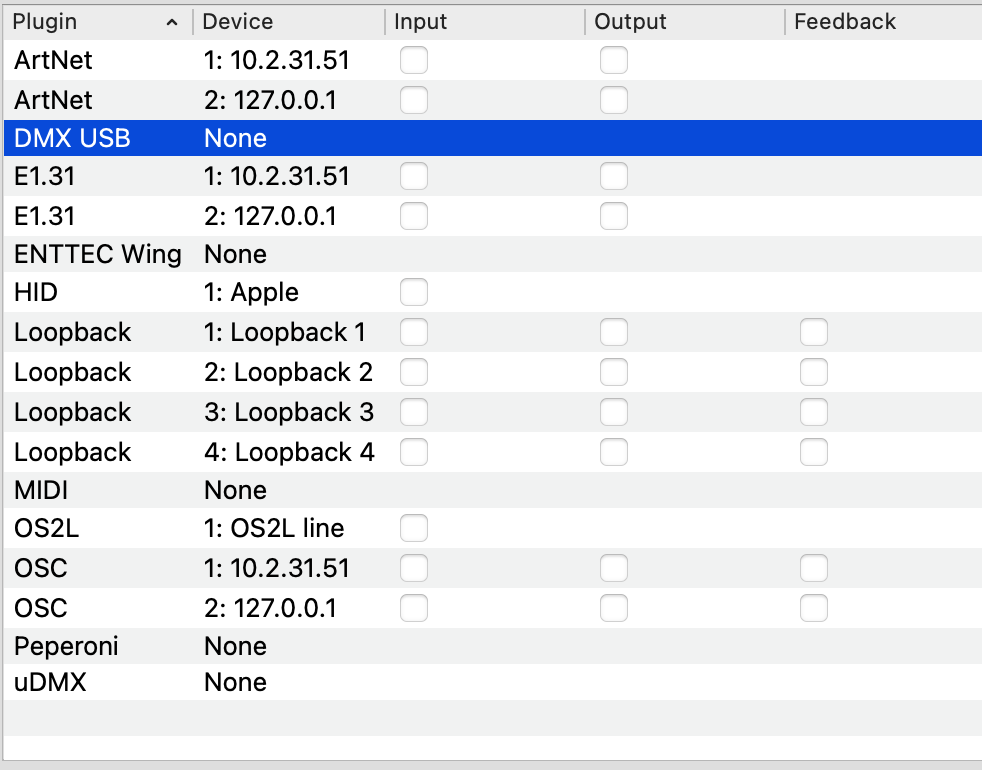
Here we should see our DMX USB Pro interface. If it's not yet visible for you and the output box is not checked like in the picture above, make sure your DMX interface is connected. If it is, and it's not showing up, in the list under 'plugin', click DMX USB in the list and then press this icon:
The list should now refresh and the DMX interface should become visible and connected.
After you've confirmed this, navigate back to the 'fixtures' tab.
4. Adding a fixture profile


