Arduino Introduction
What is Arduino?
Arduino is an open-source electronics platform based on easy-to-use hardware and software. Arduino boards are able to read inputs - light on a sensor, a finger on a button, or a Twitter message - and turn it into an output - activating a motor, turning on an LED, publishing something online. You can tell your board what to do by sending a set of instructions to the microcontroller on the board. To do so you use the Arduino programming language (based on Wiring), and the Arduino Software (IDE), based on Processing.
Read more about Arduino here: https://docs.arduino.cc/learn/starting-guide/whats-arduino
Hardware & Software
With Arduino there's 2 mayor sides at work
Hardware
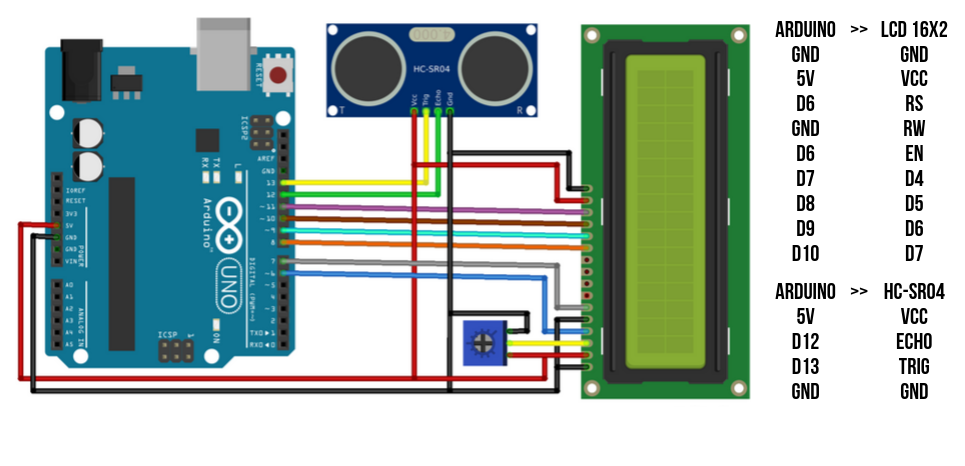
Hardware to work with Arduino generally consists of an Arduino microcontroller (available in different forms such as Arduino Uno, Nano (smaller size), Leonardo (bigger memory) etc. Also hardware components are things we use to measure or translate data into the physical world such as sensors and actuators and other electronic components.
We're working on a separate book for Electronic Components and Sensors and more in dept info as well
Software
Arduino IDE programming environment. With the software we program certain behaviours of what we want the Arduino to do. This can be reading out sensor data, but also it can be sending controls to motors and other physical moving elements such as solenoids or water/air pumps.
Screenshot of a piece code made in Arduino IDE 1.
If you want to get more information and basic knowledge it is recommended to visit the Arduino DOCS environment online. The basic Arduino website contains a lot of information, also regarding sales and projects, but the DOCS pages are a bit more structured towards getting started and beginners:
On the top left of this page, you will find the HARDWARE and SOFTWARE boxes with more info such as how to connect you're board for the first time, software updates and programming references.
Arduino Uno
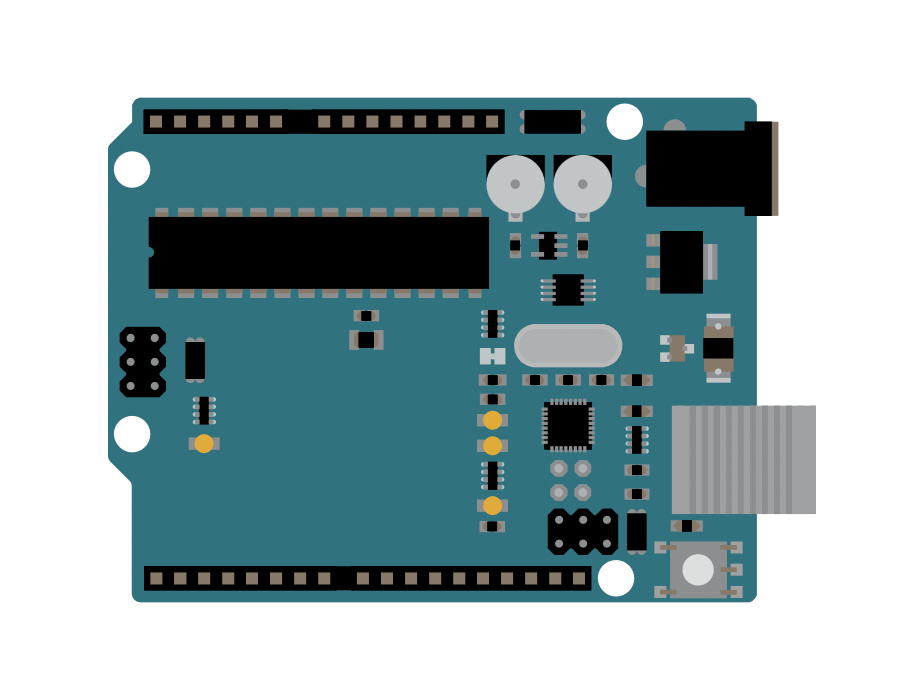
The Arduino UNO board is the best board to get started with electronics and coding. If this is your first experience tinkering with the platform, the UNO is the most robust board you can start playing with.
The UNO is also the most used and documented board of the whole Arduino family.
Buy an Arduino Uno Board - Kiwi Electronics
Arduino UNO Setup Guide, Get Started, Pinout and Datasheet -> https://docs.arduino.cc/hardware/uno-rev3
Learning Arduino in different ways:
Method 1: Focus on 1 project at the time
Sometimes, students come to the Blackbox/Lab Pastoe with a clear project in mind and what components to get for it. This way is nice for beginners, because you have a clear goal in mind of what you want to make, and what components and/or sensors you need.
It is very easy for some to get overwhelmed sometimes with the amount of tutorials, projects and sensors that are available. Having one project at the time makes it easier to understand the basic building blocks of both the hardware and software.
Things to keep in mind with Arduino projects:
- For your first experiments, keep it small. For example, if you're project is "I want to connect 5 light sensors and a microphone to control different motors that move a big piece of fabric" First start out with connecting 1 light sensor and getting that to work, then control 1 motor, and if that works; Try to make the light sensor to control the motor and go from there in small steps.
- Keep in mind getting to know the programming side is not hard, but does take some time to think 'the way the machine thinks', make sure you have enough time planned in for research and debugging.
- Start with simple sensors such as the light sensor, motor, button etc. More advanced sensors such as gyroscopes, accelerometers and motion detect sensors sometimes are a bit more complicated to start with (not impossible, it depends per person really what 'clicks' in the beginning stages)
Method 2: Freeform Experiments with Random Sensors
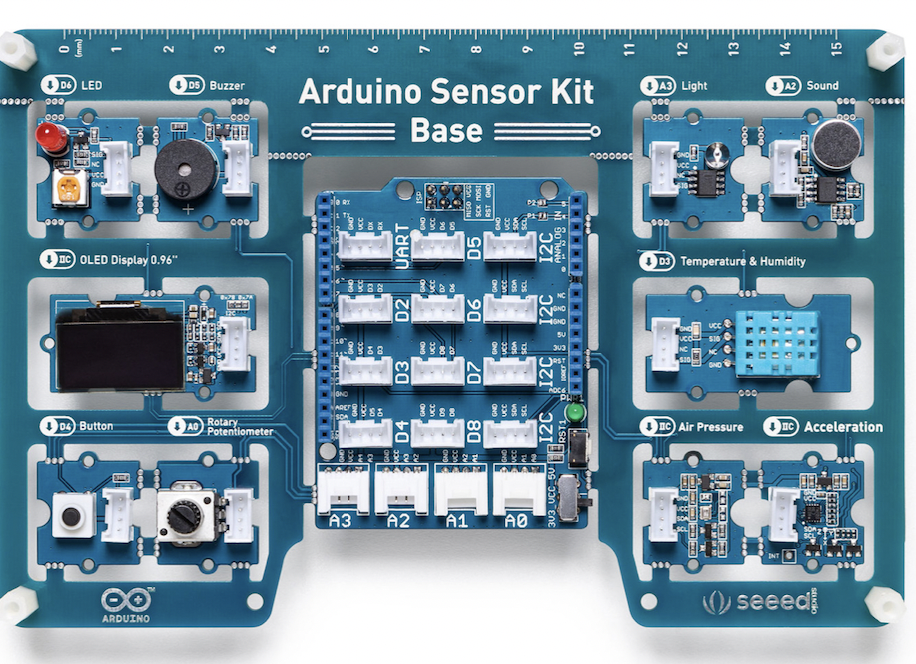
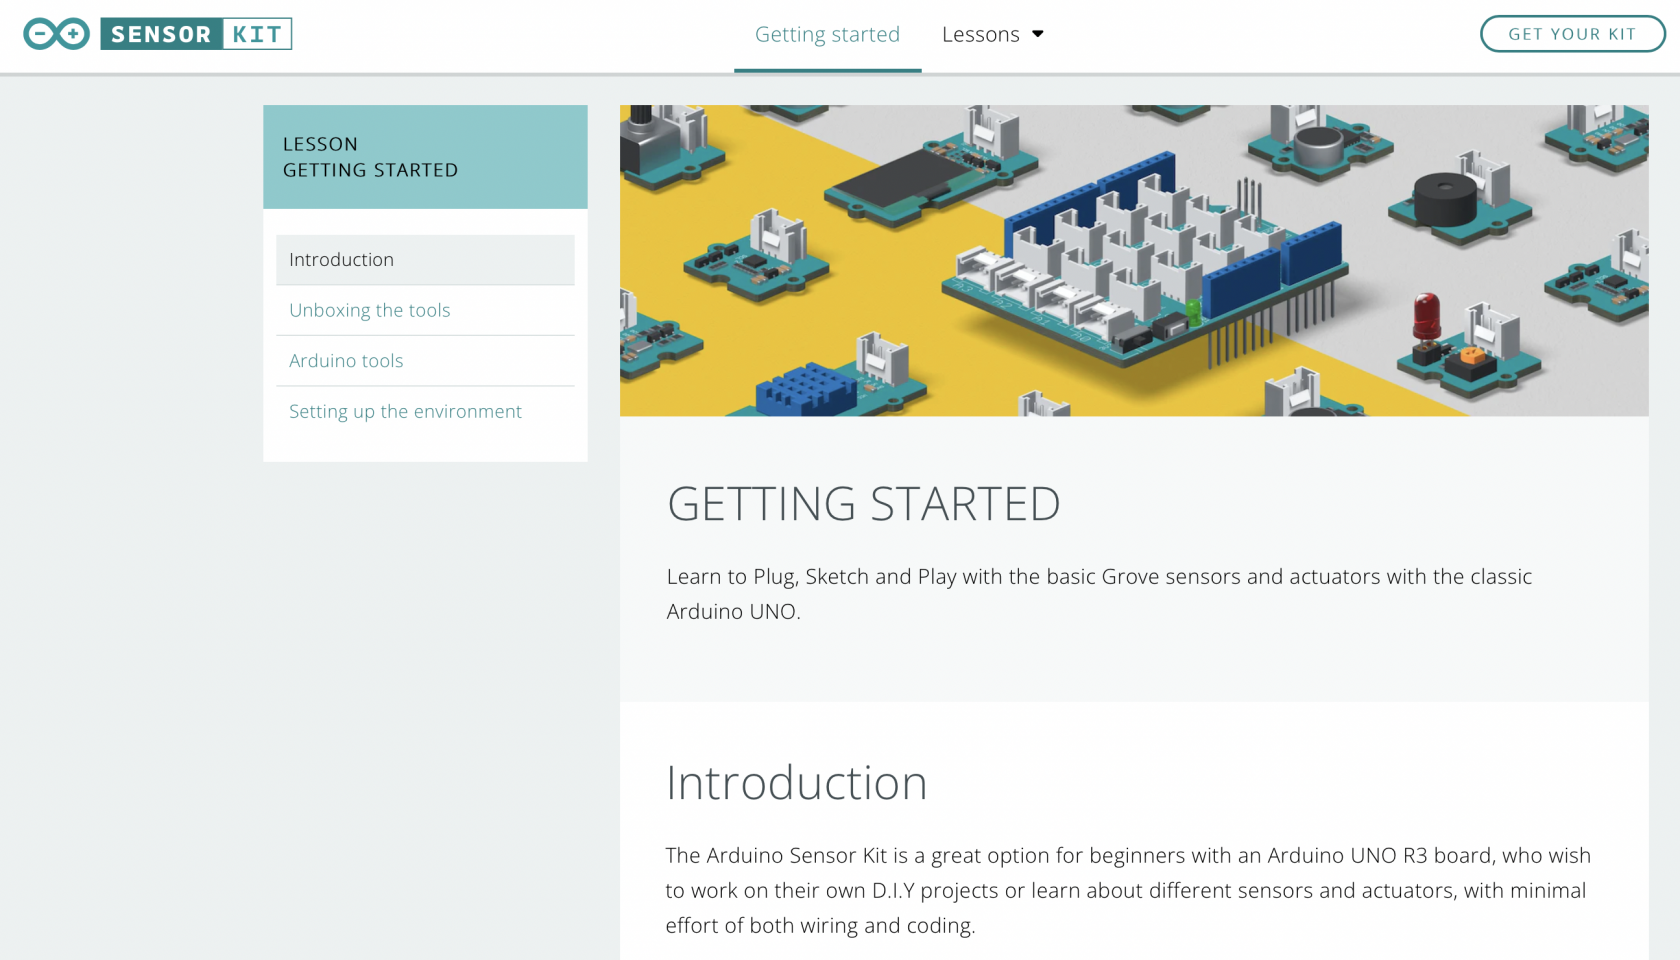
Another approach is to buy a Grove Sensorboard online or rent one at the Blackbox/Uitleen IBB and Pastoe, and do some freeform experiments. The Grove Sensor kit contains another board with is ideal for those who have just started using Arduino to explore the vast space of electronics and programming.
Grove is an open-source, modulated, and ready-to-use toolset and takes a building block approach to assemble electronics. This Kit includes a Base Shield to which the various Grove modules can be connected both individually, or together in various combinations and the plus side of Grove connectors is that you do not need soldering.
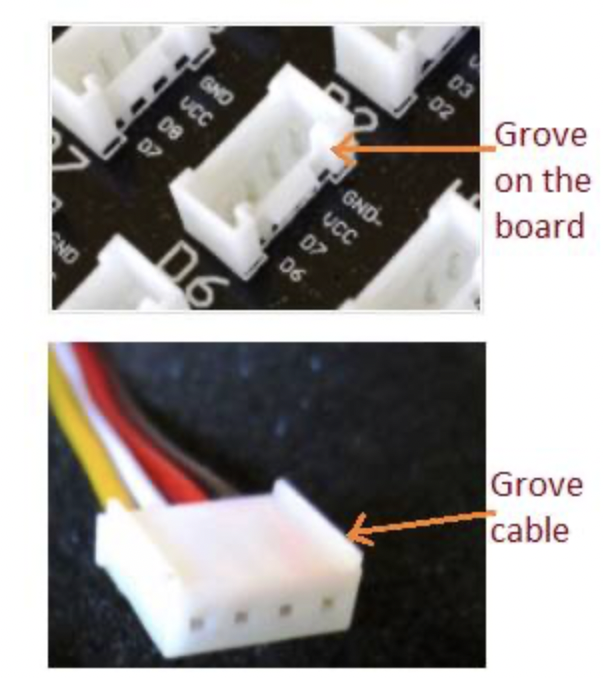
All of the modules use a Grove connector, which connects each of the components to a Base Shield in just a few seconds. The Base Shield can then be mounted on to an Arduino UNO board and can be programmed using the Arduino IDE.
Instructions
The Grove Sensor Kit comes with a lot of handy Instructions and very approachable tutorials for any level:
Extra information:
Read more about the kit, available on Kiwi-Electronics
Method 3: Let us know!
Powering Arduino
Some tutorials links and tips:
Tutorials:
https://www.youtube.com/watch?v=I7MrL5Q7zvY
https://forum.arduino.cc/t/simplest-battery-power-to-arduino-nano-solution/530242
Links
https://forum.arduino.cc/t/simplest-battery-power-to-arduino-nano-solution/530242/2
Tips
If you want to use a powerbank in some cases depending on how much power the arduino needs from the bank it might turn off after 1 - a few minutes even though the powerbank is fully charged. It depends on the kind of powerbank. Some have a safety built in. But most of the time it is not mentioned in the description. Try different types of powerbanks.
If you use sensors or motors connected to your arduino it might work because they draw enough power. Also depends on the sensor.
Im still experimenting with this myself once i find more info i add it to this book.
At the moment i have tried 2 powerbanks (5000 & 10000 mAh) for Arduino Nano with seperate power for my small Neopixel Jewel (7 leds). Using batterypack 4xAA atm.
This might be interesting for Arduino Uno:
https://pmdway.com/collections/arduino-power-shield/products/rcr123a-16340-rechargeable-battery-power-shield-for-arduino

