Driving APA102 (Dotstar) LED strips with Pico
The Dotstar LEDs (APA102) are similar to the NeoPixels but with less timing and other requirements. You control them with two pins instead of one, and they seem to be a bit less widely used probably because they're more expensive than the regular Neopixel ones.
For a quick test we cobbled together a series of scripts that at least get some light effects out of a Dotstar strip, starting out from MicroPython. You will need the micropython_dotstar library that you can find here: https://github.com/mattytrentini/micropython-dotstar. We changed one thing however, which is to set the auto_write to False instead of True. When set to True, the program will wait until all leds are set before updating the entire strip at once. When set to False, each LED is updated individually. We re-saved the micropython_dotstar to a False version (micropython_dotstar_False.py) just to keep them apart.
Which mode you need will depend on your use case, we set it to False to allow for faster lighting effects with longer strips. For strips up to ~10 LEDs you will hardly notice the difference.
Setup
Make sure your Pico has Micropython installed. Once you've done that, copy micropython_dotstar.py, micropython_dotstar_False.py and effects.py to your Pico.
Connect the pins of the Dotstar strip to your Pico: red and blackpower to vbuspower and(preferrably gnd,external power, see also here), CI (usually yellow) to pin 18 and DI (usually green) to pin 19.
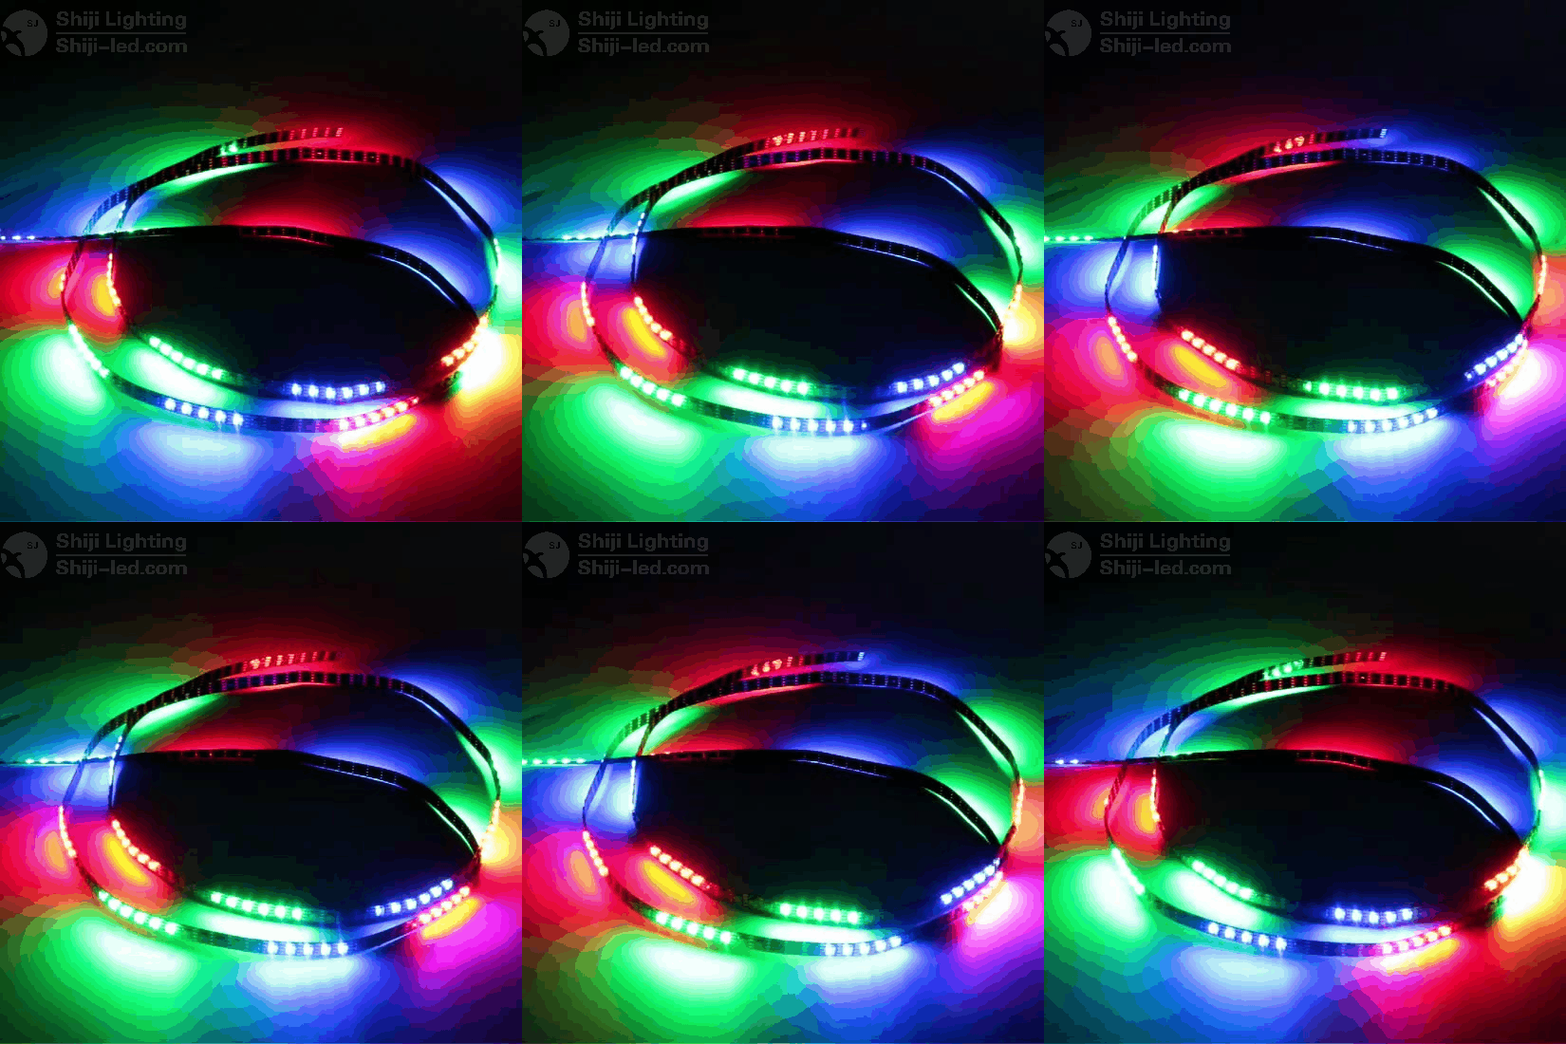
Run the effects.py and your strip should light up, cycling through a couple of lighting effects.
effects.py
At the import on the top of the file you can switch between the auto_write False and True versions by importing either version of the micropython_dotstar file on line 2. Check the difference between the two to see which works best for your use case.
effects.py has a couple of settings on lines 12-16.
- n_dots is the number of LEDs on your strip that you want lit. The program starts at the LED closest to the connection wires and then counts up.
- sleepy_time is the time each LED is lit for every effect. Short wait times lead to quick blinking or more fluent lighting effects.
Lines 23-115 define functions for the lighting effects, which are called in the main loop at 136.

