
Upscale and print your image files
General
This page describes a method to make your multiplane images suitable for printing. It consists of two steps, namely upscaling and an automated process to prepare your document for printing in SRA3 format
Upscaling
The images created with the multiplane are captured with a resolution of 1920 x 1080 pixels. This resolution is not very suitable for printing. A way to to make it more suitable for printing is to use an AI upscaling tool. Upscaling tools come as free or payed browser based services, standalone applications or as a toolset within software like Photoshop.
Below we wil use a method of upscaling with the free standalone, opensource cross platform application called Upscayl. It can be downloaded from: https://upscayl.org/download
or via their Github repository: https://github.com/upscayl/upscayl/releases/tag/v2.15.0
Upcale process steps
The next steps wil explain which upscaling settings to use. Drag the multiplane footage into Upscayl. The milages will vary, but we achieved the best results with one of the following AI Models: Remacri (boosts the image resolution without to many changes or artifacts) or Digital Art (smooths out the lo-fi artifacts within the source material and gives it a light vectorized look). Set image scale to 3x and set the output folder. click Upscayl and wait.
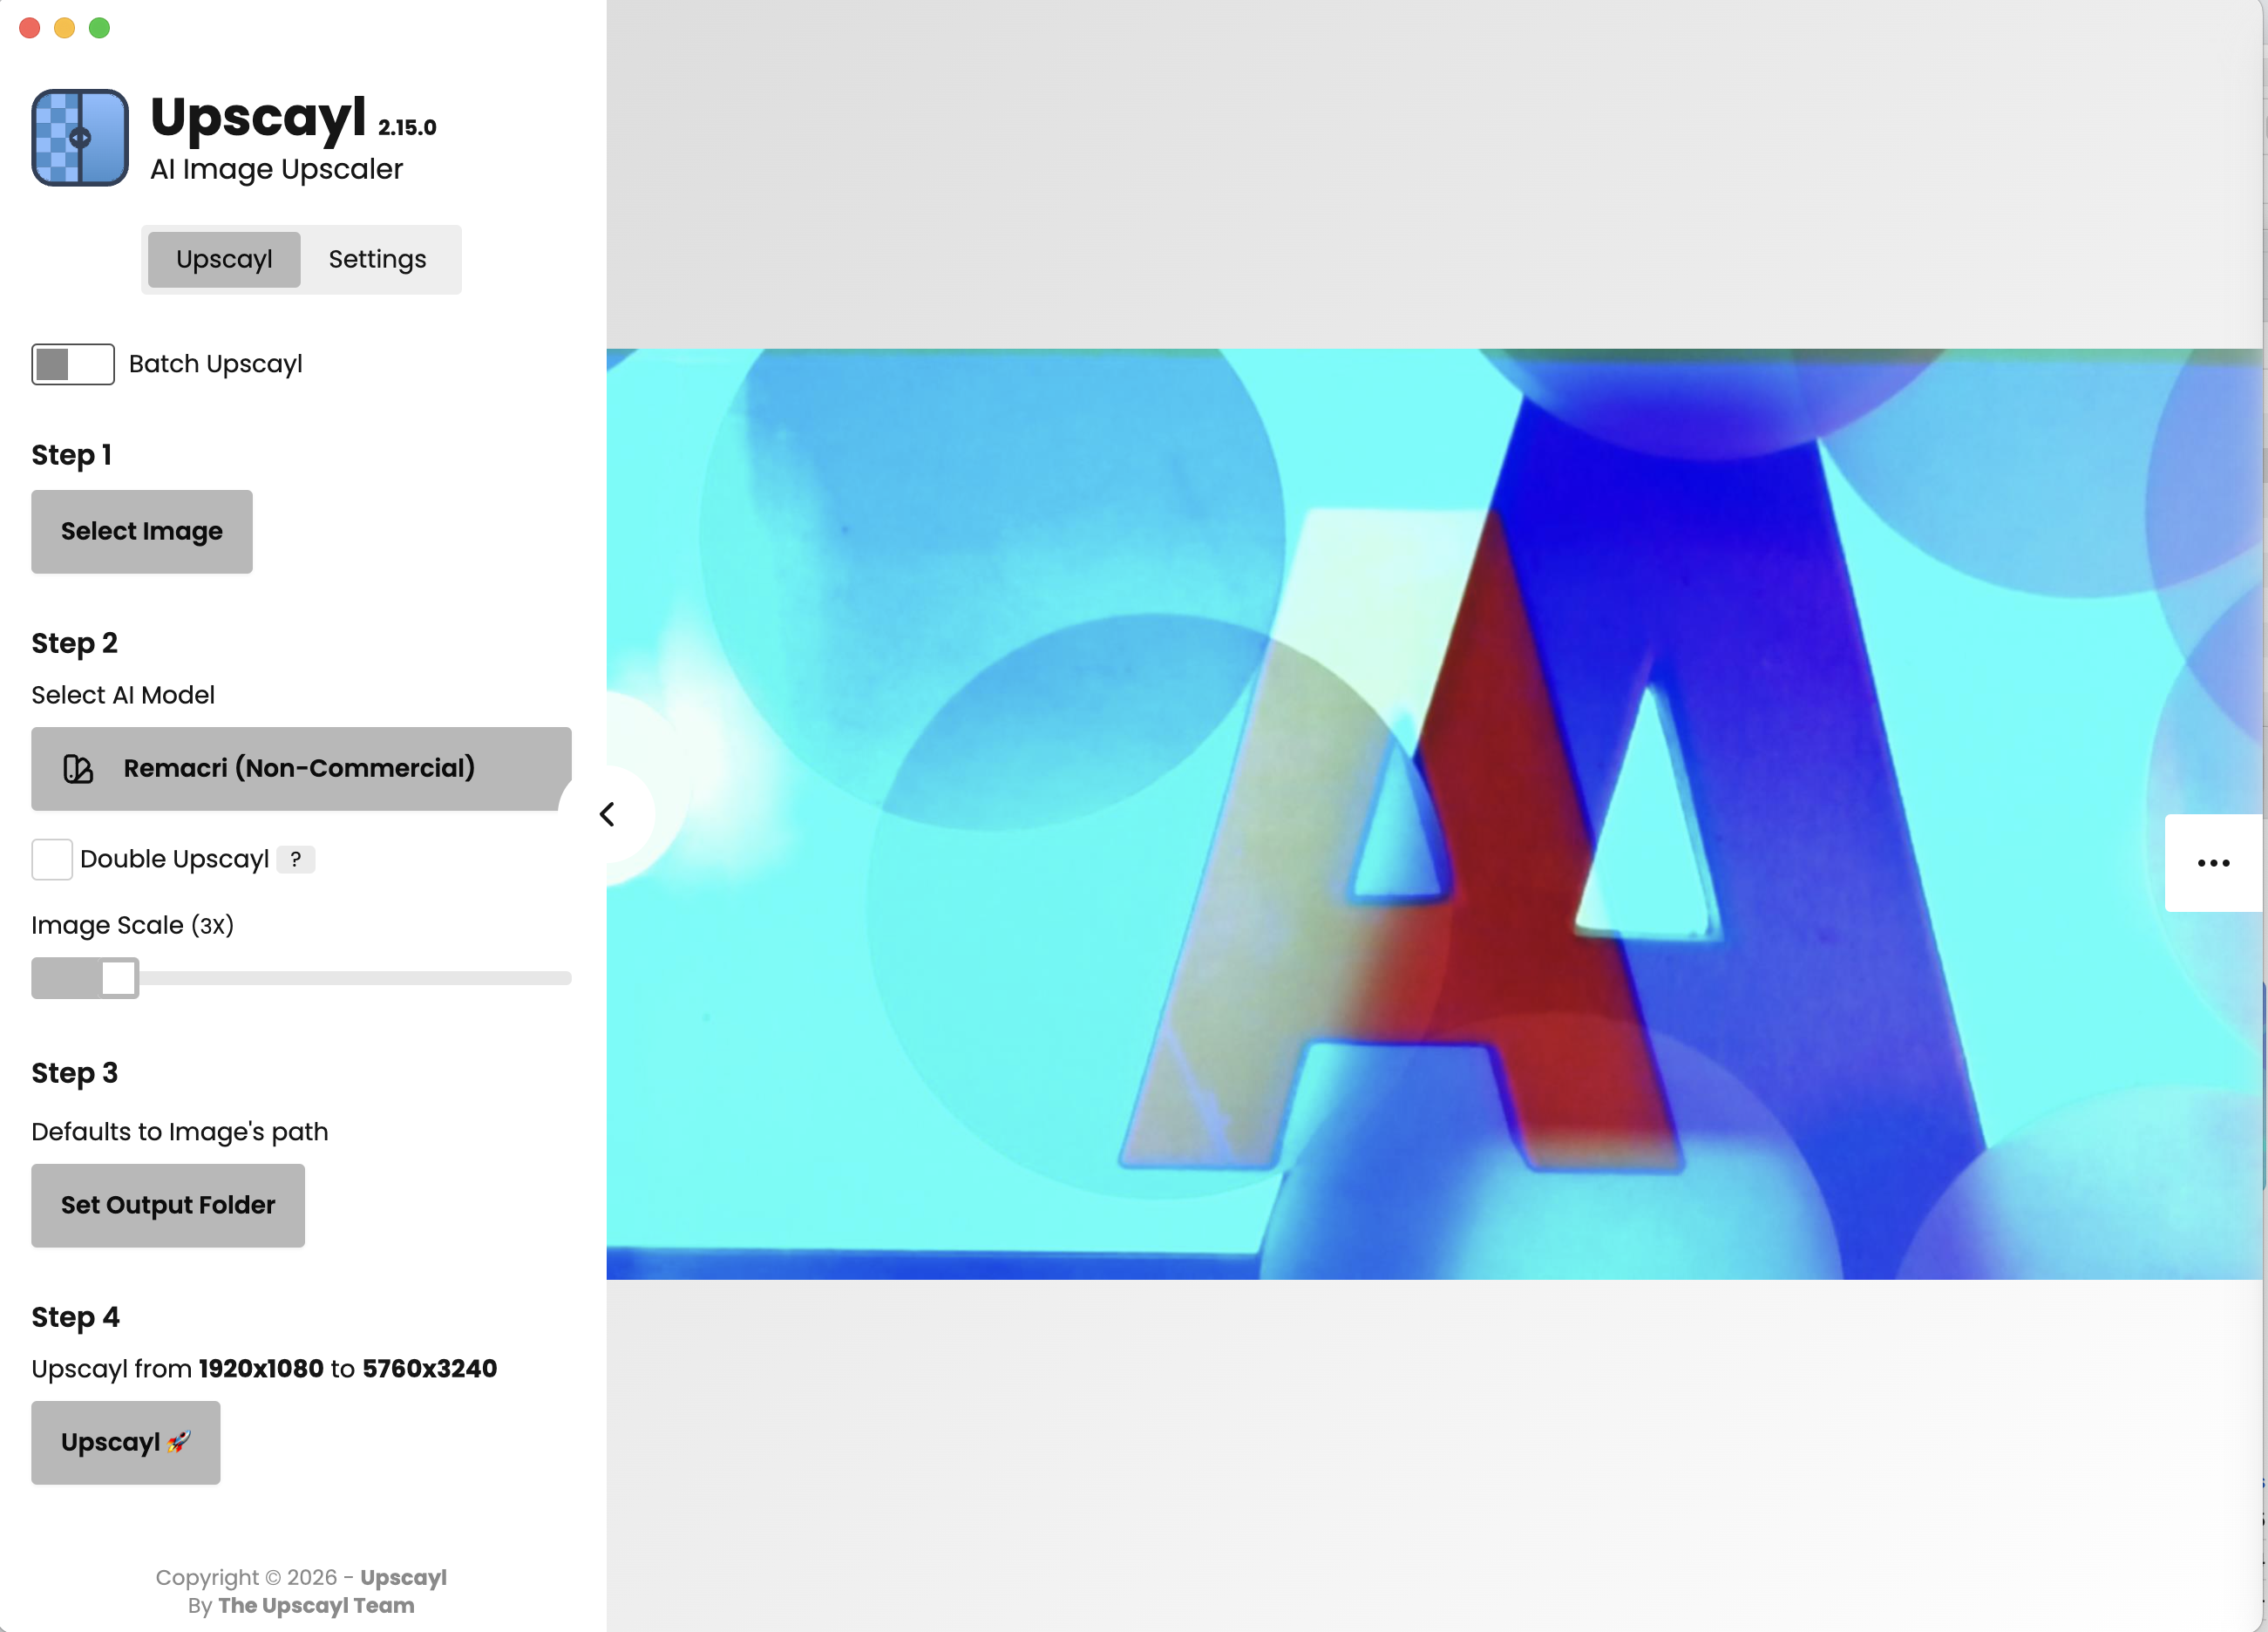
Upscayl GUI with advised settings original image file
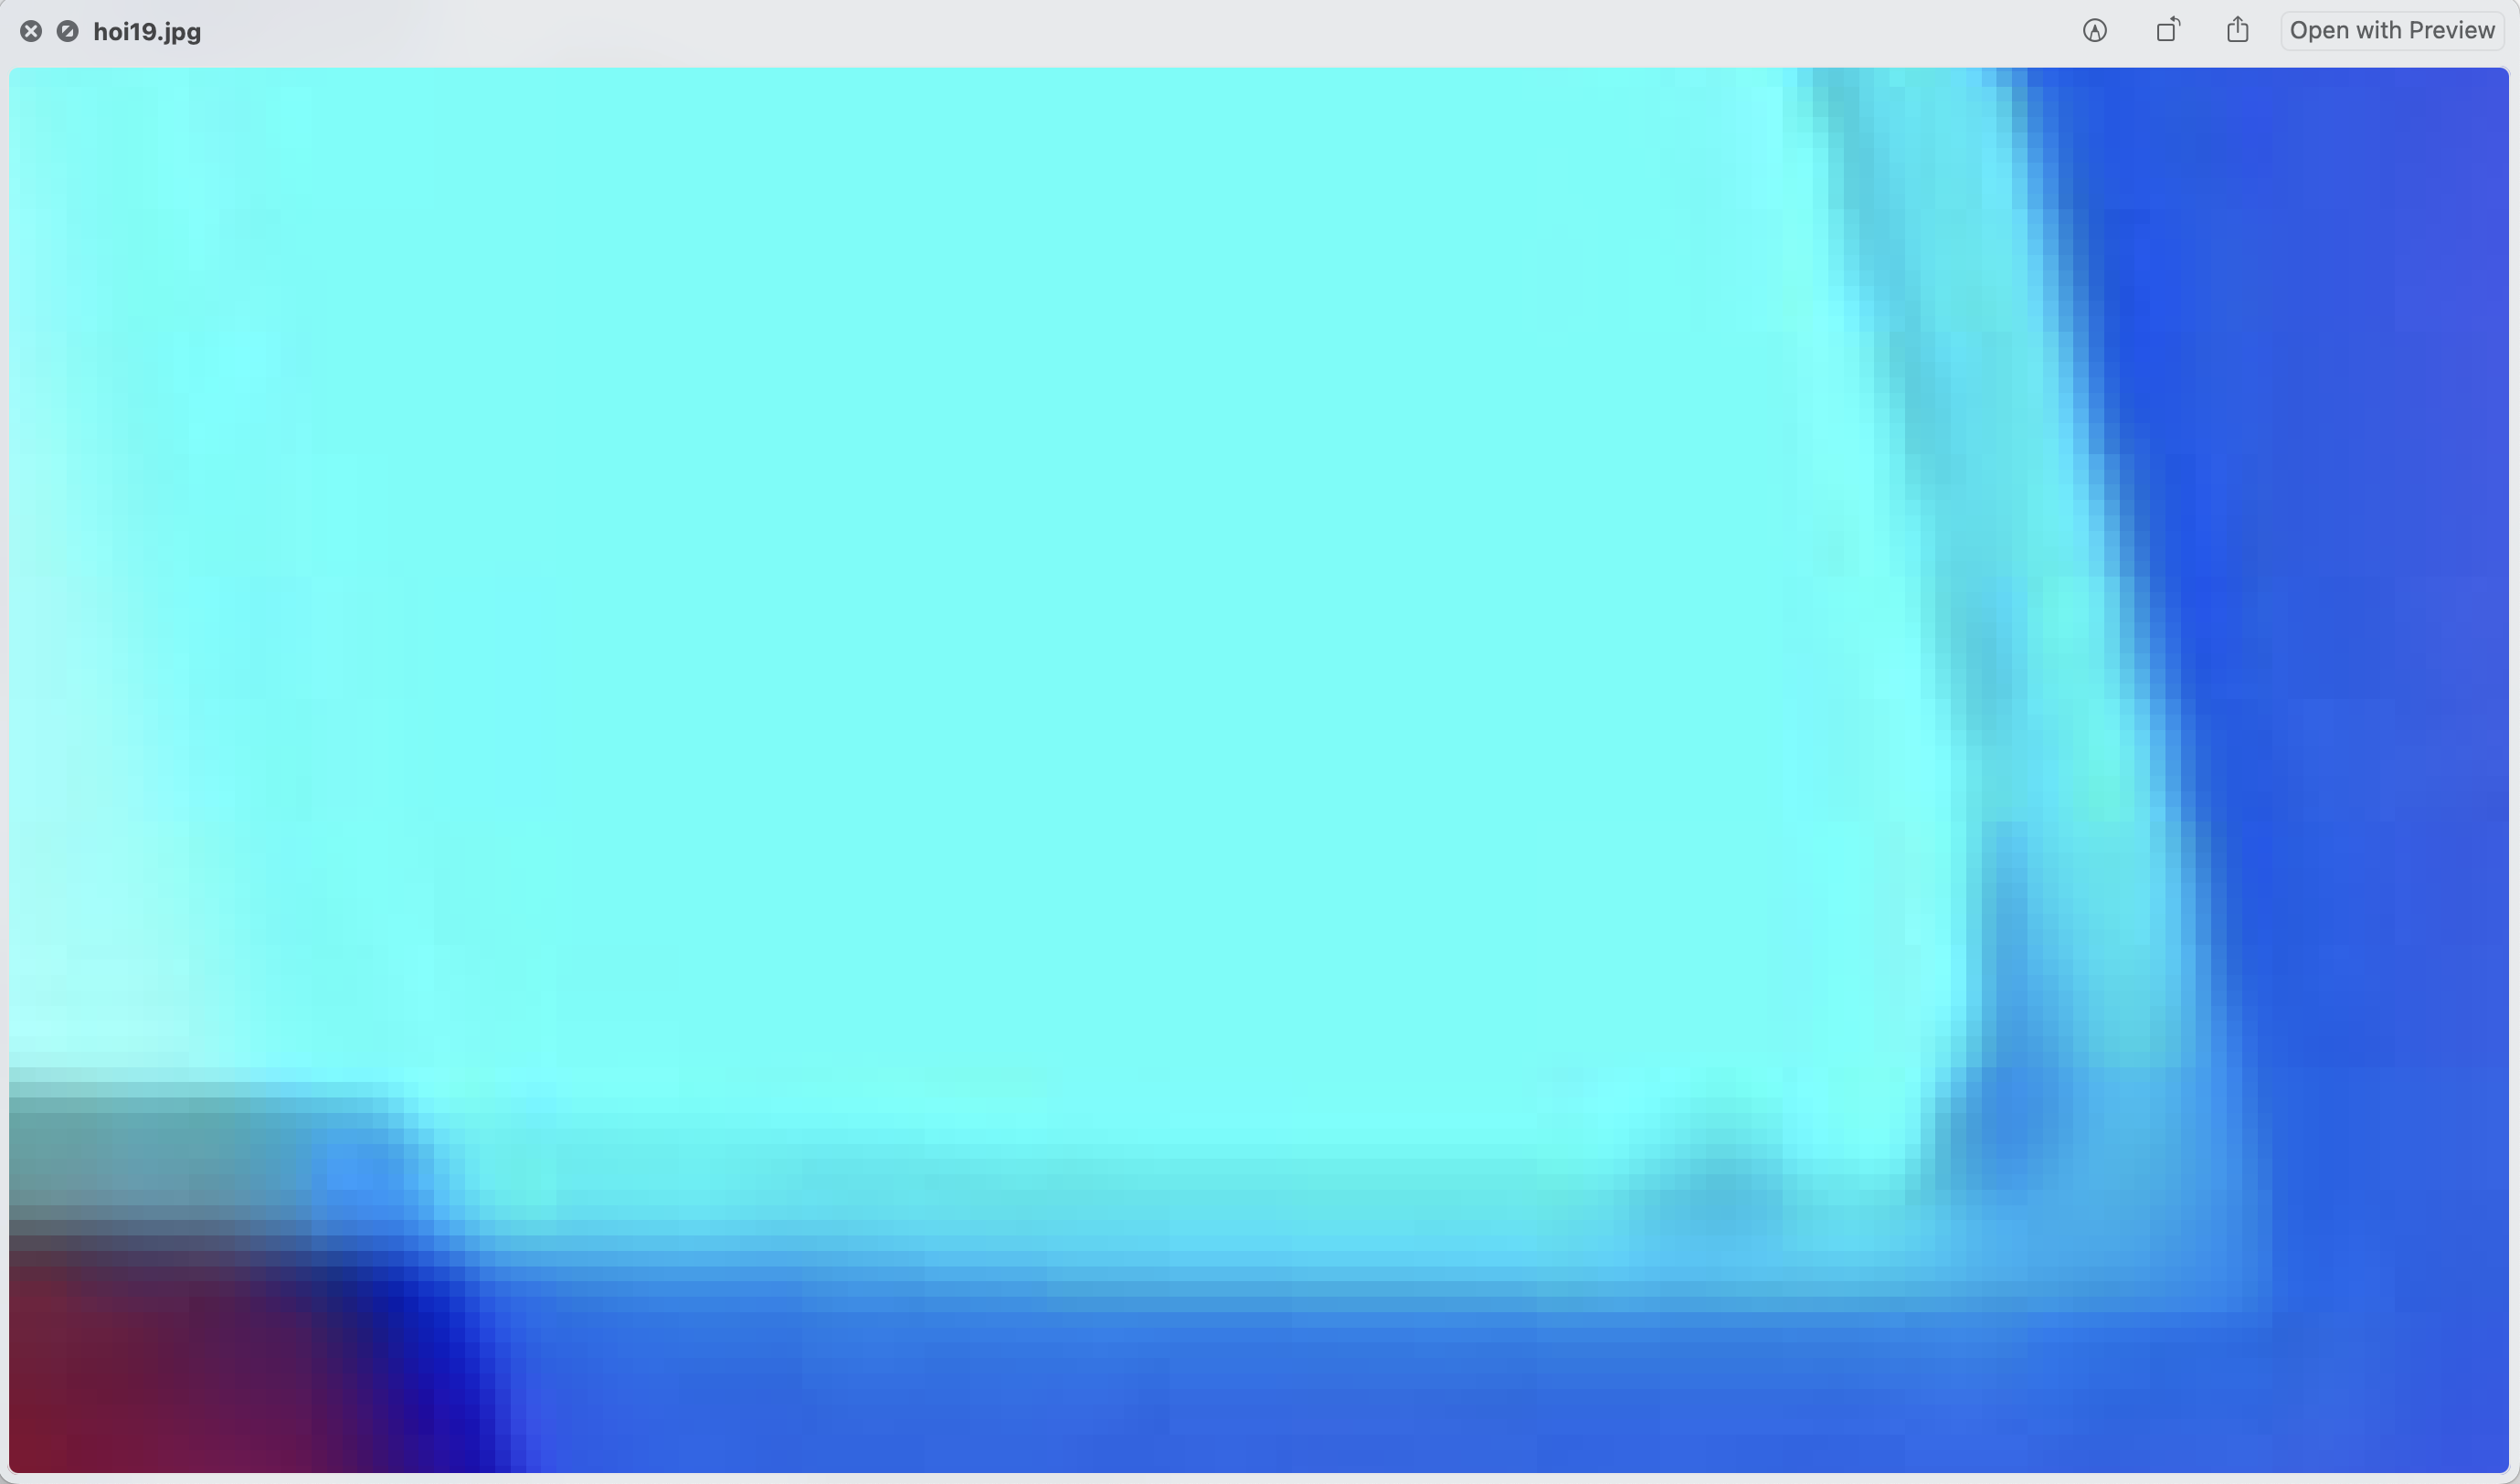
Detail original resolution
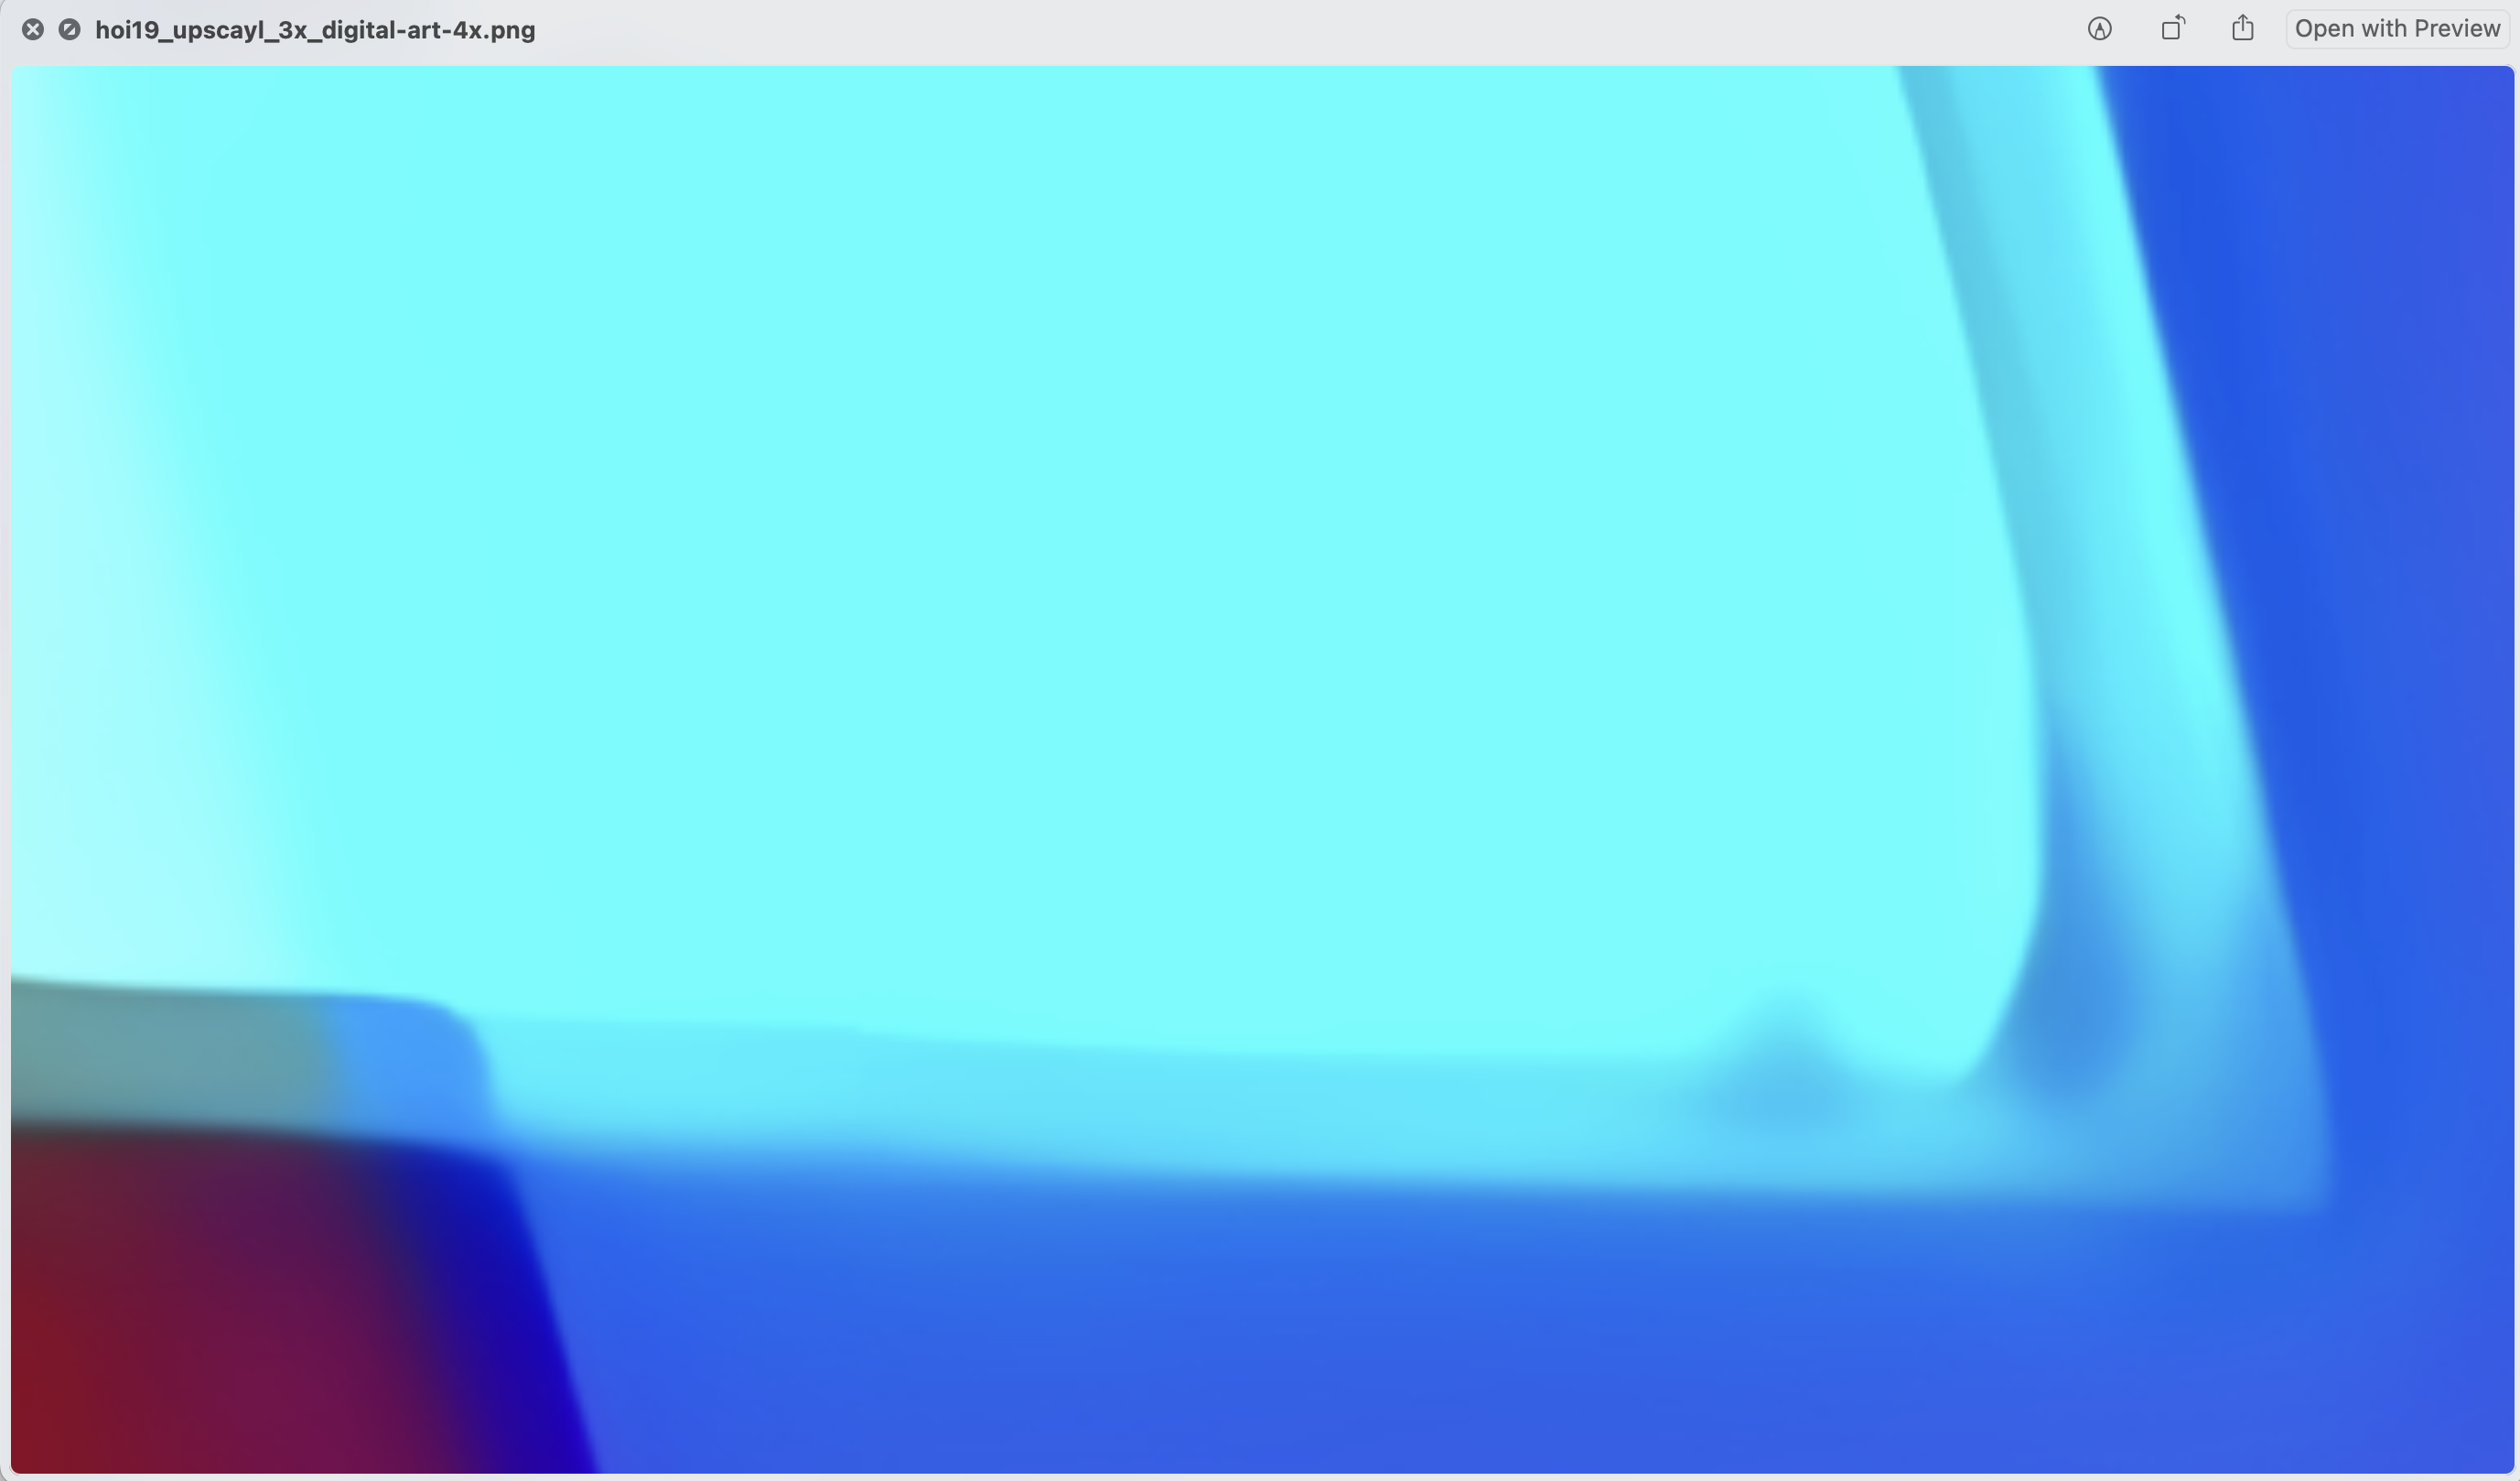
detail upscaled image with Digital Art model
Make it print ready
To prepare your upscaled image for printing, we can run te image through an automated process via the free XnConvert application. This software allows for batch processing images and lets you do most conversion steps as in Photoshop. The software can be downloaded here: https://www.xnview.com/en/xnconvert/

Image conversion steps
To prepare your document for printing, follow the instructions below.
Select the first tab (fig. 1) and drop your image files or folder in the blank space and select the correct preset in the window below. You can download the preset via this link Convert_preset_upscayl_en_print.xbs. It is also possible to make a 'hot folder' where files are automatically converted when dropping the files in that designated folder. The XnConvert application must be running in the background.
Crucial Setup Rule: To prevent an infinite loop, always set your Output folder to a different location than your Input (Hot) folder.
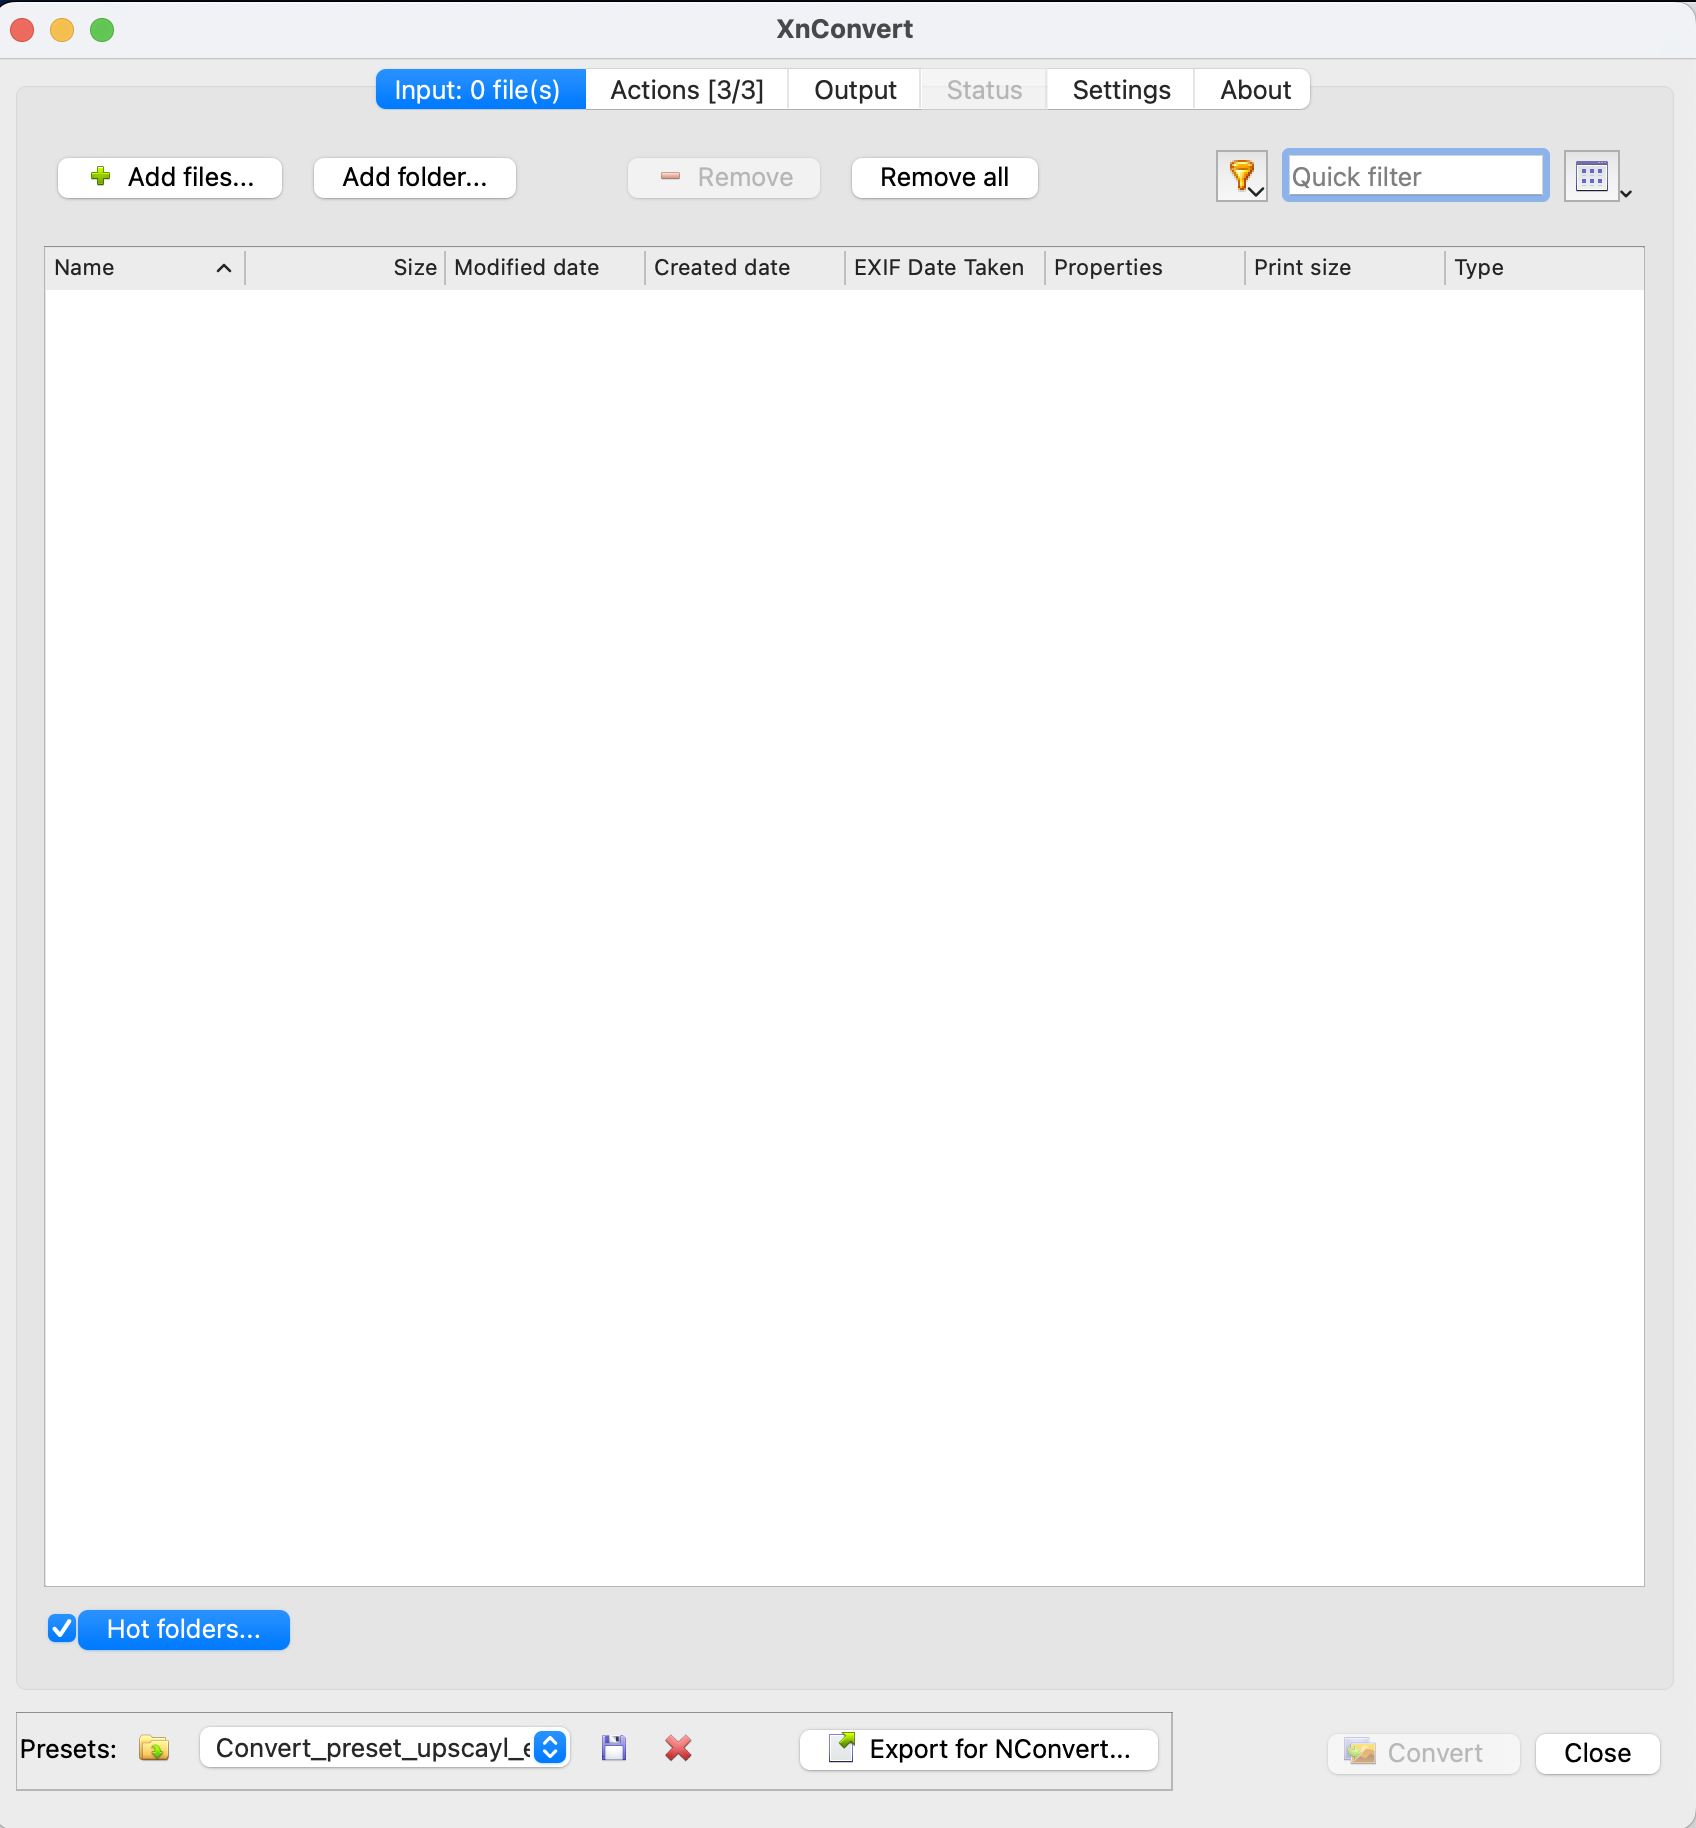
fig. 1
Go to the next tab 'actions' (fig. 2) to check if the presets contain all the steps below to make your print ready. Off course it is also possible to manually add or customize the actions. See picture below for the correct settings.
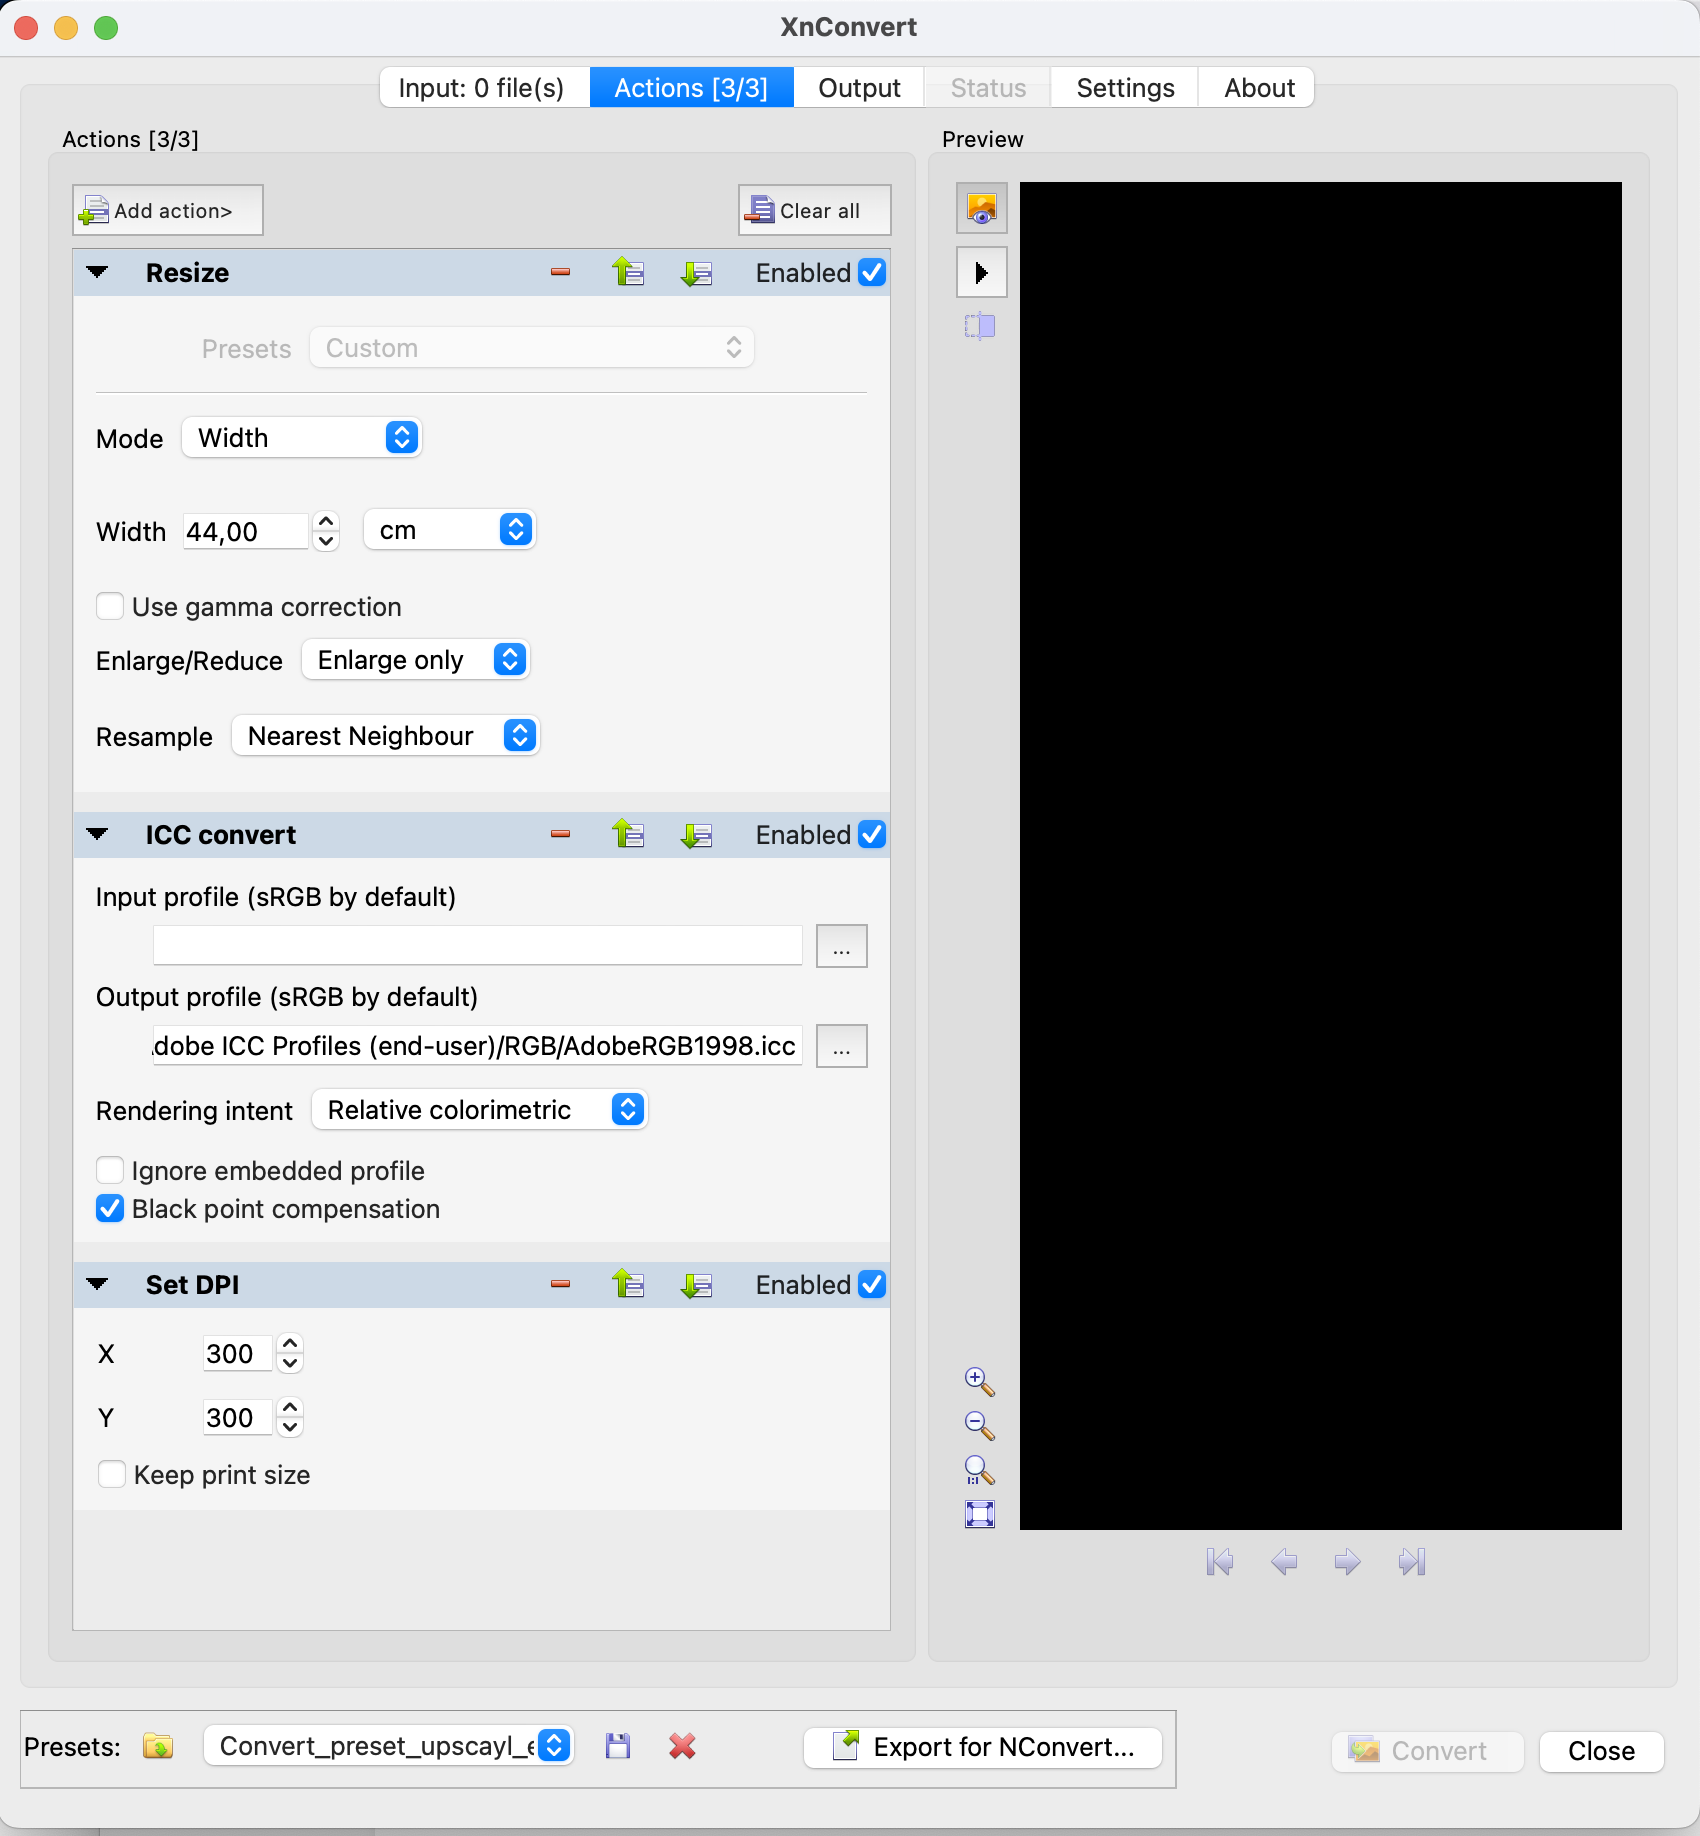
fig. 2
The last step (fig. 3) is to select the correct output folder and format,format andand, if desired, add some more custom settings.
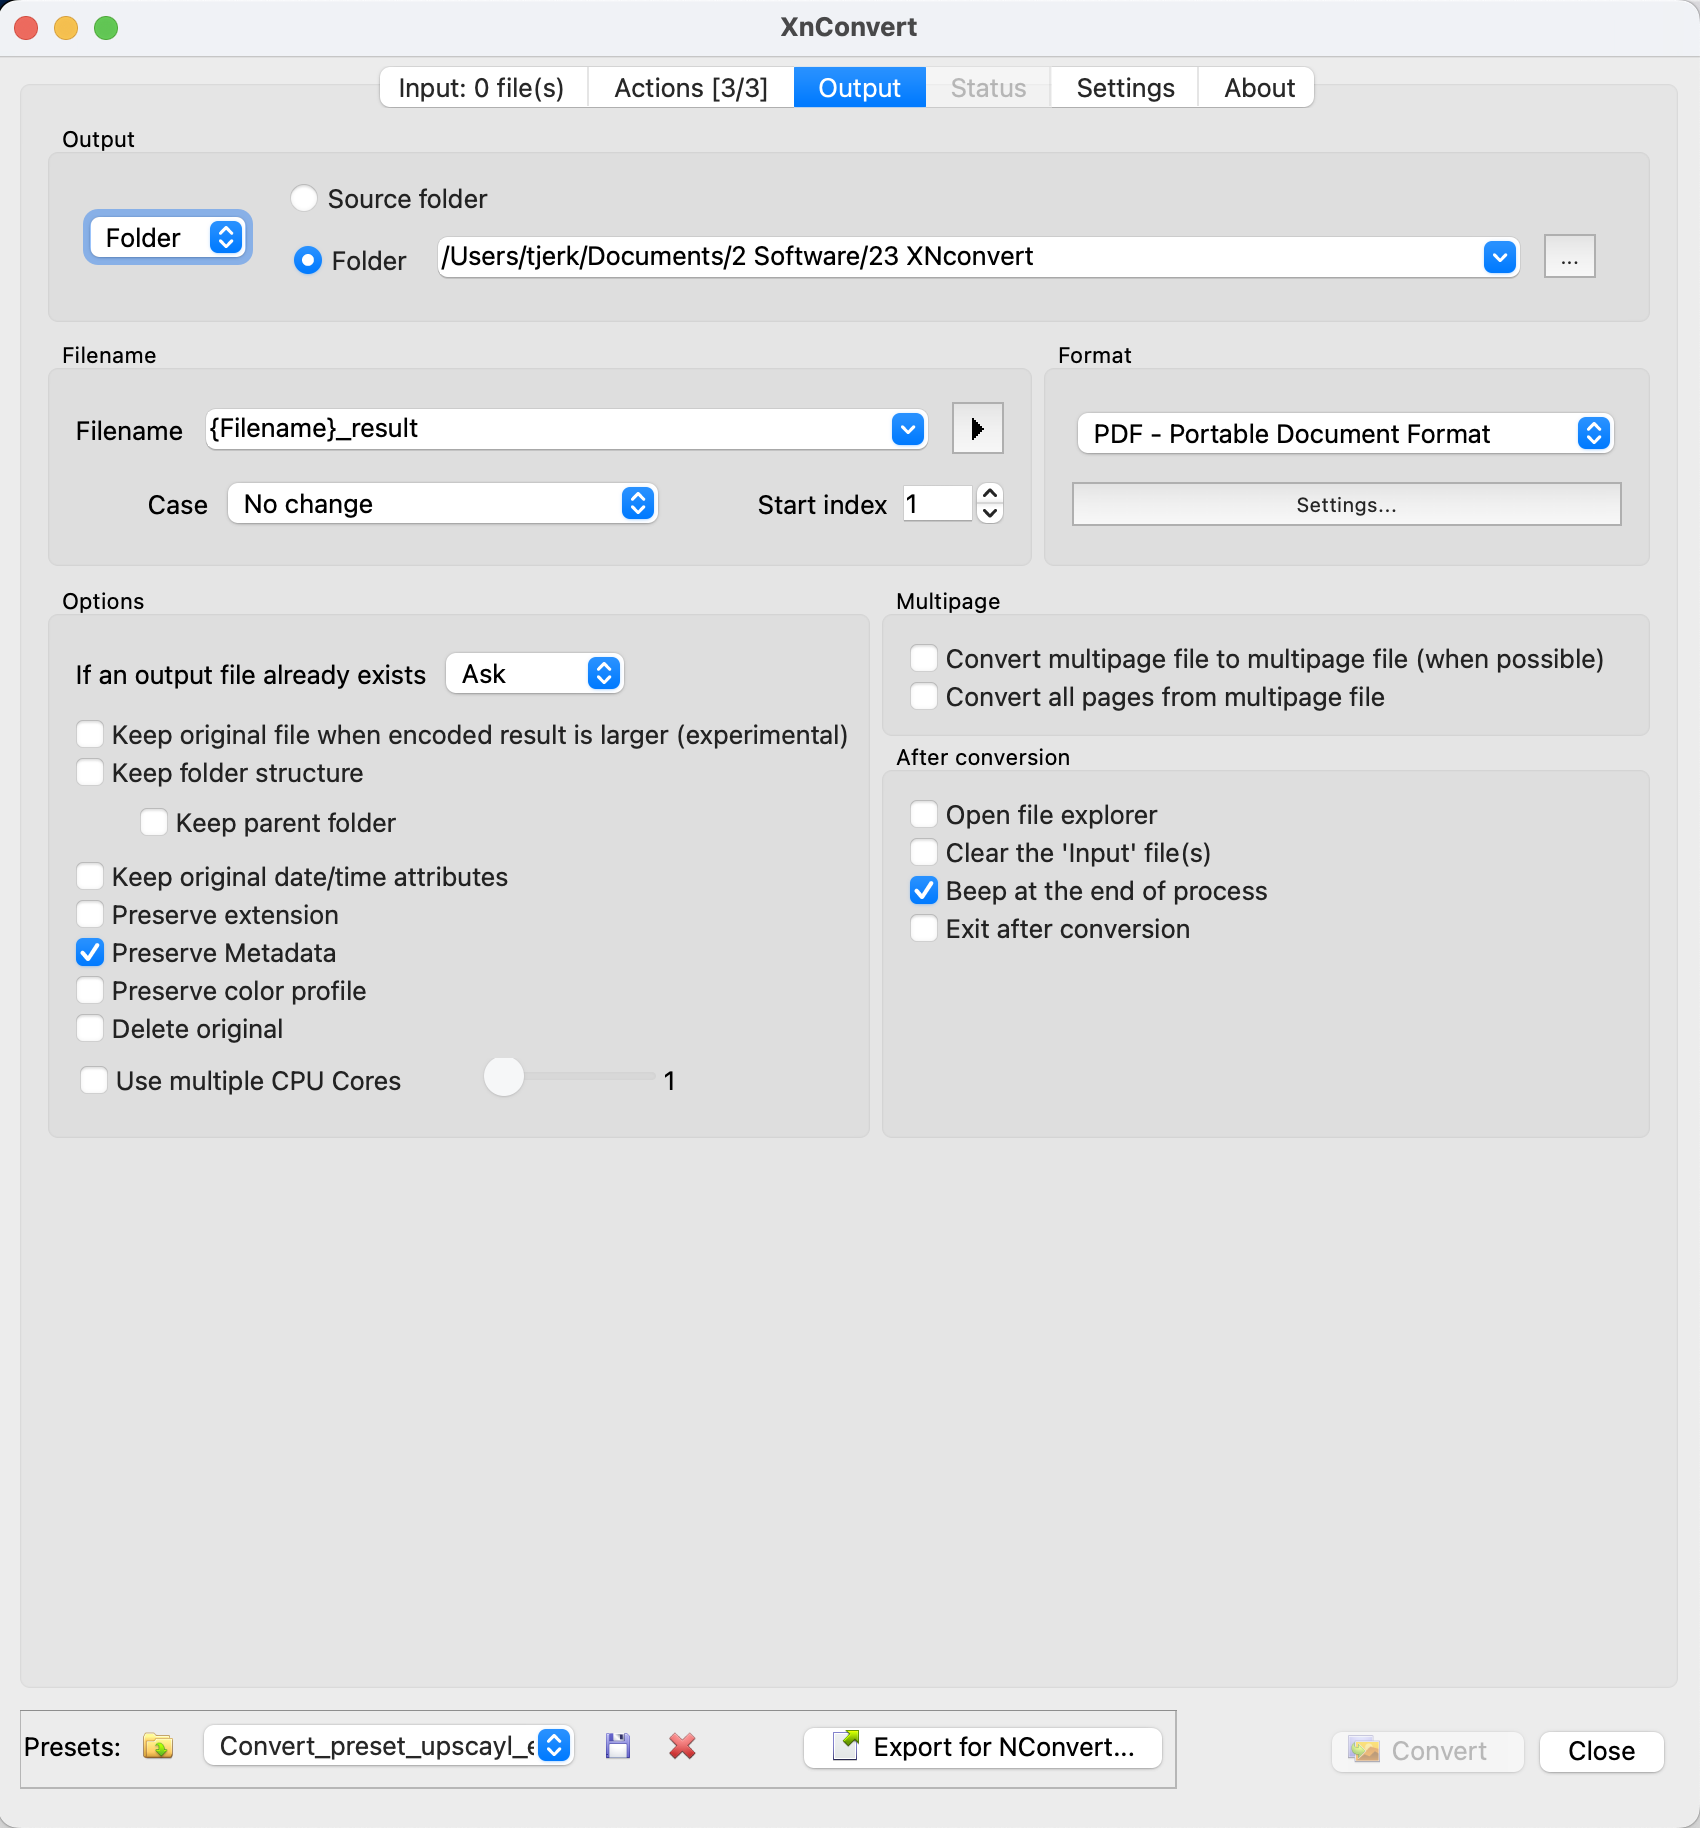
fig. 3