
Combining micro:bit with BYOR for easy in-out
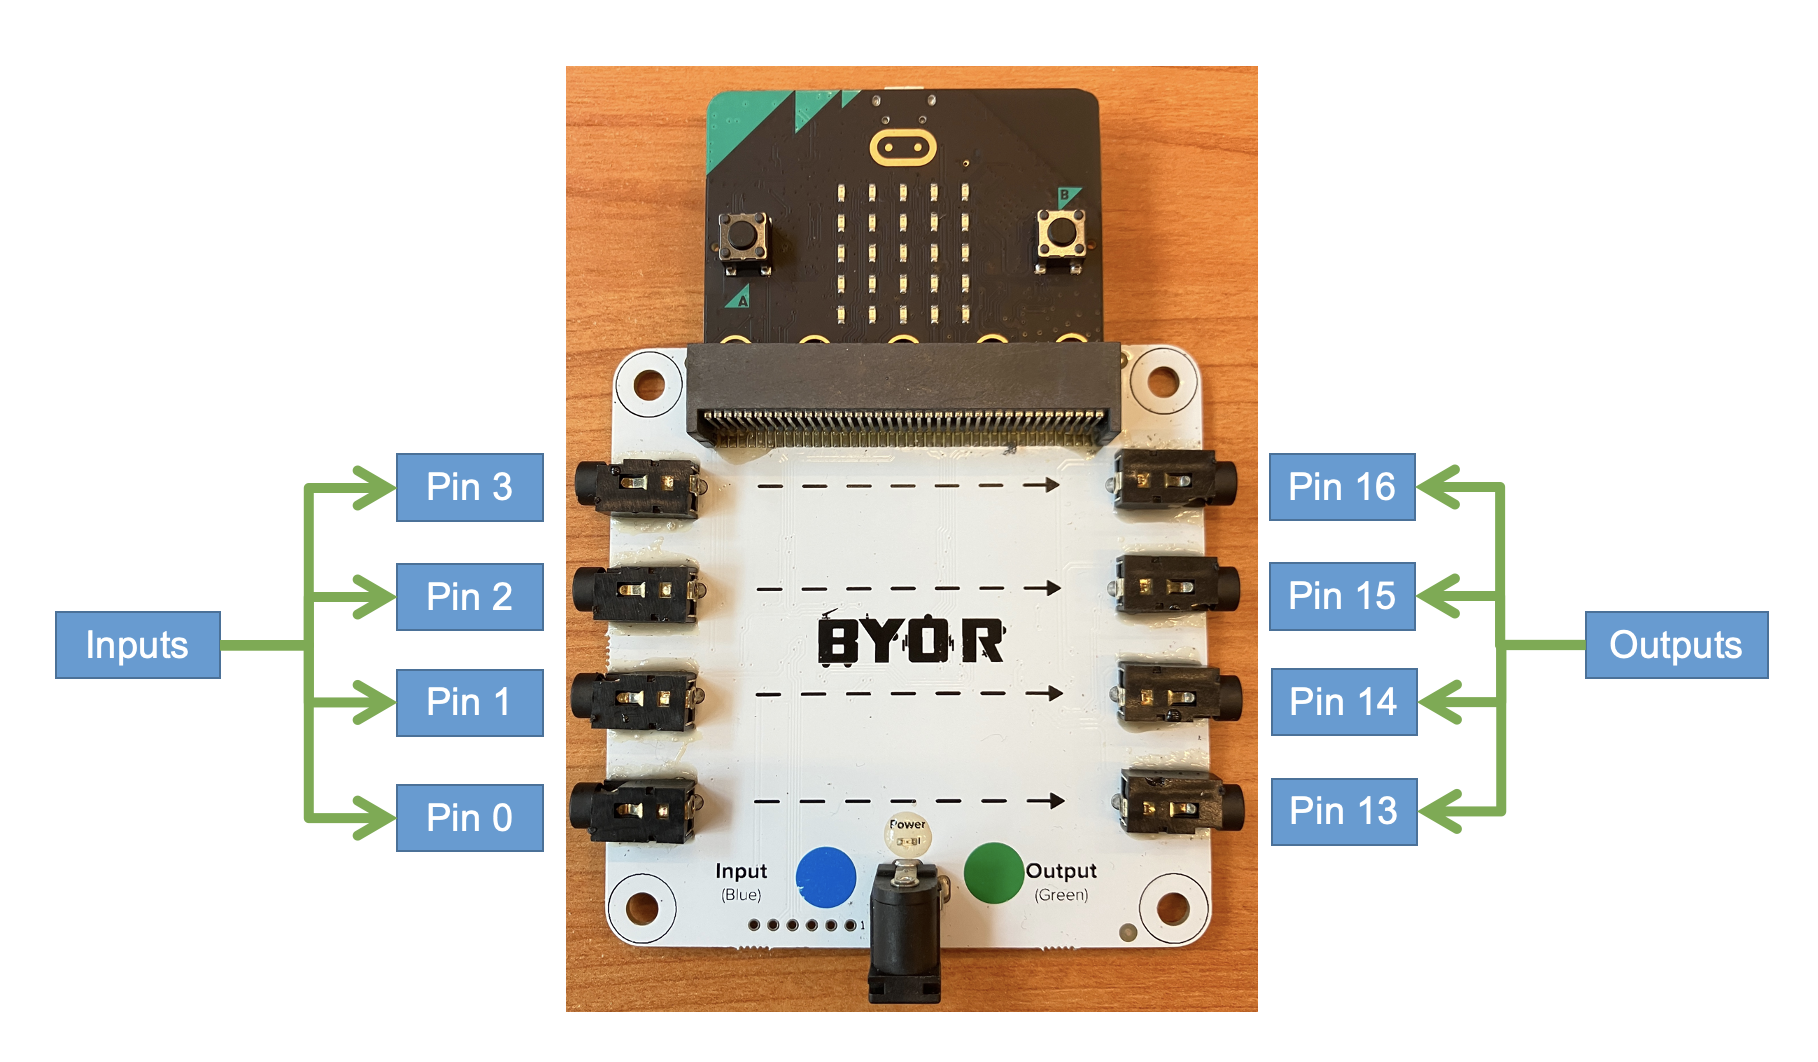
BYOR is a small board that converts analog inputs to analog outputs but also powers sensors and actuators. Combined with a micro:bit it becomes a programmable input-output system that can power servos and small motors, as well as lights and sound for interactive installations. Quick step-by-step to get some powered inputs and outputs going! The BYOR kit is pricey, but we have one available at Programme CT.
Step 1: Write code
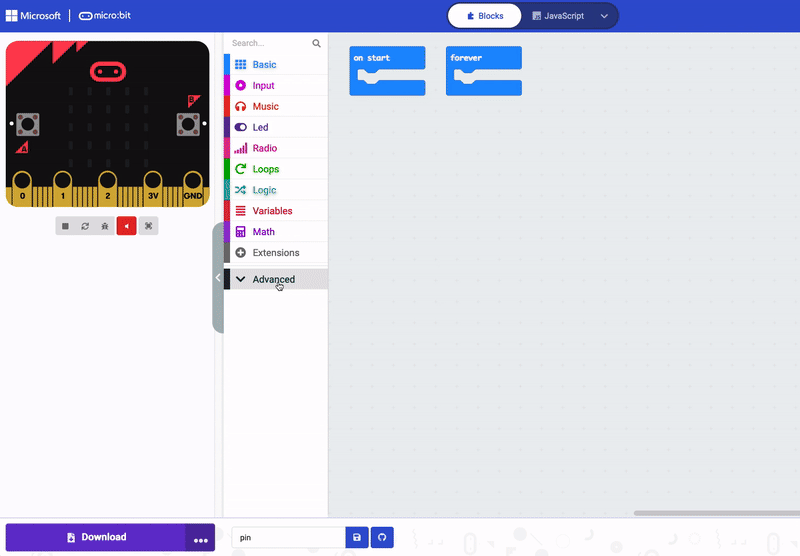
You can write code for the micro:bit on makecode.microbit.org. The BYOR has 4 input pins for the Micro:Bit (Pin 0-3) and 4 output pins (Pin 13-16). You can find the Pin blocks under Advanced->Pins.
Step 2: Connect micro:bit
Connect the micro:bit (without BYOR) through USB to your computer. It will show up as a USB drive automatically.
Step 3: Save your code
Save your code manually to the USB drive, or click Download to Micro:Bit directly in the Makecode environment
Step 4: Disconnect
Disconnect the USB cable. When is it safe to do so? The micro:bit stops blinking and the USB drive will eject automatically. This lets you know the download is complete.
Step 5: Connect to BYOR and power on!
Push the micro:bit board into the BYOR board with the logo and A/B buttons towards you. Connect the power cable to the BYOR board (NOT the micro:bit!). The micro:bit will be powered automatically through the BYOR board