Gelatin bioplastic recipes
Gelatine is made from collagen present in animal parts and comes in jelly, sheet or powder.powder, which is the form we use in the recipes below. It is a spiral waste product from the meat industry, being repurposed for uses outside of that industry.
Material properties:
-
Water resistance: Gelatine bioplastics start dissolving after a couple of hours when submerged in room temperature water. It instantly melts when submerged in water of > 60C.
-
Heat resistance: Gelatine bioplastics aren't heat resistant and will start melting between 30-50C. When microwaved, the material dissolves quite quickly.
RECIPE #1: Basic Gelatingelatin bioplastic

Gelatine 48 gr
-
Glycerine 12 gr
-
Water 240 ml
-
Two drops of essential oil
This is the basic mix from which you can start playing around with more or less glycerine. It is also a great and fairly flexible recipe for composites (e.g. with textiles) and mixtures with powders or other dry elements. This recipe yields appr. 250 ml of material to be cast (depending on the amount of water that you let dissipate during the cooking process).
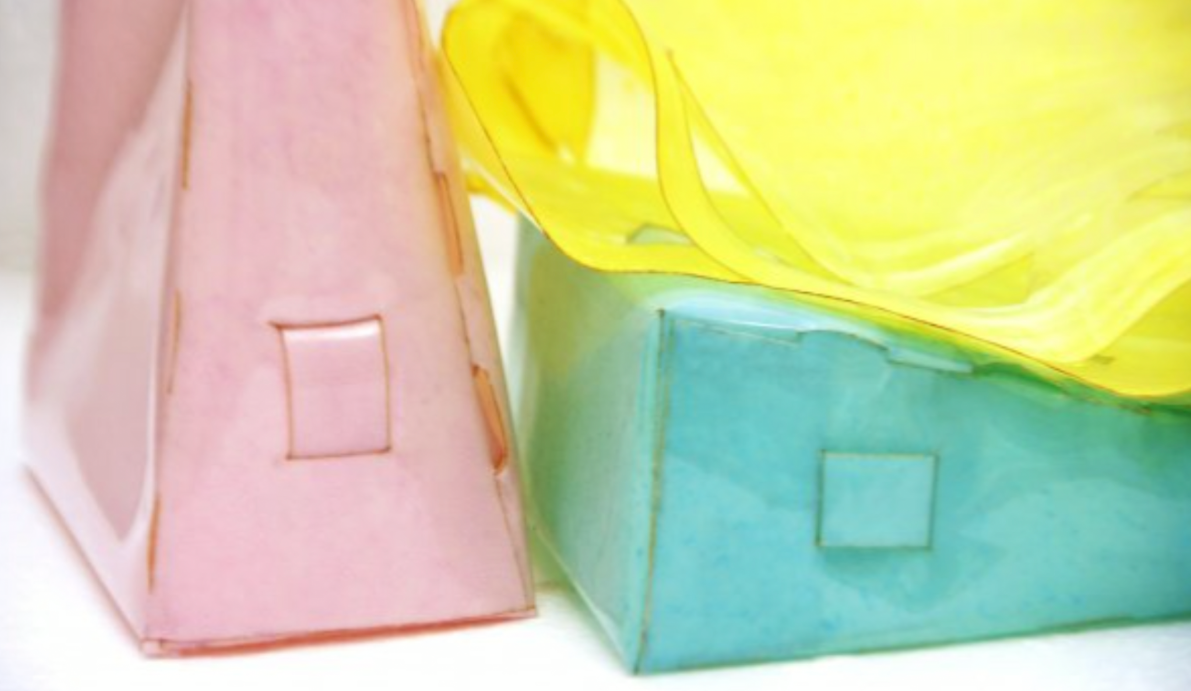
Image credit: Clara Davis.
-
Mix the gelatine with the cold water in your pot, and stir until dissolved. Warm up the mixture on your stove to a max of 80C.
-
Add your plasticizer and two drops of essential oil. The general rule is: the more glycerine, the more flexible the material, but do not exceed 1:1.
-
Simmer for 15 minutes while stirring regularly, then let the liquid cool for a couple minutes while stirring, until it gels a little but is still liquid. The mixture should be at least honey-like before casting. Remove any froth with a spoon, or absorb it using a coffee filter or kitchen paper (cartouche). TIP: Longer cooking time (up to an hour) allows more water to evaporate and will dramatically reduce shrinkage of your casted object. You will get a thicker liquid. To cast larger volumes and solids with this recipe, evaporate a lot of water, until it's very very thick. Sometimes it's worth reheating and melting scraps, they've already dissipated a lot of water and result in nice castings.
-
Optional: Add a filler and mix gently until it is evenly distributed throughout the liquid.
-
Slowly, and while keeping the flow in one place to avoid air bubbles, pour the mixture in your mould or on your chosen surface. Note: Don't cast hot bioplastic on acryllic that is thinner than 7mm, it will bend.
Let the material dry in a ventilated and dry room and de-mould when your plastic feels solid, but still cold to the touch - often after 24-48 hours. Keep ventilated and regularly turn your piece over until it is dry, so as to avoid mold formation with long drying times.
