
Audio transcripts with MacWhisper
MacWhisper is an audio transcript tool for Mac (and iOS, not tried) with a nice interface that runs a local model for audio transcription. It has a free version with a basic model and a paid version with a one-time €60 fee lifetime license, which gets you access to bigger models. It's quite good at separating speakers and does well for transcribing Dutch recordings. There's also options for linking to language models so that you can get summaries and bullet-points out of the transcript, but that needs a (paid) account on online services. We've tried linking it to Ollama to get a completely local system, but we did not have a lot of success for Dutch texts.
Setup
This page is a short overview to get you started with transcribing. The app does not come with a lot of documentation but is pretty straightforward to use. First thing to check when starting up is which model is running, in the top right:
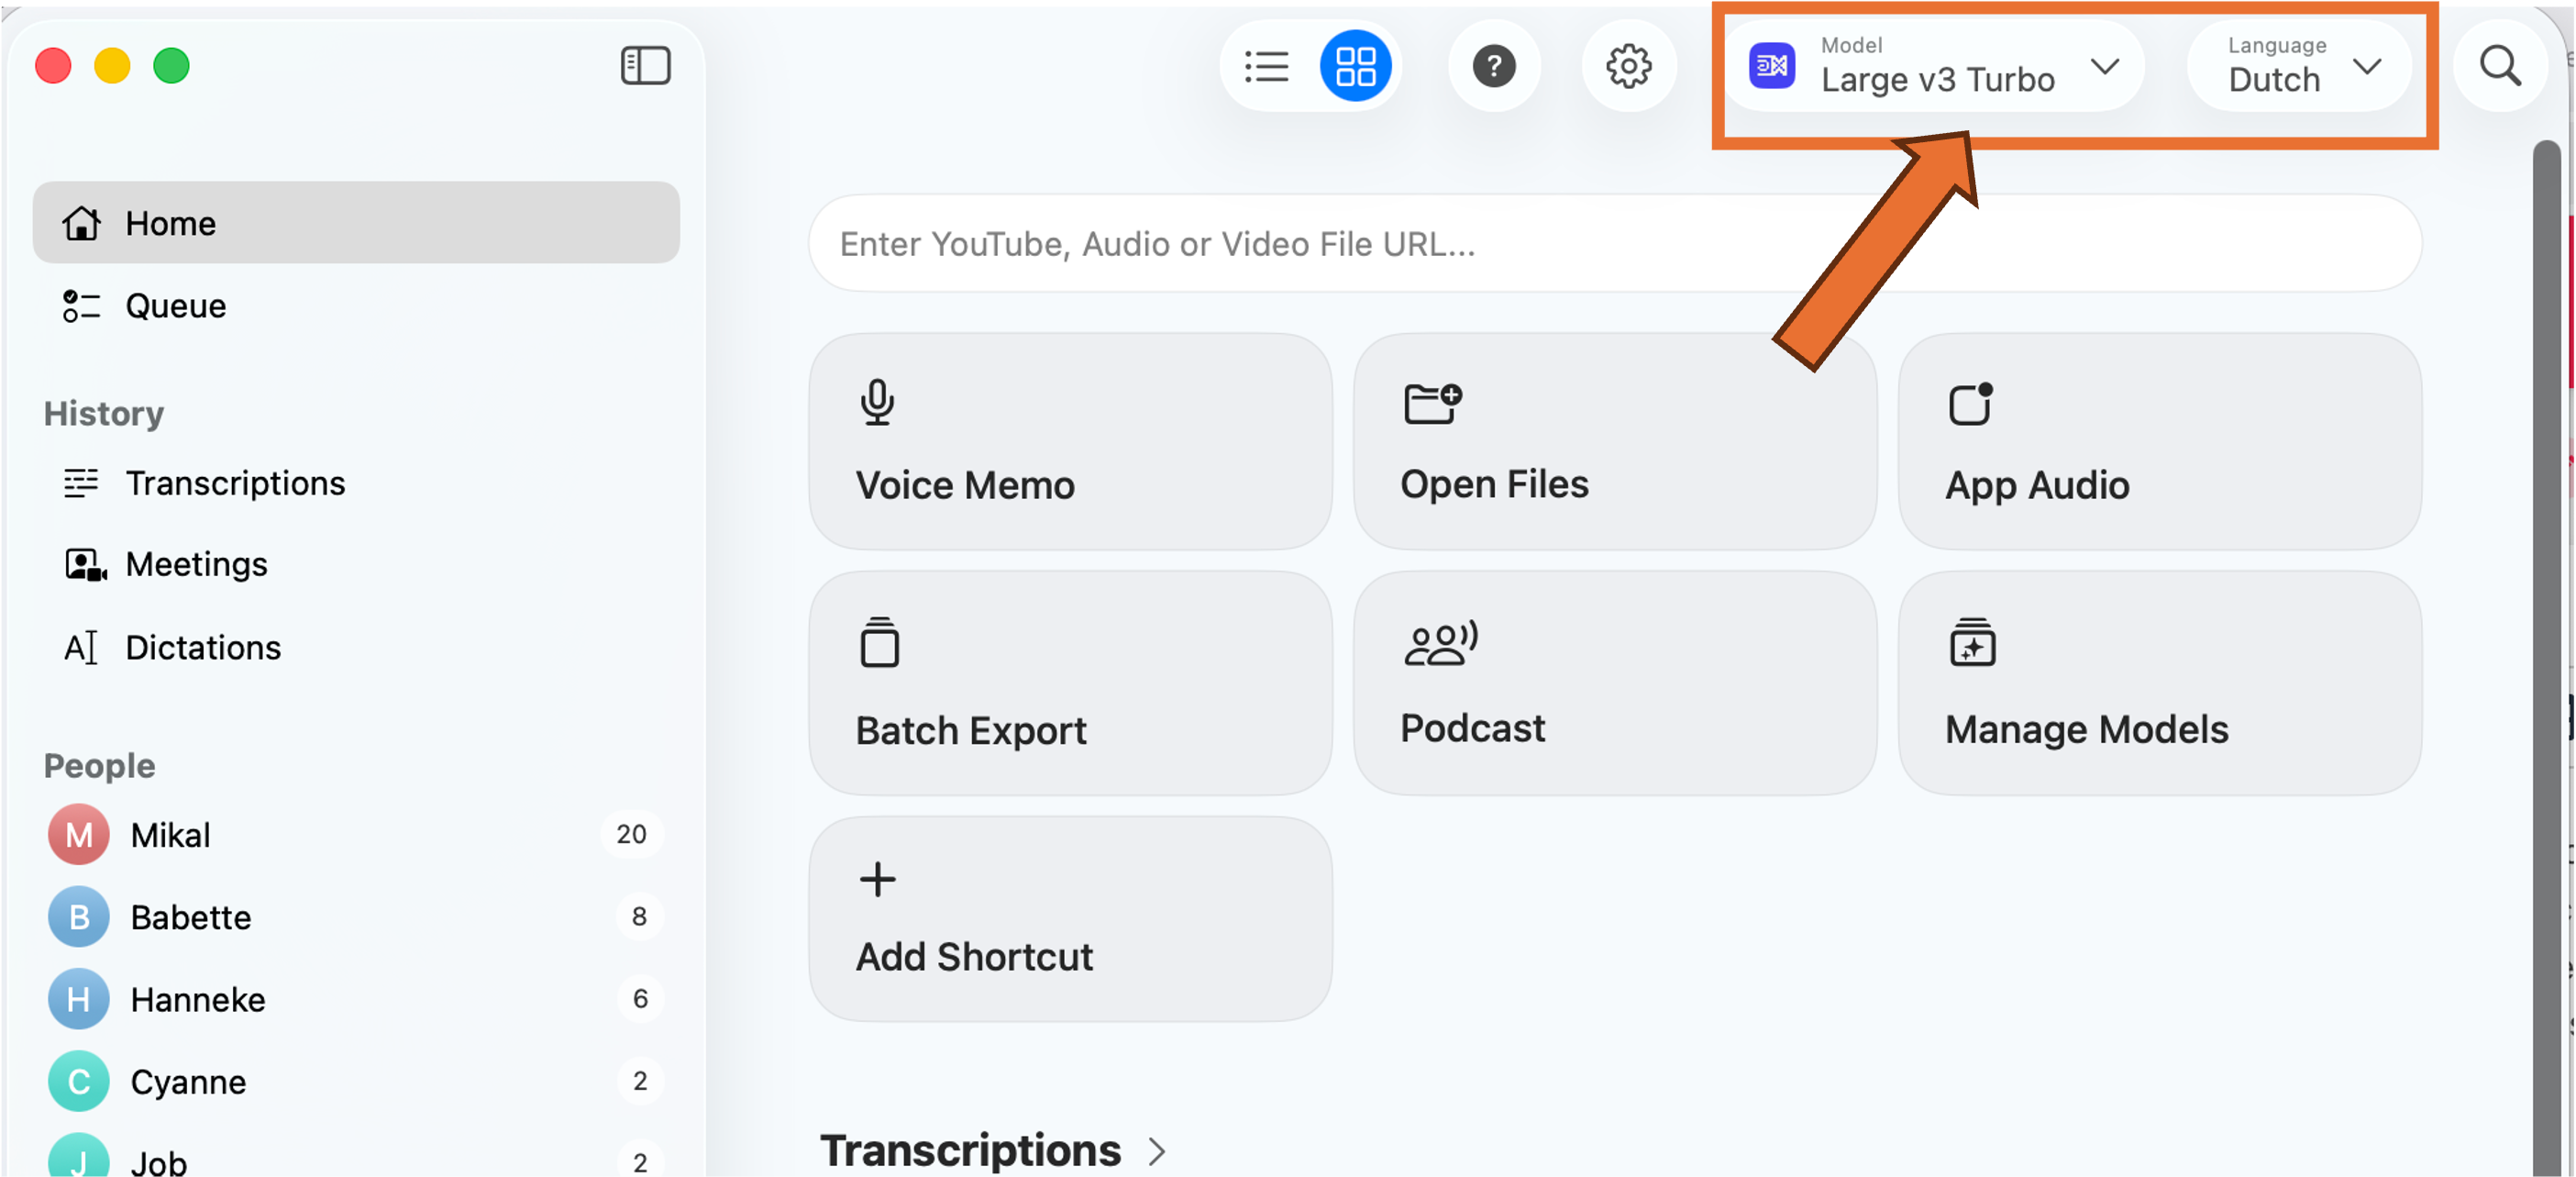
If you can't select a Large model, click Manage Local Models and install the relevant models. We've been having good results with the Whisperkit v2 and v3 models. Make sure you set the Language to Dutch. Strangely enough it doesn't really impact the word-for-word transcription, but the output will be in English if you don't do this.
Audio quality = transcript quality. The quality of the audio will greatly impact the quality of the transcript. We've been using the tool to transcribe a podcast of three people with individual microphones who (usually) take turns while talking. That leads to good and clean transcripts. A meeting with eight people in a large meeting room recorded with a laptop microphone will most likely not give you the best results, no matter how good the transcription tool is. Keep this in mind when setting up!
1. Recording options
Voice Memo
You can directly transcribe a discussion by opening Voice Memo. This will open a live transcription of whatever the microphone of your laptop is picking up. This means you don't have to pre-record the discussion in a different app.
App Audio
Use this to record and transcribe audio from an app such as Zoom for online meetings. Please request permission from everybody in the conversation before you do this.
Open Files
This is where you import a pre-recorded conversation and what we did for the podcast.
2. Transcribe
The app will start to transcribe immediately once you select your option above. Depending on the file size and your computer this will take some time.
The live transcription looks like one big wall of text that does not separate speakers or sentences. This will be corrected automatically when the transcription is finished.
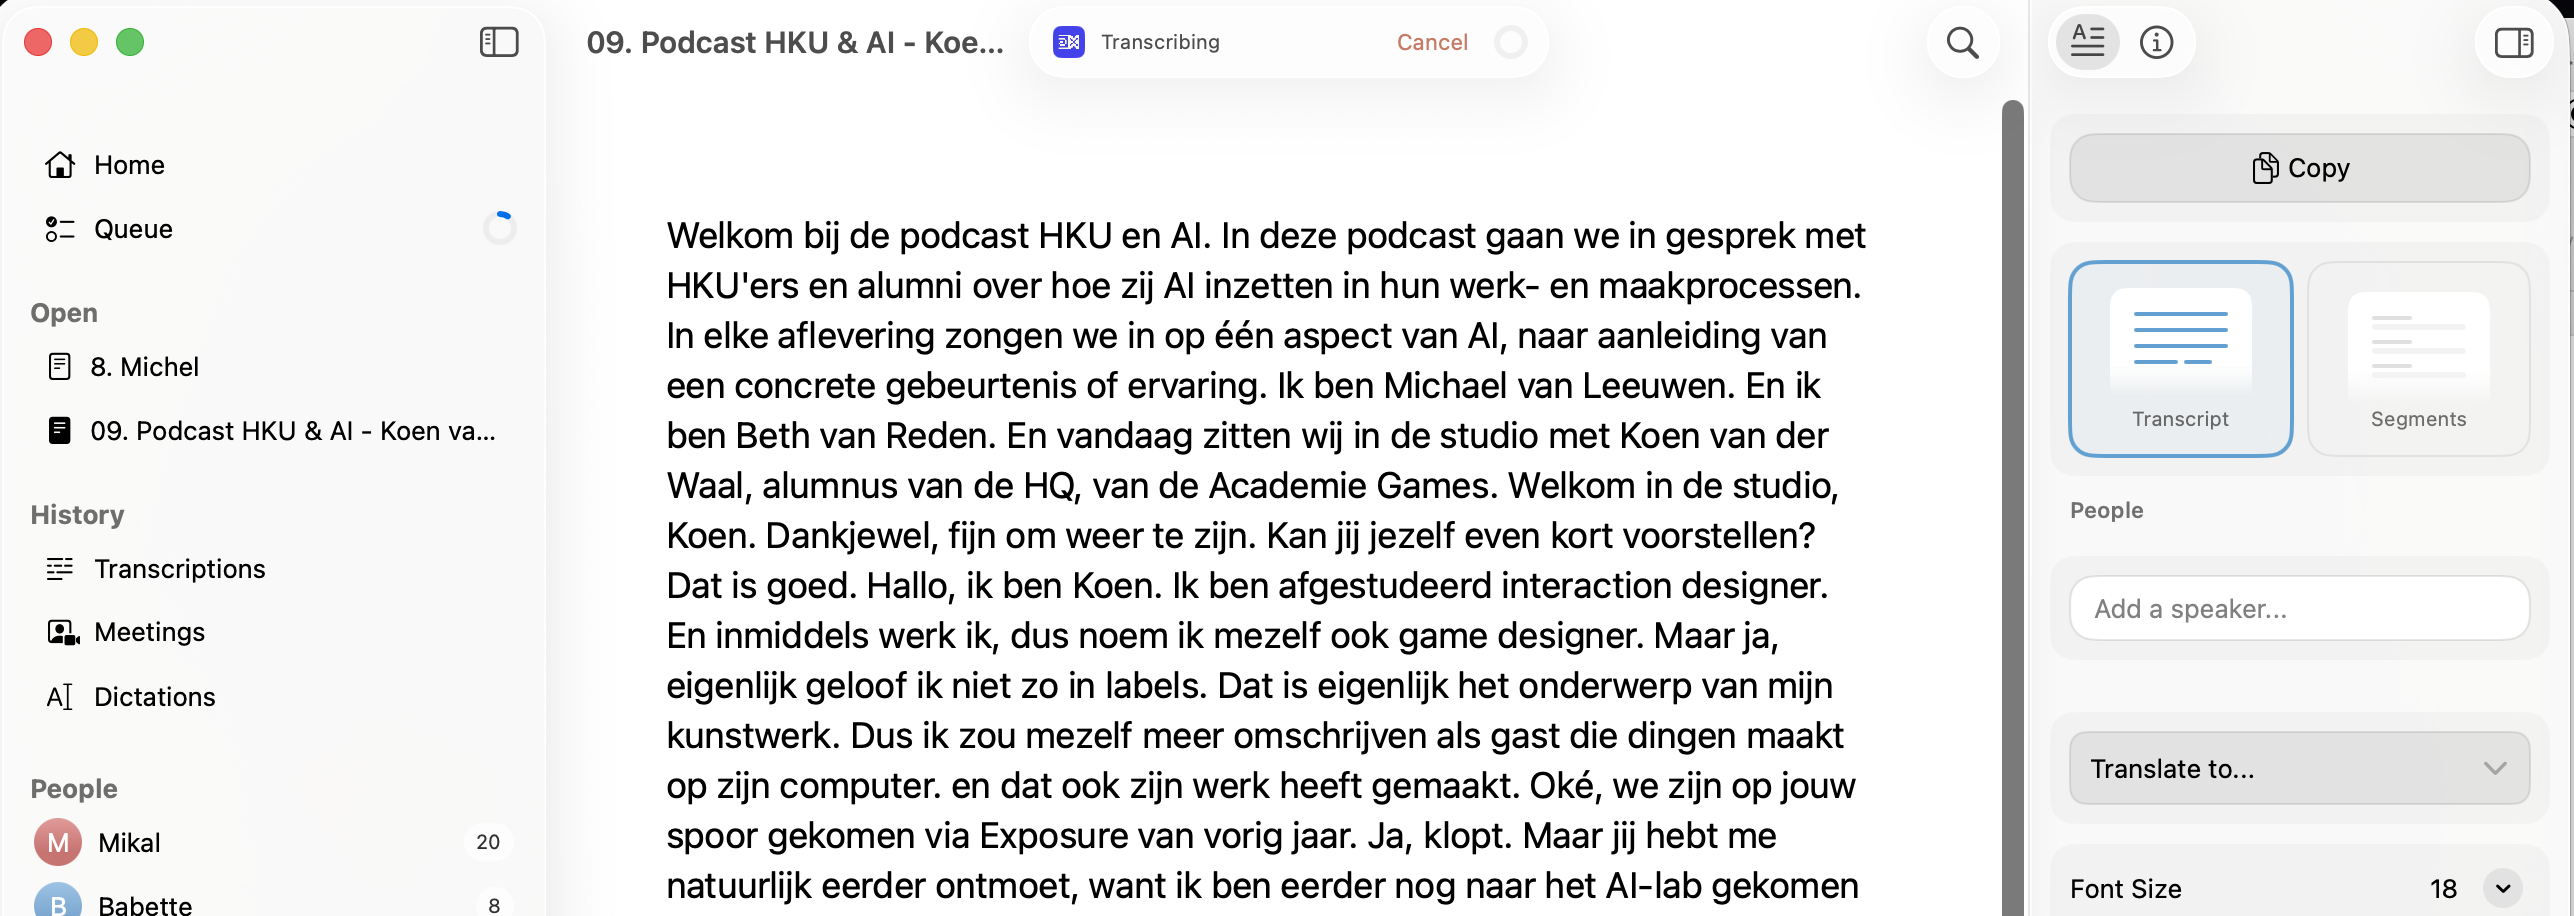 Initial transcript: one big wall of text
3. Clean up
The transcript is never perfect. Some words are not recognized correctly, and sentences can be attributed to the wrong speaker (especially when speakers are interrupted). You can clean this up once the transcript is finished.
First, go to the Segments view: On the right-hand side, click Segments (instead of Transcript). You now see a long list of individual sentences, attributed to individual speakers.
Rename Speaker 1, 2, ... : On the right you can rename 'Speaker 1' etc, to the relevant names.
Want to listen to who's speaking? Double-click the name that appears to the left of the sentence and the audio-playback will start at that sentence.
Wrong person attributed to the text? Right-click the name, then select the proper name (if you want to speed this process up, you can select the line, then press 1 (for speaker 1), 2 (for speaker 2), etc.)
Want to edit the sentence? Double click the sentence and start editing
Here's a short example: