
Controlling LEDstrips with Arduino
LED Strips and Arduino
With the Adafruit Neopixel library, it is very easy to work with controlling different types of LED's using Arduino. Adafruit has a very extensive "Adafruit NeoPixel Überguide" available online, where you can follow a step-by-step guide for controlling LED strips, panels and individual led's.
NeoPixel options:

Strips
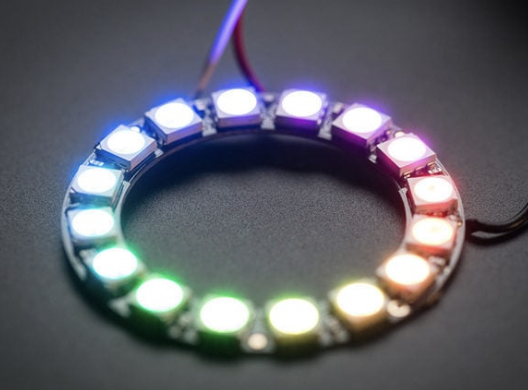
Rings
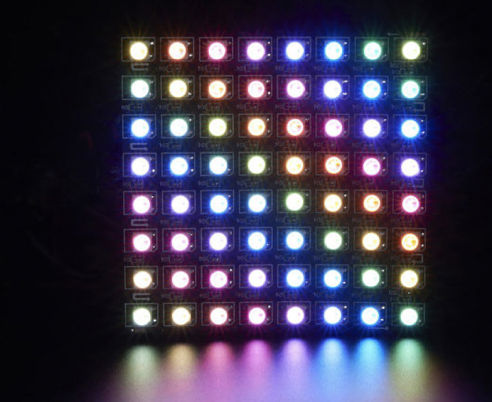
Matrices
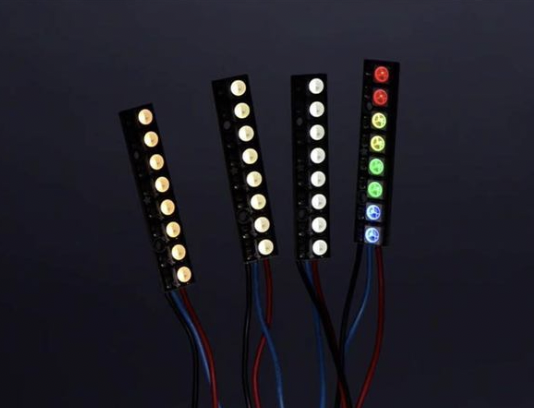
Pins
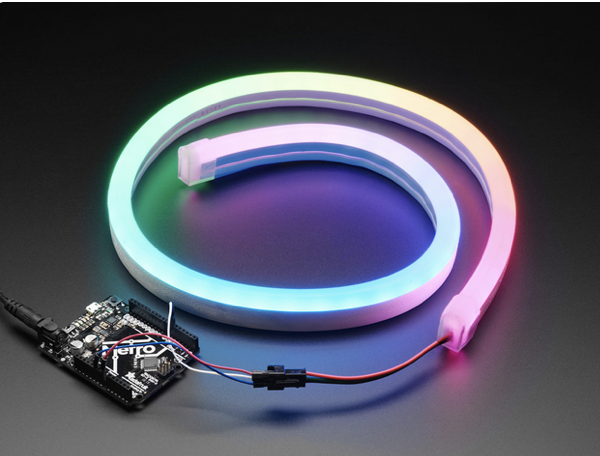
Neon-Like Stips
Images from Adafruit
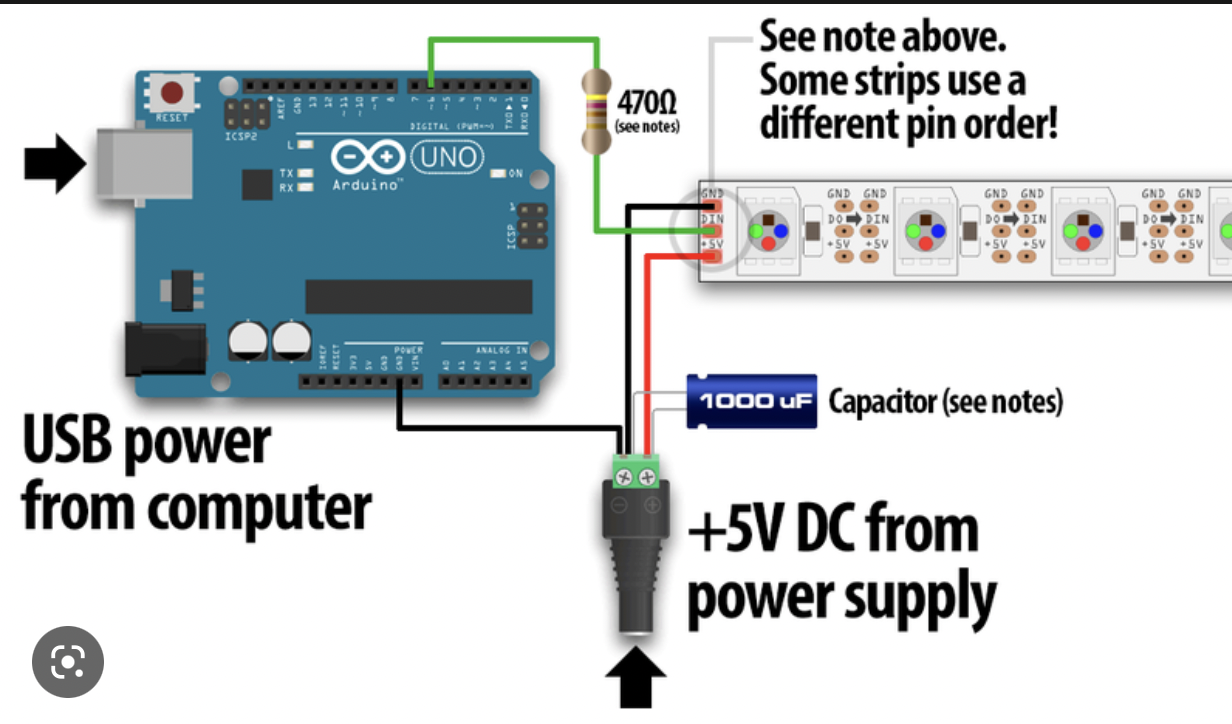
Basic NeoPixel LED strip setup
HARDWARE
Materials needed:
- Arduino Uno (or other available Arduino, but Nano is most beginner friendly)
- 1x 300 to 500 Ohm Resistor
- 5V power supply (this type is recommended for simple setup)
- 1x 500–1000 µF Capacitor
For controlling LED strips and Arduino you can build the following hardware:
SOFTWARE
Launch the Arduino IDE.
If you have not installed the NeoPixel Library for Arduino, first make sure to do that first.
Arduino IDE 2.0 (newest)
In the newest version of Arduino IDE 2.0, you can install Librairy's automatic from the IDE itself.
Arduino IDE 1.0 (older)
If you want to understand more about Arduino and Library's? Read more here...
Examples→Adafruit NeoPixel→strandtest
Powering NeoPixels in different ways
Other methods for powering ledstrips beside the simple standard power supply are:
- DC wall wart adapters (5v)
- lithium-polymer battery (Lithium Ion Polymer Battery - 3.7v 2500mAh)
- Three alkaline cells (such as AA batteries)
- Four nickel-metal hydride (NiMH) rechargeable cells
When choosing any option for powering the ledstrips, always take into account that you have enough amperage provided for the strips. Checkout the Adafruit page for more details regarding power options.