
Arduino Simple Serial communication with multiple values
Sending values from an Arduino to a computer can sometimes be a bit daunting... Sending only one value is pretty straightforward, but when it comes to sending multiple values, there are many scenario's on how to send out the values in a manner that enables you to distinguish them properly on the computer side.
This page offers an explanation and the example code to prepare for this task in a simple, straightforward way.
Arduino communicates to other devices over USB (User Serial Bus) this means that, by default, everything that is sent out is Serialised: the communication contains only one message at a time, bigger messages or chunks of data will be split into pieces that are sent one at a time, after each other.
(as opposed to Parallel communication, where multiple messages are sent and transfer, parallel to each other, at the same time)
Before we can get to sending out any values, we first have to initialise Serial communication from the Arduino by putting the following command in void setup()
void setup() {
  Serial.begin(9600); //start Serial communication with a speed of 9600 baud
}
Serial communication has a significant draw on both the computing power of the Arduino microcontroller ánd power consumption, that's why the Serial port on the board is off by default.
Now we're ready to start sending data!
So, when you want to send out values from, lets say, all Analog outputs, you can send out all the values one by one, using a for loop in void loop() like this:
void loop() {
  for (int i = 0; i < 6; i++) {  //iterate through all the analog inputs
    int value = analogRead(i); //put the read value into and int variable
    Serial.print(value);  //and send the value out over Serial
  }
The data that's been sent out to the computer is stored in a Serial memory buffer, until a program comes along and reads the data in that buffer. Once read, the data will be erased, so there's only one application at a time that can connect to, and read from the buffer. The simplest way to read the Arduino Serial buffer on a computer, is using the Serial Monitor in the Arduino IDE, found under the button in the right top corner of the program:
![]()
Let's test this on Arduino and have a look at the Serial Monitor to see what kind of data is coming in..

When sending the data out this way, all the incoming values are concatenated together in one big chunk of numbers... There's no way of distinguishing the separate analog values anymore.
The serial monitor is reading values in one row until it encounters a 'newline' character ('\n') since we never send a 'newline', all the numbers are read in one long oblivious stream.
We could easily fix this by changing the Serial.print(value); line to Serial.println(value);, The Serial.println() command, forces the Arduino to send a 'newline' after each value, resulting in the values coming in into the console like this:
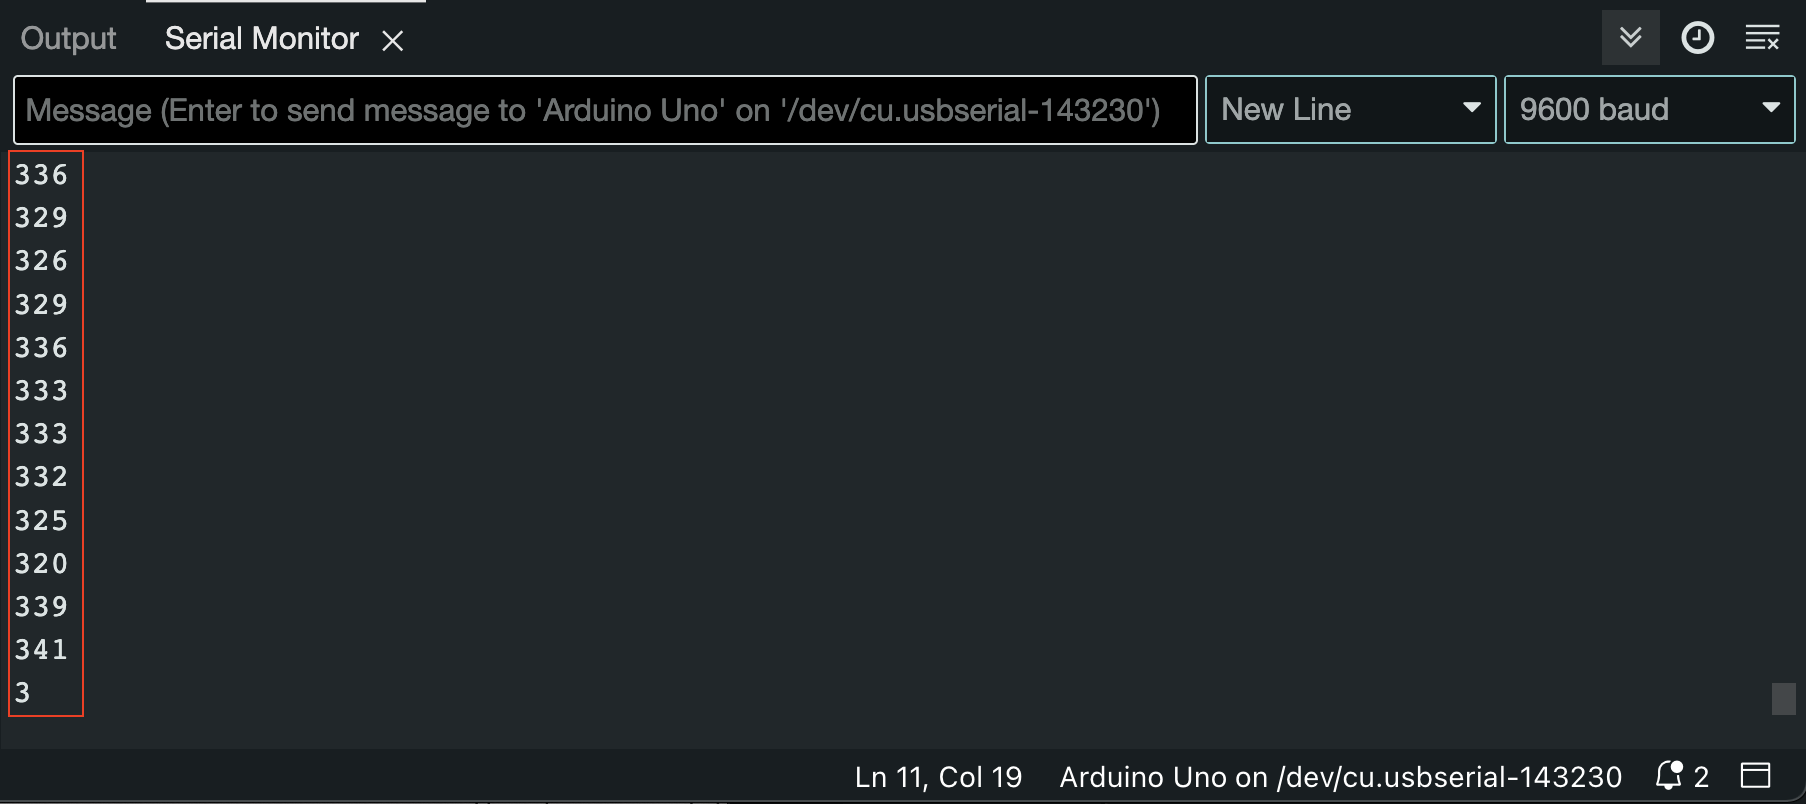
Now, at least all the different input values are shown separately, but now there's no way of distinguishing which number belongs to which input...!
Most computer software that can receive Serial data (Processing, Isadora, TouchDesigner, etc.) utilise routines to separate values from a Serial string using 'separating' characters. For example Processing has a function that is called split() Processing Reference for split()
This function reads the incoming string and stores all characters it receives in between the separating characters in an array in memory.
The Processing routine to do this would look like this:
// the 'void serialEvent' function is triggered each time a '\n' is discovered
// in the Serial buffer. The function executes and passes the values
// stored in the memory of 'arduinoIn'
void serialEvent (Serial arduinoIn) {
  // convert the incoming Serial value to a String and put in memory
  String inString = arduinoIn.readStringUntil('\n');
  // only continue if there's actually anything stored in the String
  if (inString != null) {
    //print the raw incoming string to the console
    println(inString);
    // trim off any whitespace:
    inString = trim(inString);
    // split the incoming string and put the values in the inputVals array
    inputVals = int(split(inString, '-')); //you can choose a separating character that's logical to you
  }
}
So: in order for Processing to be able to separate the values and put them in the inputVals[] array, we need to format the messages we're sending out from Arduino like this:
valueA0-valueA1-valueA2-valueA3-valueA4-valueA5'\n'
This can be done by organising our Arduino send loop like this:
void loop() {
  //iterate through all the analog inputs
  //and send out over Serial
  for (int i = 0; i < 6; i++) {
    int value = ;
    Serial.print(value);
    if (i < 5) {
      //send denominating '-' characters
      //(except after the last value)
      //technically not needed, but it makes the string look nicer in the console :)
      Serial.print('-');
    }
  }
  //end the string of values with a newline
  Serial.println();
}
When inspecting the incoming data in the Serial Monitor, it looks like this:
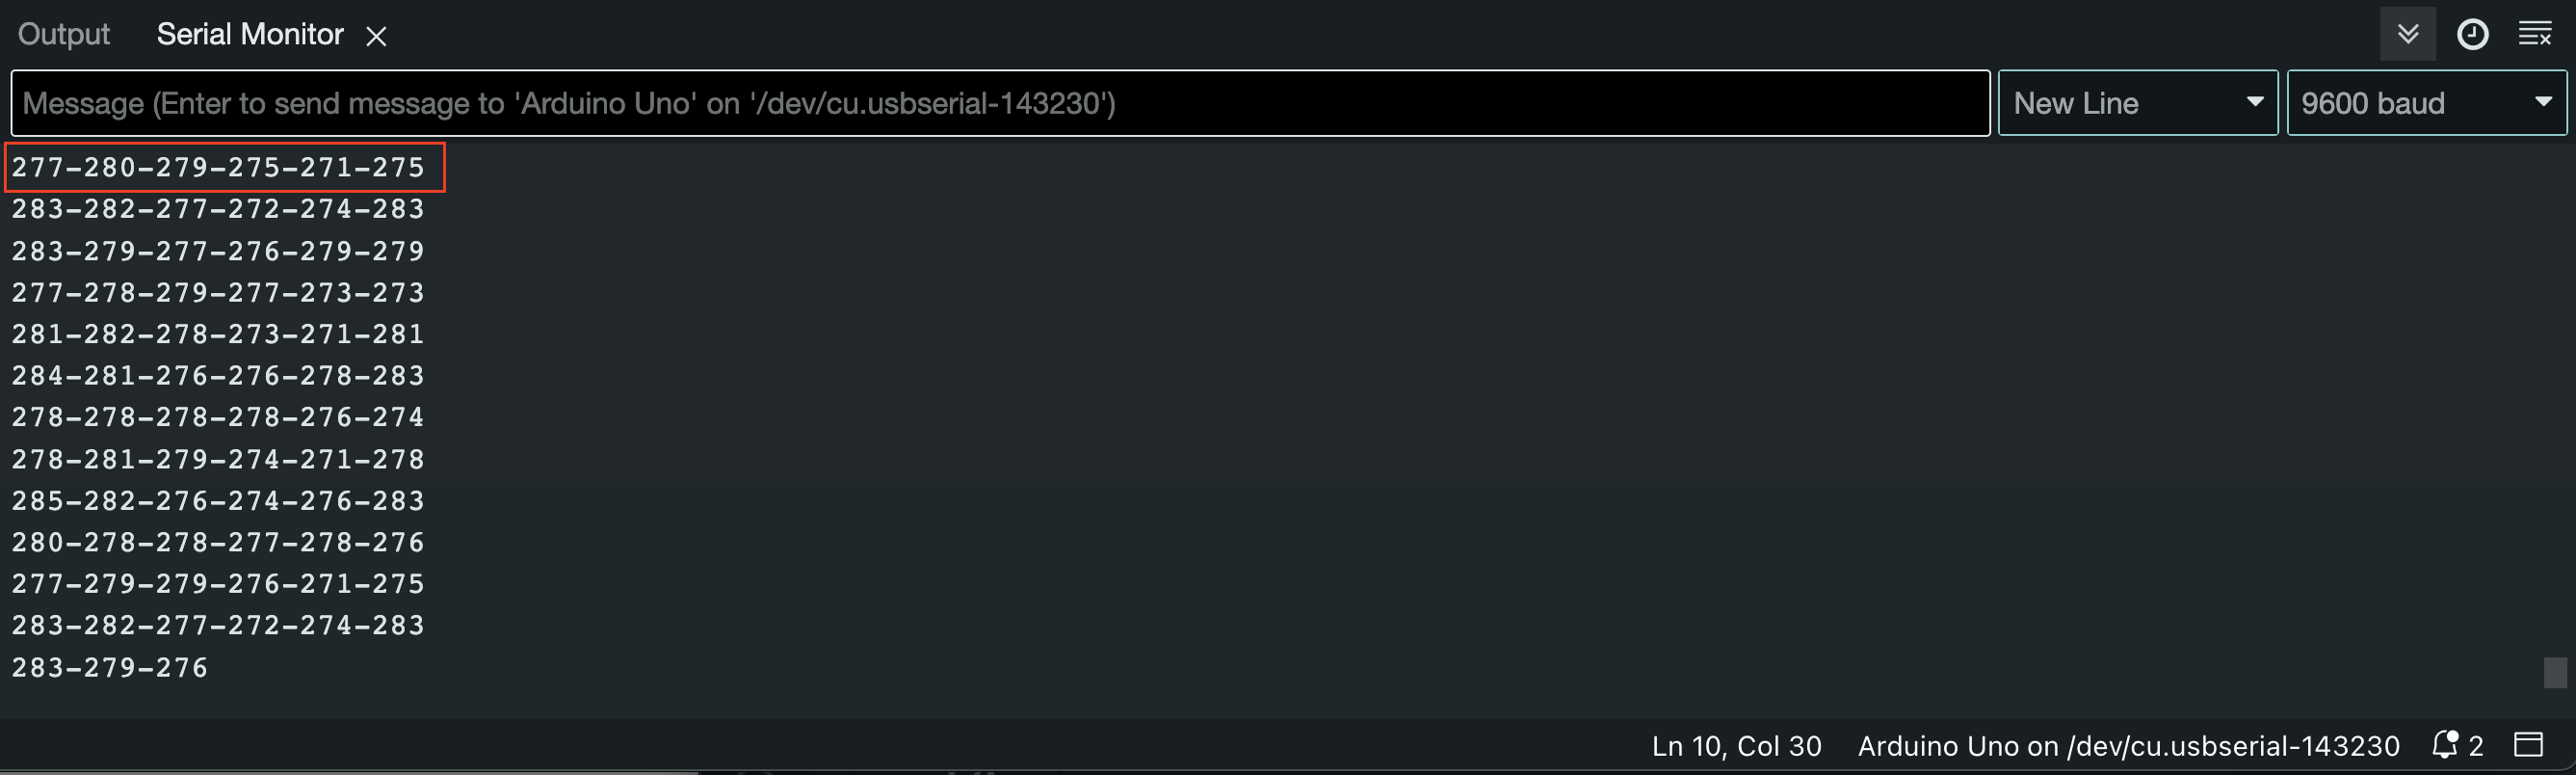
Arduino is now sending out the values of all 6 Analog inputs, separated with '-' characters, as one 'sentence' at a time. Ready for Processing (or other applications) to be split up and used as separate values.
Please check the attached files for different examples of using this wat of Serial communication.