Touchdesigner
TouchDesigner is a visual programming environment aimed at the creation of multimedia applications. A realtime creative coding tool to make programming accessible for artists and designers also without a formal programming skills. TouchDesigner allows you to connect “everything to everything" Everything that can be digitised can become an input to a TD application and everything that can be controlled digitally can be output from TD, allowing you to connect the digital world to the real world.
- Getting & installing Touchdesigner
- Learning Touchdesigner
- Mediapipe for bodytracking in TD: No kinect needed!
- .Tox
- examples (random selection)
- Lights in Touchdesigner
- Arduino & Touchdesigner
Getting & installing Touchdesigner
Download Touchdesigner here:
https://derivative.ca/download
Check the system requirements & download the right version. Install it as usual.
KEy
The NON-COMMERCIAL version is free to use, but has limitations on resolution.
Sing up (free) to get the keys for install.
Check in with the HKUBlackbox if you need to borrow an educational license to unlock certain possibilities.
Check the 'enable dongle' or 'codemeter' box during the install for this.
Learning Touchdesigner
You can learn Touchdesigner online! The community is 'small' and helpful, to get started check out these resources:
The derivative site:
https://derivative.ca/learn
https://derivative.ca/UserGuide/First_Things_to_Know_about_TouchDesigner
https://learn.derivative.ca/
https://learn.derivative.ca/courses/100-fundamentals/
Our recommendations:
These are the TDtutorial masters, they cover a super broad spectrum and help you actually understand the basics:
|
elekktronaut.com |
https://interactiveimmersive.io/ The Interactive & Immersive Headquarters youtube playlist The Interactive and Immersive HQ has a mission: Help TouchDesigner freelancers, agencies, artists and designers achieve their artistic visions. |
|
|
Very clear & thorough tutorials, that really help you understand what you are doing. |
Check out ALLTD: |
Okamirufu Vizualizer
This channel is for TouchDesigner Enthusiast. Tutorials using static screenshots of the network & clear explanation. |
|
Here's a playlist on youtube full of inspiring tutorials by various makers, new ones are added on a regular bases. tips to add welcome! |
Some of out favourite tutorial makers: |
more touchdesigner resources |
Stuck?
Check out help on:
The Forum: https://forum.derivative.ca/
Discord: https://discord.com/invite/senqbr2
Reddit: https://www.reddit.com/r/TouchDesigner/
Facebook community :
TouchDesigner Artist Community (fb)
TouchDesigner Help Group
TouchDesigner Help Group Netherlands
Cheat Sheets:
Common Python operations: https://matthewragan.com/teaching-resources/touchdesigner/touchdesigner-common-operations-cheat-sheet/
Keyboard Shortcuts: https://matthewragan.com/teaching-resources/touchdesigner/touchdesigner-keyboard-shortcuts/
Integration with Resolume
https://vjgalaxy.com/blogs/touchdesigner-tutorials/enhancing-resolume-with-real-time-vj-visuals-generators
Mediapipe for bodytracking in TD: No kinect needed!
Realtime Body tracking on Mac & Pc with just a webcam!
Camera's like Kinect can do body & facial tracking with infra red. You can read more about this on another one of our bookstack pages.
But with AI, you can now also use your webcam for tracking!
Mediapipe is Machine Learning by Google implemented through Python;
read up on the details here; https://developers.google.com/mediapipe
And if this kind of goes above your head but you do kind of want to understand what you are doing check this out: https://www.assemblyai.com/blog/mediapipe-for-dummies/
You can install Mediapipe on you computer and in Touchdesigner using this step by step tutorial: http://www.magicandlove.com/blog/2021/06/02/mediapipe-in-touchdesigner-6/
But, since 2023 Torin Blankensmith has developed a plugin for TD (so no separate install of mediapipe!)
Check out the tutorial
Get the latest version of the plugin on github.
Be aware that, although this way of using Mediapipe is much easier to setup, it is a lot heavier on your system/resources than when installing the necessary libraries yourself like described above.
.Tox
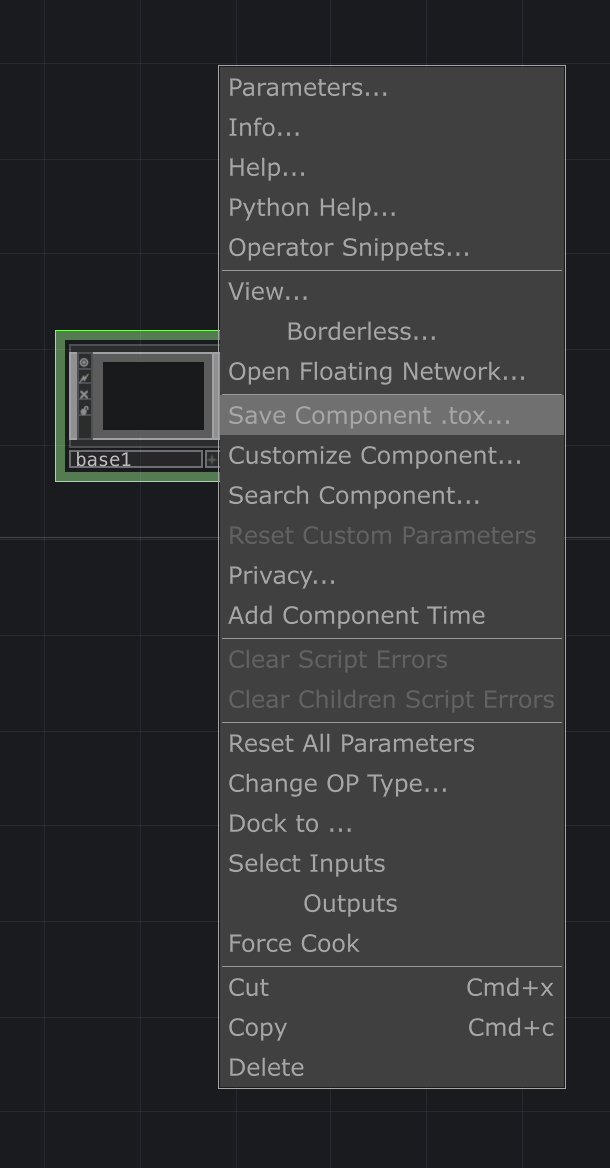 |
A .tox file is a TouchDesigner Component file, used to save preset- components of yourTouchDesigner project. A .tox file contains one component which in turn can contain multiple components. The component file can then easily be loaded as needed in other projects. For example, when designing a custom user interface for a project, saving the UI elements as a separate .tox file would allow the parts of the user interface to be reused easily in future projects. To create a .tox right-click on your (base) component & hit "Save Component .tox' |
| On Github: https://github.com/hku-ect/TouchDesignerComponents |
Showcase: |
Add a sensor to callibrate it sensor_callibrate.tox |
Library-platform of inspiring TD Toxes shared by creators: https://olib.amb-service.net/ |
| Toxes for specific fixtures to control lights can be found here WLed WLED.tox |
Bare_Conductive.tox |
RadiusCheck.tox Creates a virtual point in 3D space and checks the relation between input XYZ. Set the radius in metres Set the XYZ location feed it a live location (XYZ) Outputs Percentage within the radius Outputs InsideBounds Outputs Distance in Metres |
sceneswitcher2.tox
|
examples (random selection)
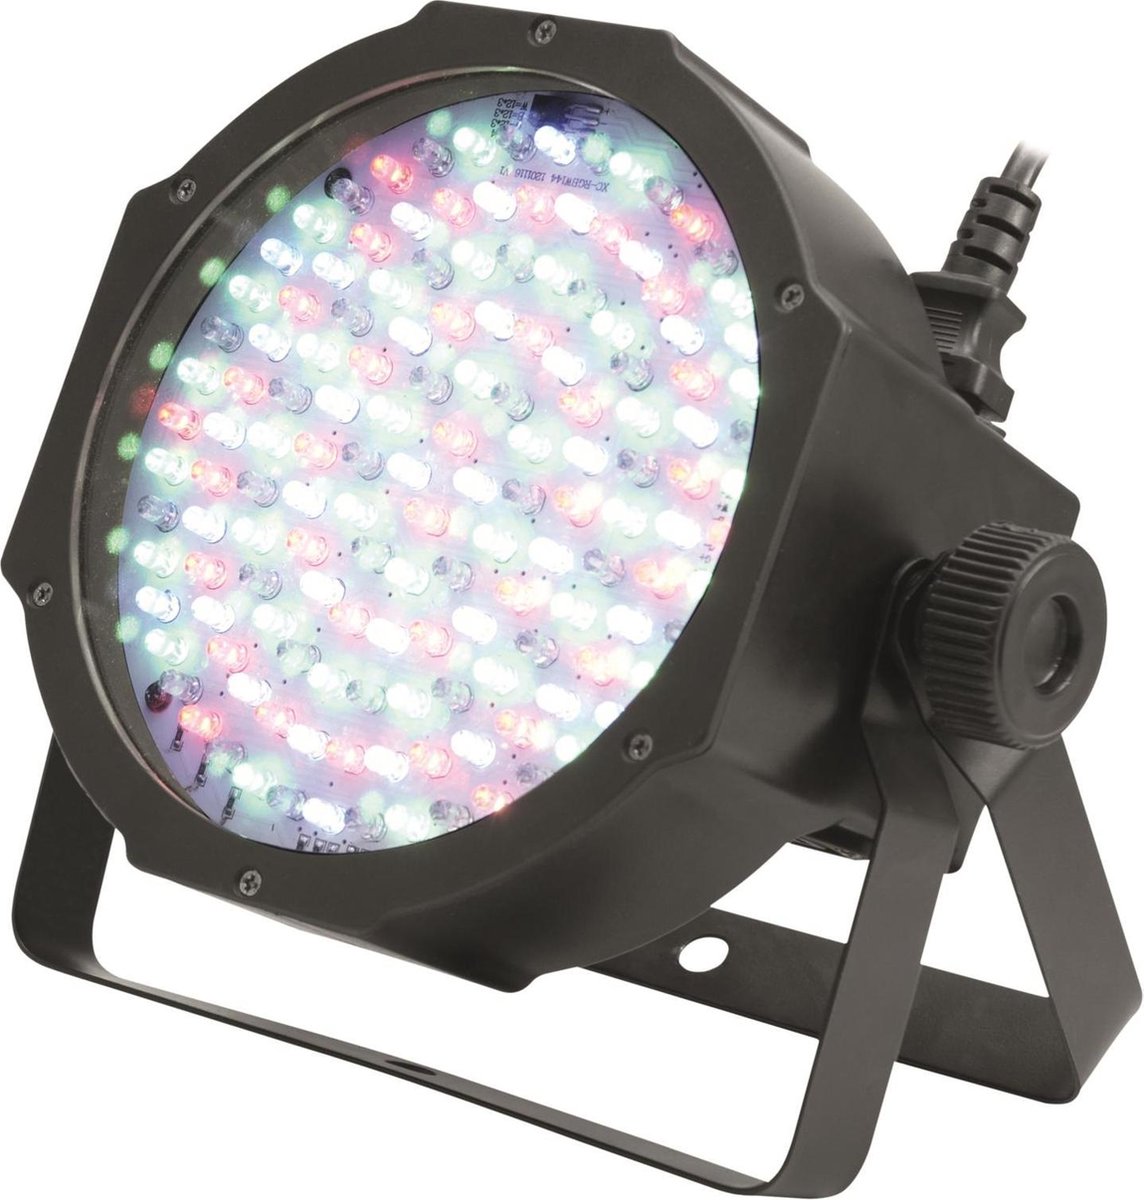
Lights in Touchdesigner
You can control your fixtures straight from Touchdesigner, using an Enttec or over ArtNet
Controlling Lights from Touchdesigner
In Touchdesigner DMX data is sent to the daisy-chain of fixtures through USB (via an ENTTEC available at the uitleen) or ArtNet.
Sometimes, the DMX Out in TD won't work. Solution: adding dummy channels to the universe, so all 512 get 'a signal'
This tox should work. Choose Serial/Artnet (then also set artnet adres, preset = Blackbox JK)
In Touchdesigner you can create 'presets' called Toxes. You can save these on your computer for easy acces:
| DMX Config | TOX | Example fixtures |
|
5 channels: Intensity |
ETC_Colorsource_Par.tox ETC_Colorsource_Junior_6ch.tox
|
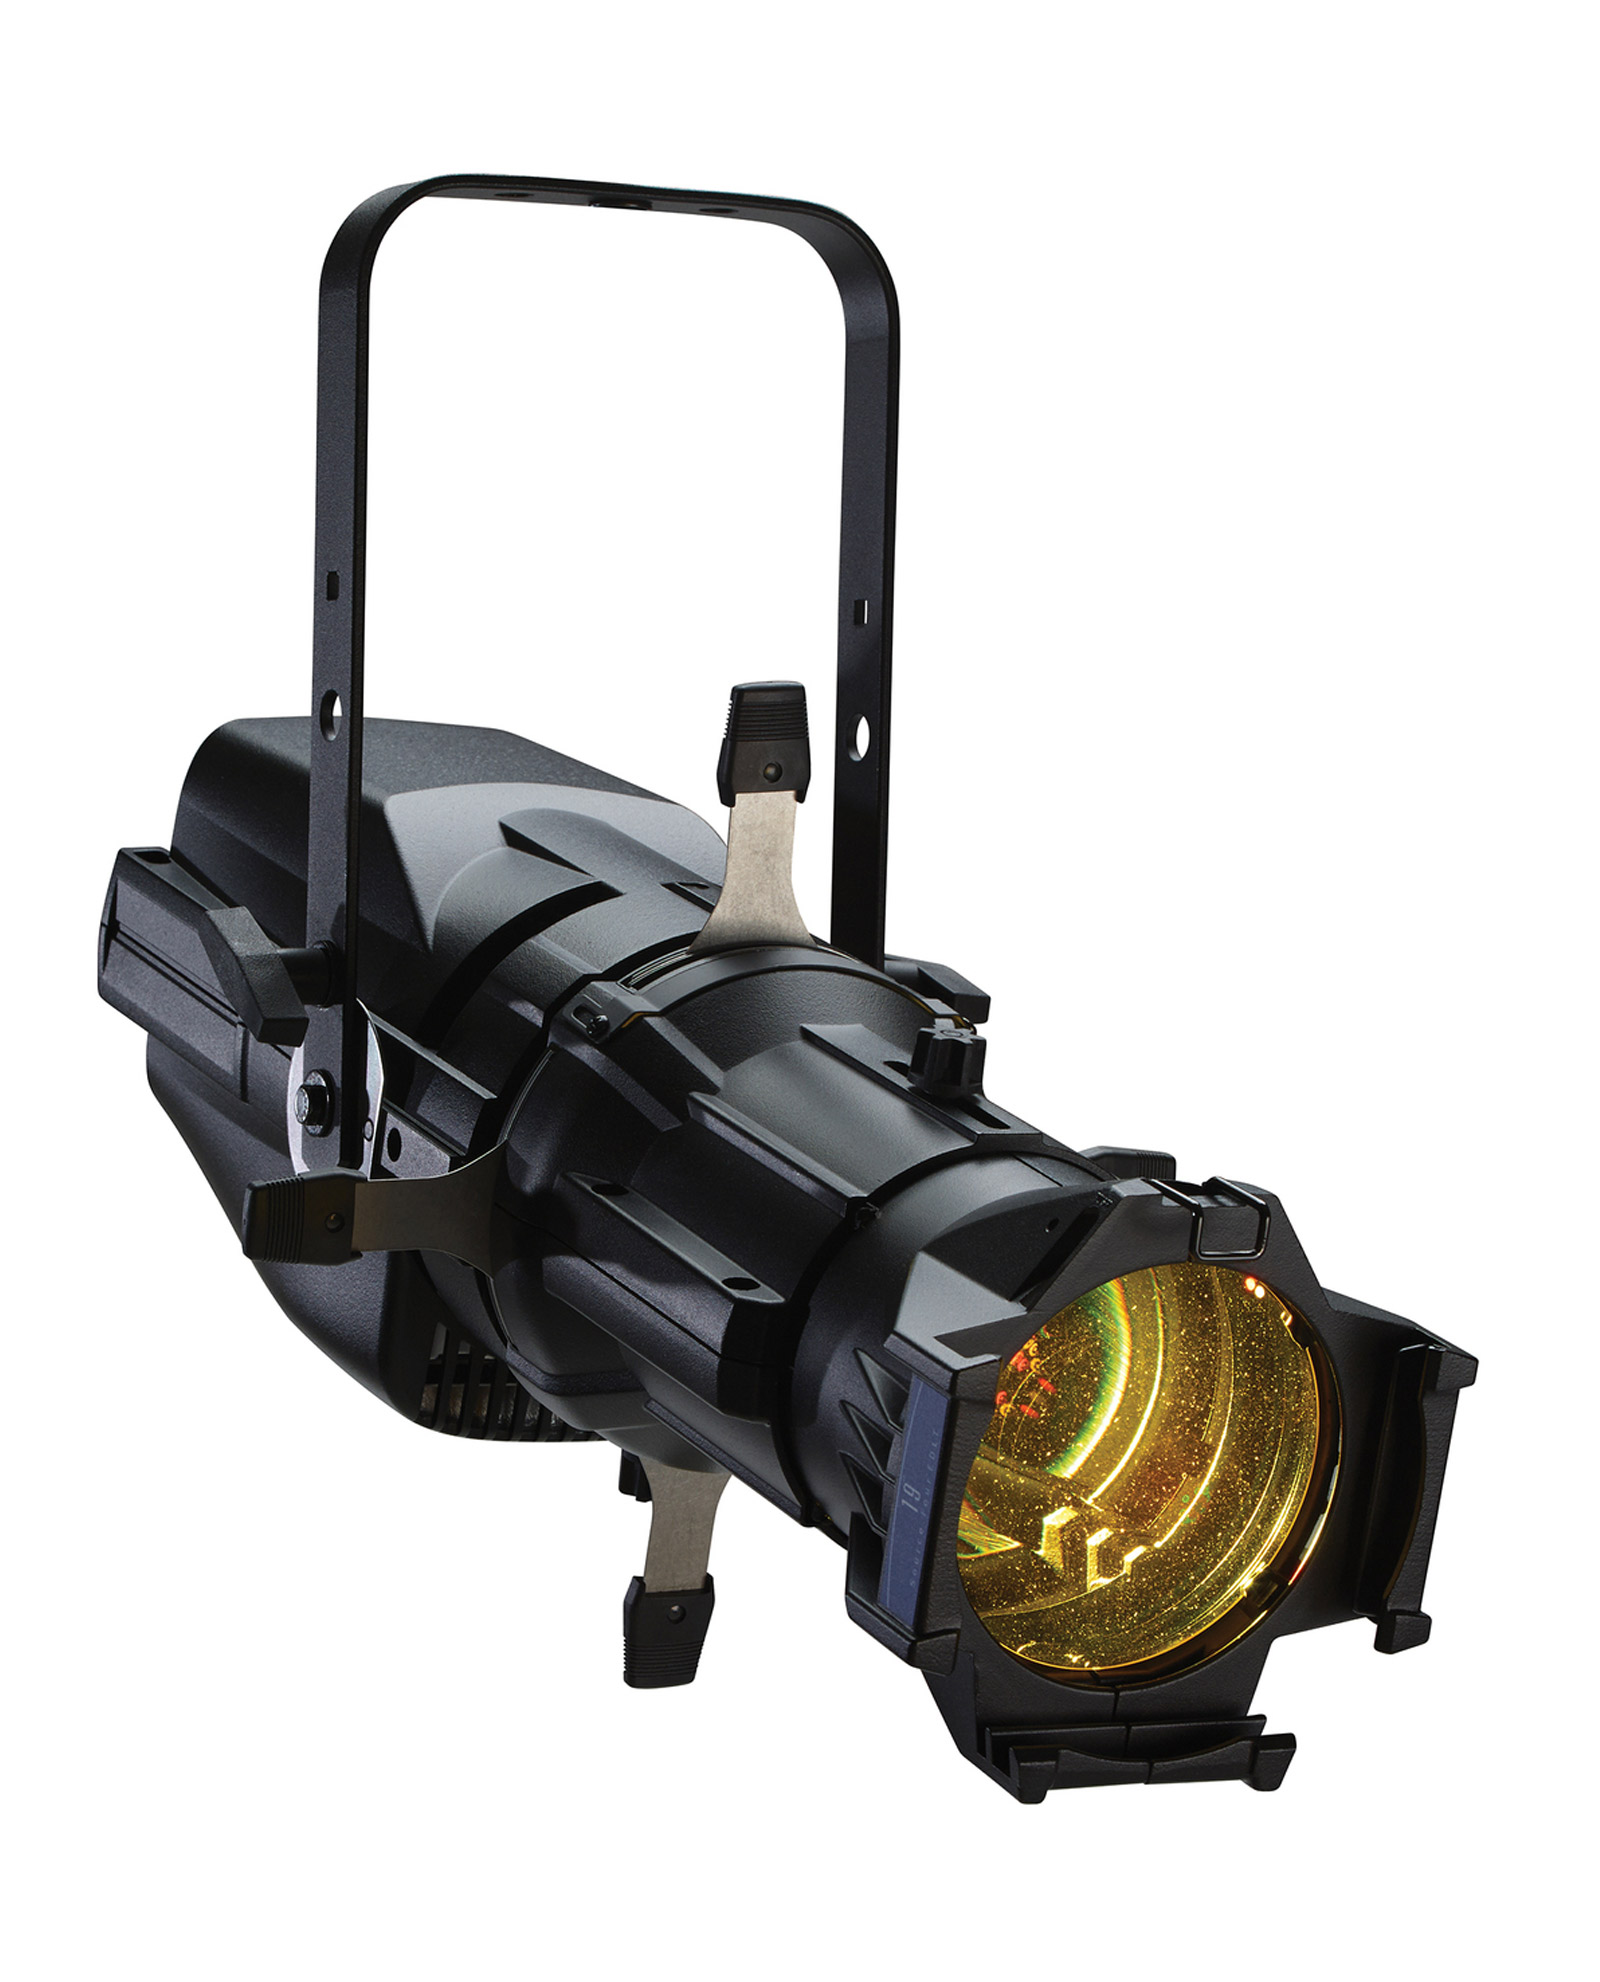
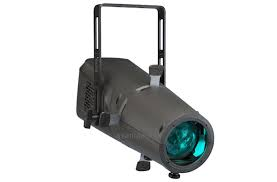
ETC ColorSource Spot jr (inventory Blackboxes & klein Zaal)
ETC ColorSource Par (inventory Blackboxes)
ColorSource Spot Deep Blue (inventory Kleine Zaal) 
|
| 6 channels: Red Green Blue White Amber Uv |
|
High End PAR uitleen Theater : >>
Mid Range PAR uitleen Theater |
|
6 channels: Red Green Blue |
Eurolite Basic PAR uitleen theater manual & dmx traits : Eurolite
|
|
| 7 channels: Red Green Blue White Amber Uv Master Dimmer |
7CH_Par_RGBWAUI.tox |
High End PAR uitleen Theater :
Mid Range PAR uitleen Theater >> |
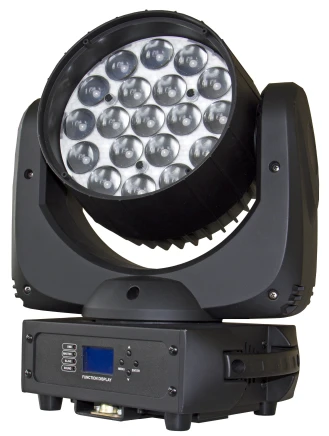
| 14 channels (see Briteq manual) |
Moving_Head_Briteq_BT_W19L10ZOOM_14ch.tox
|
Briteq BT-W19L10 Zoom (uitleen Oudenoord) |
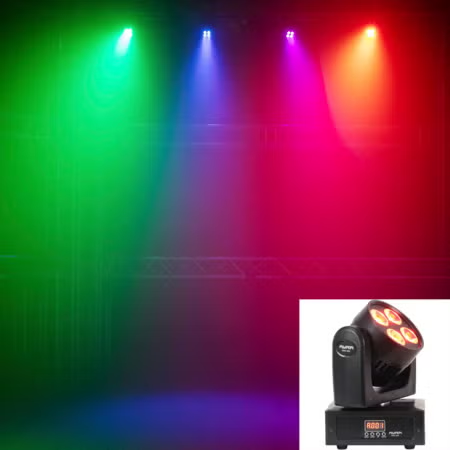
| 16 channels |
MH_Varytec_340FX_16ch.tox |
https://www.manualslib.com/manual/2561032/Varytec-Hero-Wash-340fx-Rgbw-Zoom.html |


 .
. 

Example patch how to use tox files:
Easy DMX_Out for Artnet (use a merge to connect multiple fixtures, dive in & adjust de DMX out to use another interface)
dmx_out_Artnet.tox
Patch for the Blackbox @ Janskerkhof (to connect with OSC via ipad)
Check out the WLED page to connect TD to LEDstrips
Controlling Ledstrips with WLED (from Touchdesigner)

WLED is one of the most popular packages for controlling LED
strips with, or example, the WS2812B through cable & wifi.
The software also supports some other types, such as the WS2811 and WS2815, both on 12 volts. The first step is to flash the software on, for example, an ESP32.
The ULTIMATE WLED Beginners Guide!
Resources
website: https://kno.wled.ge/
community: https://wled.discourse.group/
A tool to stream video to WLED matrix displays: https://github.com/fieldOfView/WLED-video :
A Python application to stream videos, images, and animations directly to your WLED-powered LED video wall: https://github.com/BradyMeighan/WLED-Studio :
WLED & Touchdesigner:
Another instruction for connecting a WLED controller and TouchDesigner
The following instruction below wil walk you through the steps to connect TouchDesigner with a WLED LEDstrip controller.
WLED installation: https://wled-install.github.io/
For the tinytronics Universal Digital LEDstrip Controller V1.1:
Board type / software version:
ESP32-S3 (4MB Flash, with Audio reactive Usermod)
(Connect the controller to USB-C while holding down the 'Boot' button. Otherwise, it won't enter update mode and the WLED installation won't be able to upload.)
After installation, manually use the RST button to reset.
WLED-AP (AP = Access Point) will appear under Wi-Fi networks. The default password is wled1234.
The WLED console will open automatically. You can change the settings here to your local AP. (for example the workshop is in the 10.0.1.xx range, so it's useful to set a fixed IP to, for example, 10.0.1.99.)
Continuing to use the dedicated AP mode directly also works, of course.
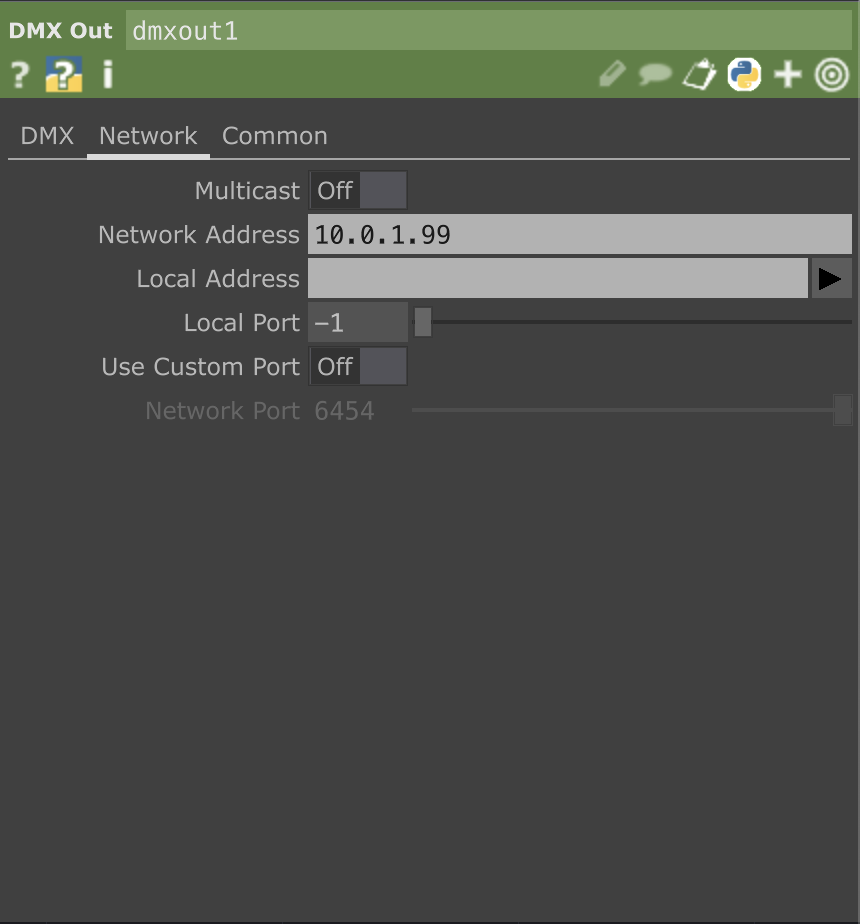
TouchDesigner, DMX Out CHOP Interface on sACN, in the network tab Multicast Off and set the IP address of the WLED controller.
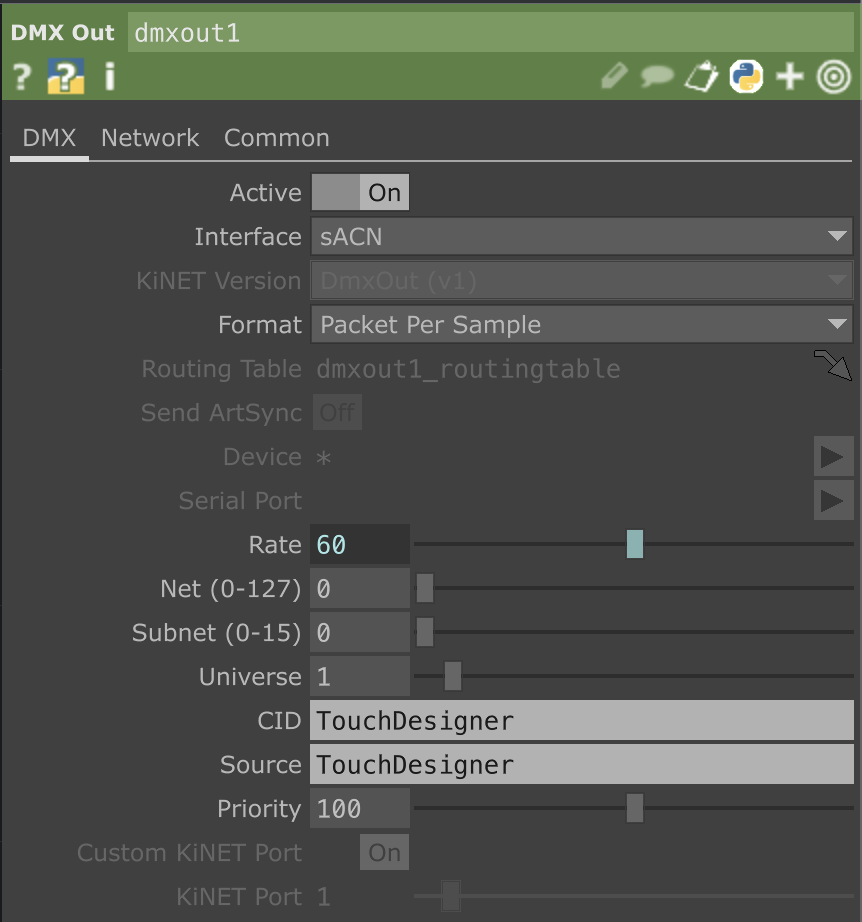
Here's a preset for Touchdesigner WLED.tox
Arduino & Touchdesigner
You can connect your arduino to TD to send & receive data
Various tutorials connecting TD & Arduino (no firmata)
Using Firmata
What is Firmata?
Firmata is a protocol for communicating with microcontrollers (like Arduino) from software on a computer, using a standardized messaging format over serial communication (usually USB). It allows you to control and read from Arduino pins in real-time, without needing to constantly upload new Arduino sketches.
-
Firmata is like a translator that is programmed on the Arduino.
-
You upload a Firmata sketch once to the Arduino.
-
Then, you can control the Arduino live from TouchDesigner (or other software like Isadora, Max/MSP or Processing) without reprogramming it.
- Be aware that is is resource heavier the programming your Arduino with specific code for the goal you want to achieve, Nice for prototyping though!