# Controlling LEDstrips with Arduino

### LED Strips and Arduino

With the Adafruit Neopixel library, it is very easy to work with controlling different types of LED's using Arduino. Adafruit has a very extensive "[Adafruit NeoPixel Überguide](https://learn.adafruit.com/adafruit-neopixel-uberguide/basic-connections)" available online, where you can follow a step-by-step guide for controlling LED strips, panels and individual led's.

#### NeoPixel options:

<table border="1" id="bkmrk-strips-rings-%C2%A0-%C2%A0-%C2%A0-%C2%A0" style="border-collapse: collapse; width: 100%;"><colgroup><col style="width: 50%;"></col><col style="width: 50%;"></col></colgroup><tbody><tr><td>[![Screenshot 2023-04-26 at 11.01.54.png](https://bookstack.hku.nl/uploads/images/gallery/2023-04/scaled-1680-/screenshot-2023-04-26-at-11-01-54.png)](https://bookstack.hku.nl/uploads/images/gallery/2023-04/screenshot-2023-04-26-at-11-01-54.png)  
</td><td>[![Screenshot 2023-04-26 at 11.17.25.png](https://bookstack.hku.nl/uploads/images/gallery/2023-04/scaled-1680-/screenshot-2023-04-26-at-11-17-25.png)
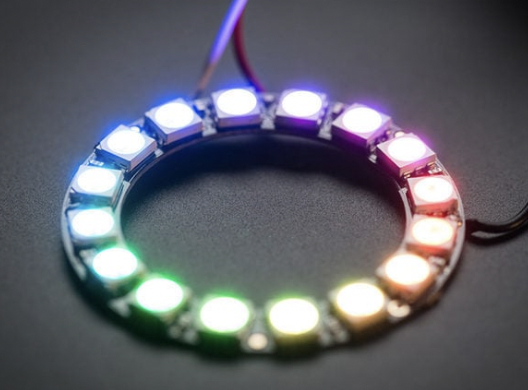
](https://bookstack.hku.nl/uploads/images/gallery/2023-04/screenshot-2023-04-26-at-11-17-25.png)  
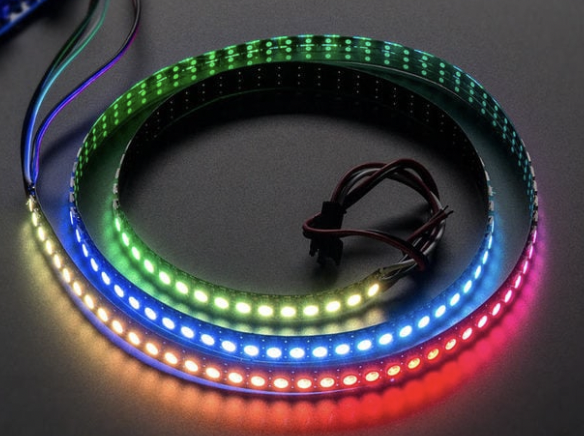
</td></tr><tr><td>**Strips**</td><td>**<sup><span style="font-size: 14px;">Rings</span></sup>**</td></tr><tr><td class="align-center"><sup>[![Screenshot 2023-04-26 at 11.17.31.png](https://bookstack.hku.nl/uploads/images/gallery/2023-04/scaled-1680-/screenshot-2023-04-26-at-11-17-31.png)](https://bookstack.hku.nl/uploads/images/gallery/2023-04/screenshot-2023-04-26-at-11-17-31.png)  
</sup>

</td><td>**[![Screenshot 2023-04-26 at 11.17.45.png](https://bookstack.hku.nl/uploads/images/gallery/2023-04/scaled-1680-/screenshot-2023-04-26-at-11-17-45.png)
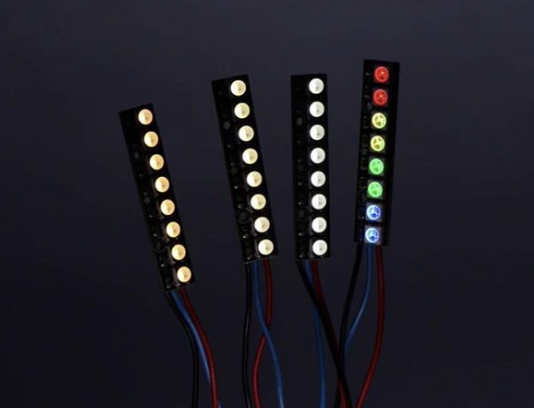
](https://bookstack.hku.nl/uploads/images/gallery/2023-04/screenshot-2023-04-26-at-11-17-45.png)**
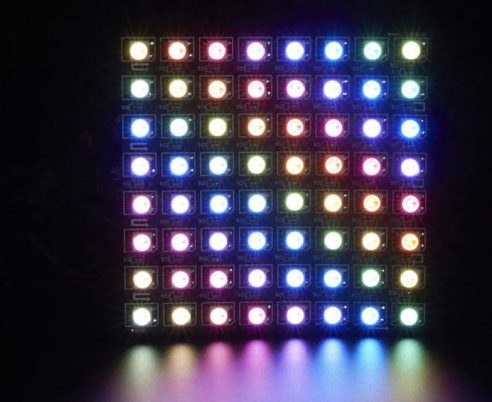
</td></tr><tr><td>**Matrices**

</td><td>**Pins**

</td></tr><tr><td>[![image.png](https://bookstack.hku.nl/uploads/images/gallery/2023-04/scaled-1680-/9nnimage.png)](https://bookstack.hku.nl/uploads/images/gallery/2023-04/9nnimage.png)

</td><td>[ETC...](https://www.kiwi-electronics.com/index.php?route=product/search&search=neopixel%20led)

^^ link to more options available via kiwi electronics
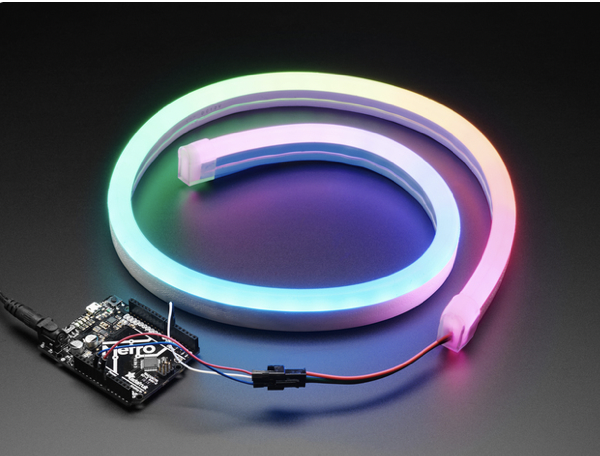
</td></tr><tr><td>**Neon-Like Stips**

</td><td><sup>Images from Adafruit</sup></td></tr></tbody></table>

### Basic NeoPixel LED strip setup

**HARDWARE**

**Materials needed:**

- Arduino Uno (or other available Arduino, but Nano is most beginner friendly)
- 1x 300 to 500 Ohm Resistor
- 5V power supply ([this type](https://www.tinytronics.nl/shop/nl/power/voedingen/5v/mean-well-voeding-5v-7a-switching-power-supply-lrs-35-5) is recommended for simple setup)
- 1x 500–1000 µF Capacitor

For controlling LED strips and Arduino you can build the following hardware:

[![Screenshot 2023-04-26 at 11.25.09.png](https://bookstack.hku.nl/uploads/images/gallery/2023-04/scaled-1680-/screenshot-2023-04-26-at-11-25-09.png)](https://bookstack.hku.nl/uploads/images/gallery/2023-04/screenshot-2023-04-26-at-11-25-09.png)

[**Usefull video until 3:50**](https://www.youtube.com/watch?v=zj3sa5HV2Bg&t=167s)

**SOFTWARE**

Launch the Arduino IDE.

If you have not installed the NeoPixel Library for Arduino, first make sure to do that first.

[**Video**](https://www.youtube.com/watch?v=mliaJrkme2U)

[https://learn.adafruit.com/adafruit-neopixel-uberguide/arduino-library-installation](https://learn.adafruit.com/adafruit-neopixel-uberguide/arduino-library-installation)

<p class="callout info">If you want to understand more about Arduino and [Libraries? Read more here...](https://learn.adafruit.com/adafruit-all-about-arduino-libraries-install-use)</p>

From the **File** menu, select

**Examples→Adafruit NeoPixel→strandtest**

### Powering NeoPixels in different ways

Other methods for powering ledstrips beside the simple standard power supply are:

- DC wall wart adapters (5v)
- lithium-polymer battery (Lithium Ion Polymer Battery - 3.7v 2500mAh)
- Three alkaline cells (such as AA batteries)
- Four nickel-metal hydride (NiMH) rechargeable cells

You must use a 3-5V DC power supply to power these strips, do not use higher than 6V or you can destroy the entire strip– yikes!  
Example 1 AA or AAA = 1,5 V

[LED Power calculator here!](https://wled-calculator.github.io/)

When choosing any option for powering the ledstrips, always take into account that you have enough amperage provided for the strips. Checkout the [Adafruit page for more details regarding power options.](https://learn.adafruit.com/adafruit-neopixel-uberguide/powering-neopixels)

### Powering Arduino in different ways

  
If you want to use a powerbank in some cases depending on how much power the arduino needs from the bank it might turn off after 1 - a few minutes even though the powerbank is fully charged. It depends on the kind of powerbank. Some have a safety built in. But most of the time it is not mentioned in the description.   
Try different types of powerbanks or use info from these links:  
[https://www.youtube.com/watch?v=I7MrL5Q7zvY](https://www.youtube.com/watch?v=I7MrL5Q7zvY)  
[https://forum.arduino.cc/t/simplest-battery-power-to-arduino-nano-solution/530242](https://forum.arduino.cc/t/simplest-battery-power-to-arduino-nano-solution/530242)

Im still experimenting with this myself once i find more info i add it to this book.  
At the moment i have tried 2 powerbanks (5000 &amp; 10000 mAh) for Arduino Nano with seperate power for my small Neopixel Jewel (7 leds). Both dont work. Using batterypack 4xAA atm.