Kinect on PC
Kinect works on PC in various types of software.
Install drivers first! Make sure to select the right driver & only install one driver at a time to avoid problems. Allow a warmup time of 30-60 minutes for stable results.
Drivers
Check our this dudes tutorial:
- Select the right type of driver for your kinect.
- Download & install as instructed on the pages below
- tip: only install one type of kinect a time on your pc, as things may get messy after mixing.
Kinect 360 (SDK 1.8)
- Install the Kinect Runtime 1.8 and Kinect for Windows SDK 1.8 from Microsoft.
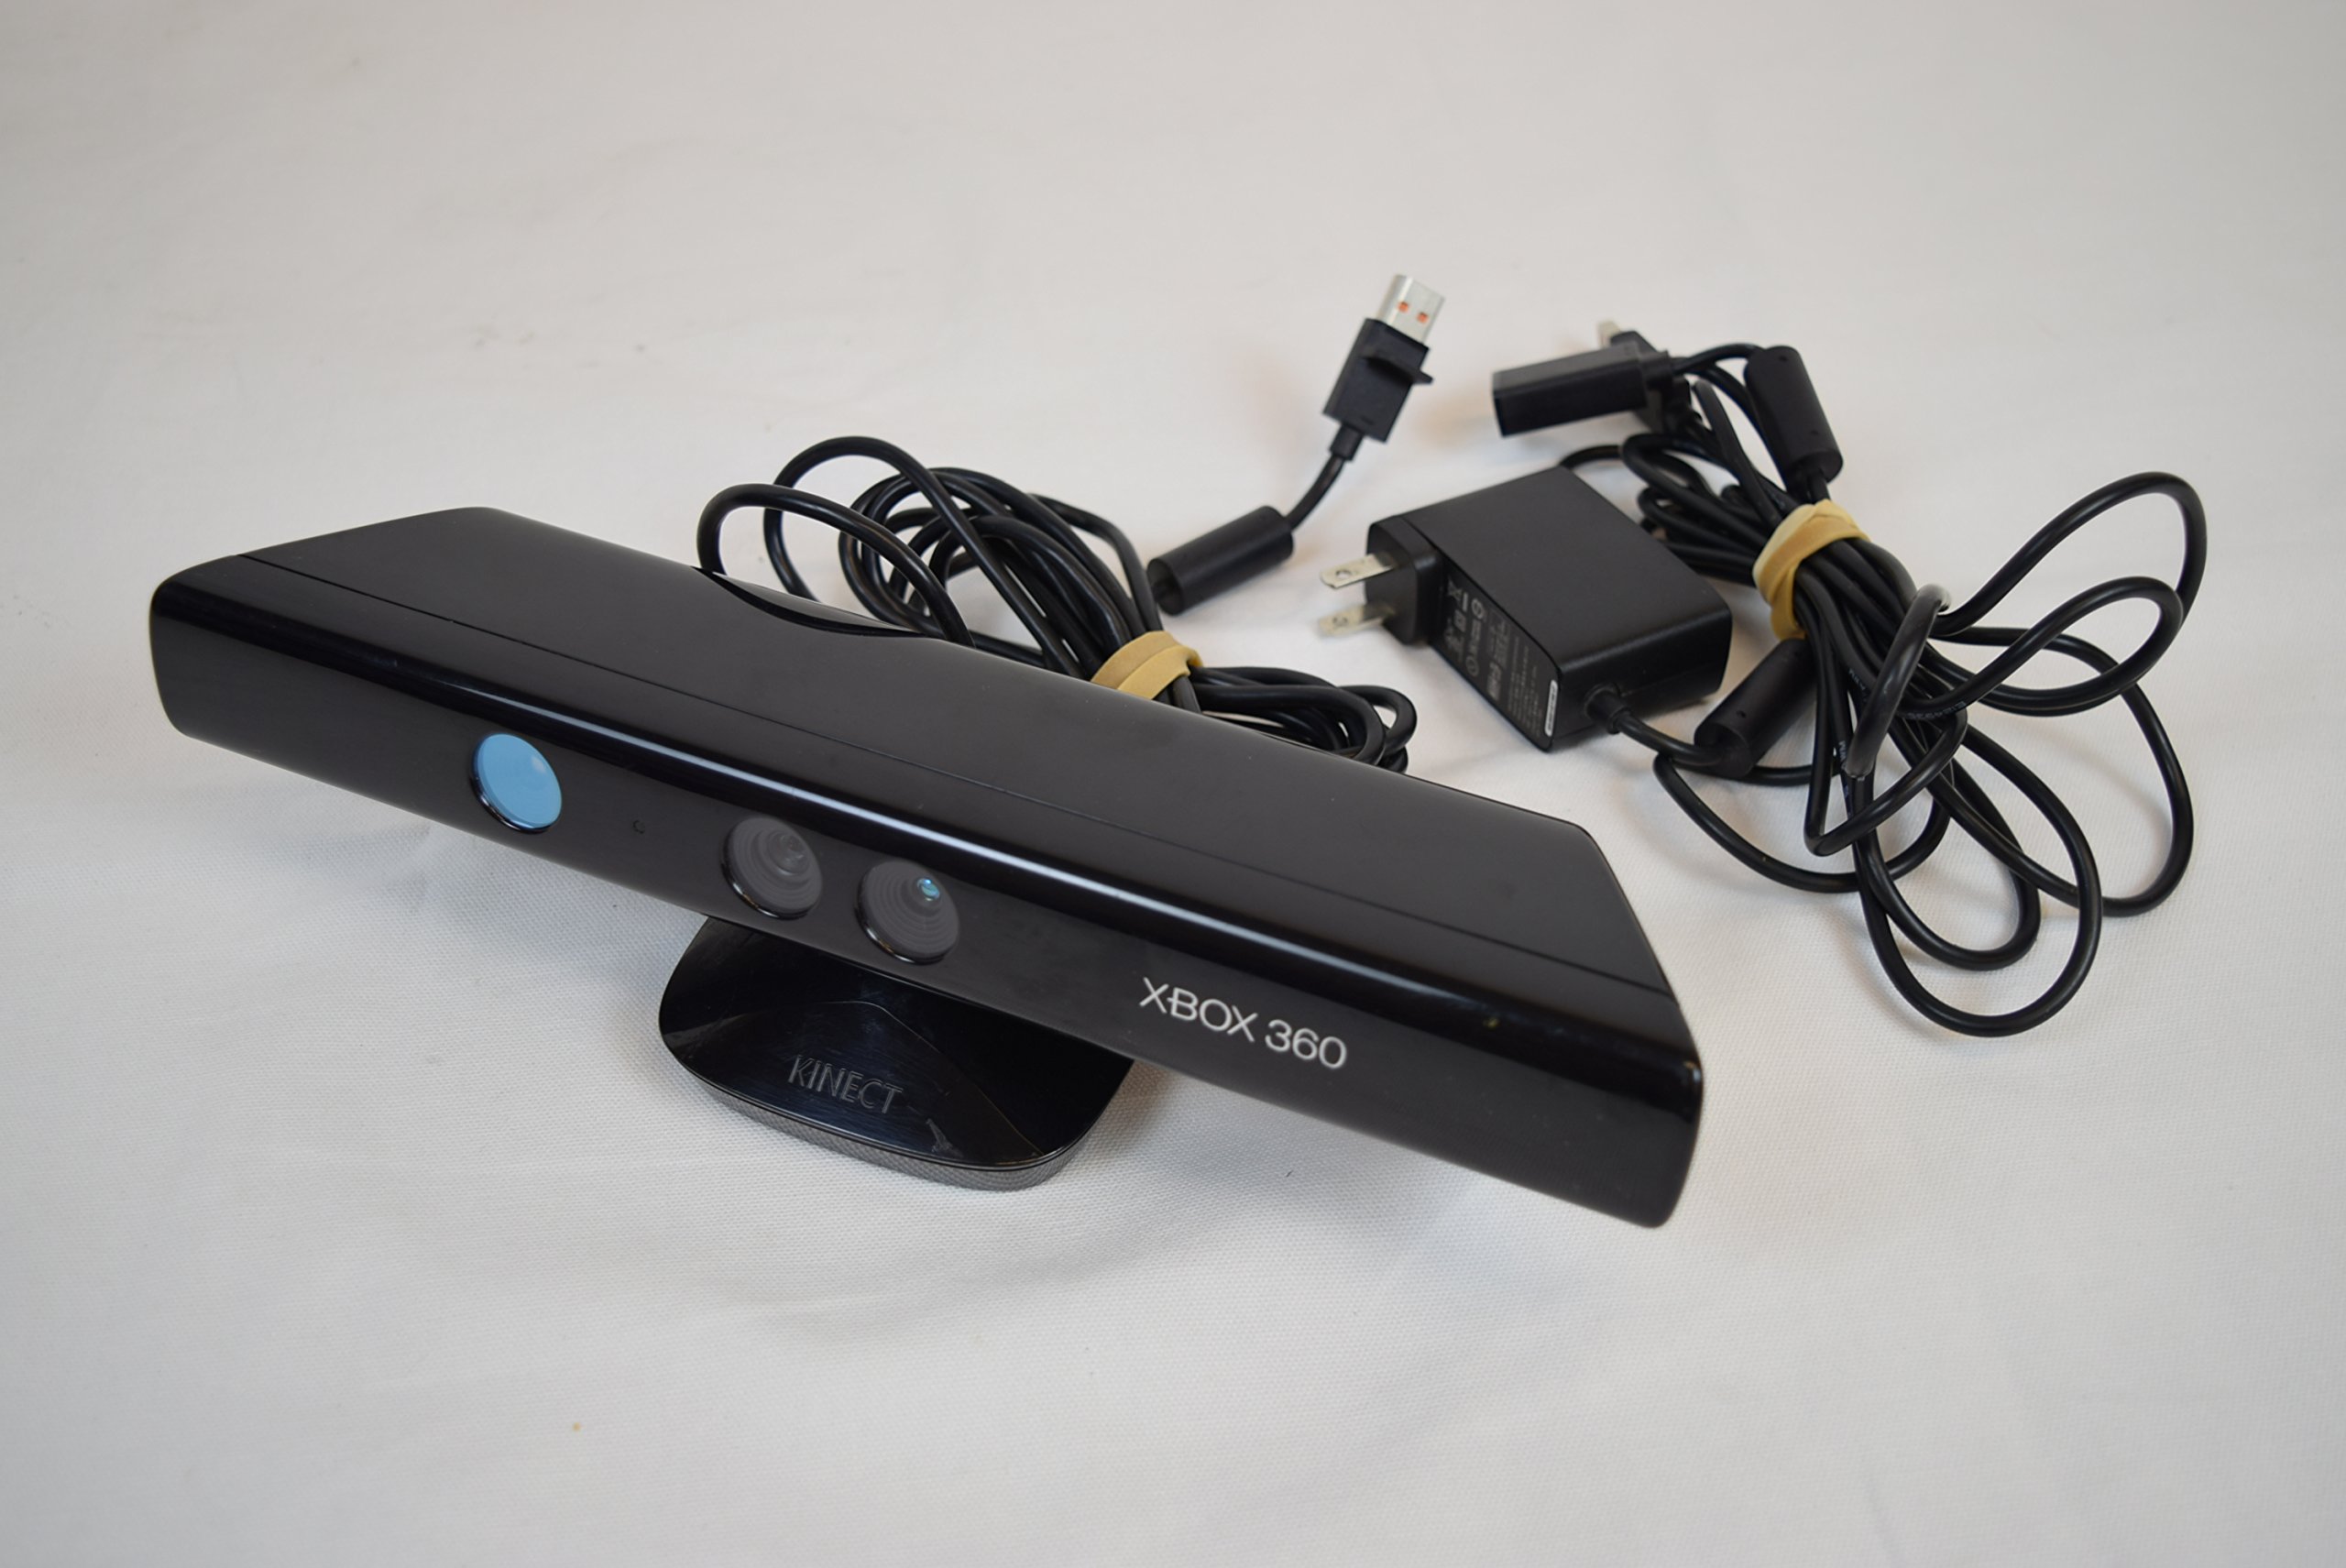
This sensor is widely available on 'marktplaats ' & doesn't cost much. Don't forget to also purchase a dedicated Kinect power/USB cable to connect it to your computer!
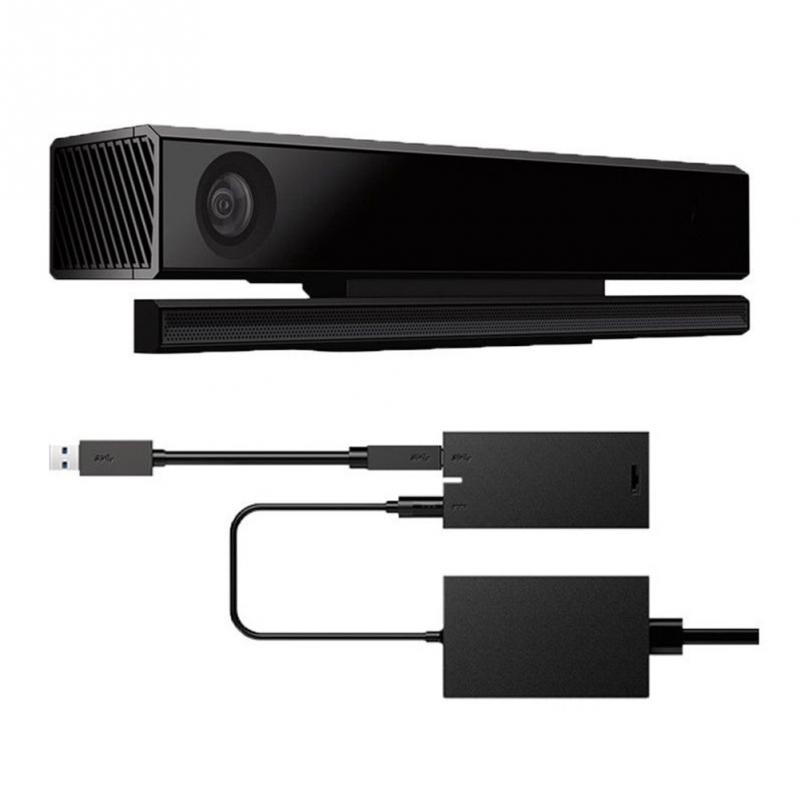
Kinect One (SDK 2.0)
- Install the Kinect SDK 2.0 from Microsoft.
and Runtime 2.0
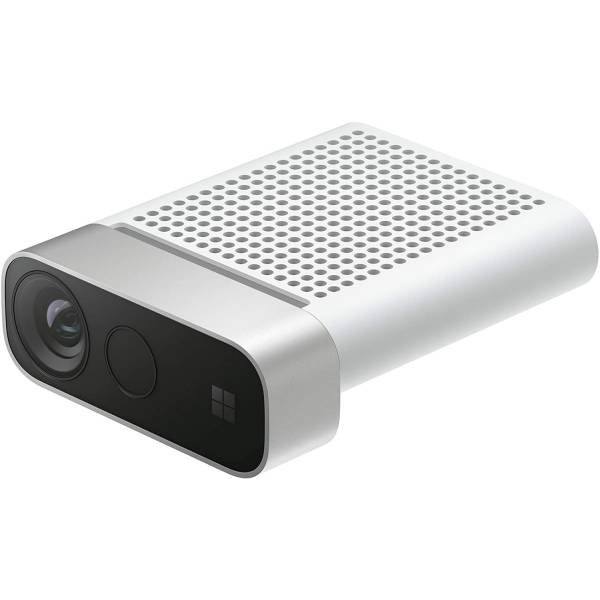
Kinect Azure
You can find installation details for Azure Kinect Sensor SDK and Firmware here.
TIPS FOR WORKING WITH ALL KINECT SENSORS
- Always connect the AC power supply that comes with the Kinect sensor. The green LED will light up under USB power, however the sensor will not function correctly unless the AC power supply is also connected.
- Kinect V1 can be less stable on USB3.0 ports, try USB2.0 ports if you are experiencing problems connecting tot the device or the connection drops out after some time.
- If using multiple Kinects, each Kinect sensor must be connected to its own USB controller. On some computers multiple USB ports will be on the same USB controller, this will cause problems if two Kinects are sharing that same controller. Refer to your computer's Device Manager to inspect which ports belong to each USB controller.
- Open your Touchdesigner patch first, then add the Kinect to your USB port. Select the right version.
- remember: you need the correct driver for the kinect you are using. Unistall the drivers you are NOT using, when switching Kinect type. How to Uninstall here
Kinect In Touchdesigner
Using any Kinect in Touchdesigner op PC is plug & play after you've installed the right drivers & SDK.
Open your Touchdesigner patch first, then add the Kinect to your USB port. Select the right version.
Ways to interface with Kinect in TouchDesigner
- Depth camera - Kinect TOP
- RGB camera - Kinect TOP
- Infrared camera - Kinect TOP
- Skeleton Point Tracking - Kinect CHOP
- Hand Interaction - Kinect CHOP
- Microphone Array Audio Capture - Audio Device In CHOP
- To control the tilt of the camera, use the Tscript
kinecttiltCommand
The Kinect Azure has the above but use specific operators hat work together:
- Kinect Azure TOP
- Kinect Azure Select TOP
- Skeleton Point Tracking - Kinect Azure CHOP NOTE: For joint orientation and bone hierarchy, see: Kinect Hierarchy
The Pallete has this interesting component: Kinect Callibration for Projection Mapping which allows for calculating the intrinsics and extrinsics of a projector in relation to a Kinect device making it possible to project onto the scene captured by the kinect.
Check out the specifics, possibilities and some example patches on the derivative site:
https://derivative.ca/UserGuide/Kinect1 for Kinect 360
https://derivative.ca/UserGuide/Kinect for Kinect One
or Kinect Azure in the search bar
Kinect in Isadora
To use Kinect in Isadora you need to download a couple of plugins from the Troikatronix page;
https://troikatronix.com/add-ons/openni-tracker/
Read the instruction with attention & follow them.
Connect your Kinect before starting Isadora.
Add the nodes in the picture below (or open the patch shared in nextcloud)
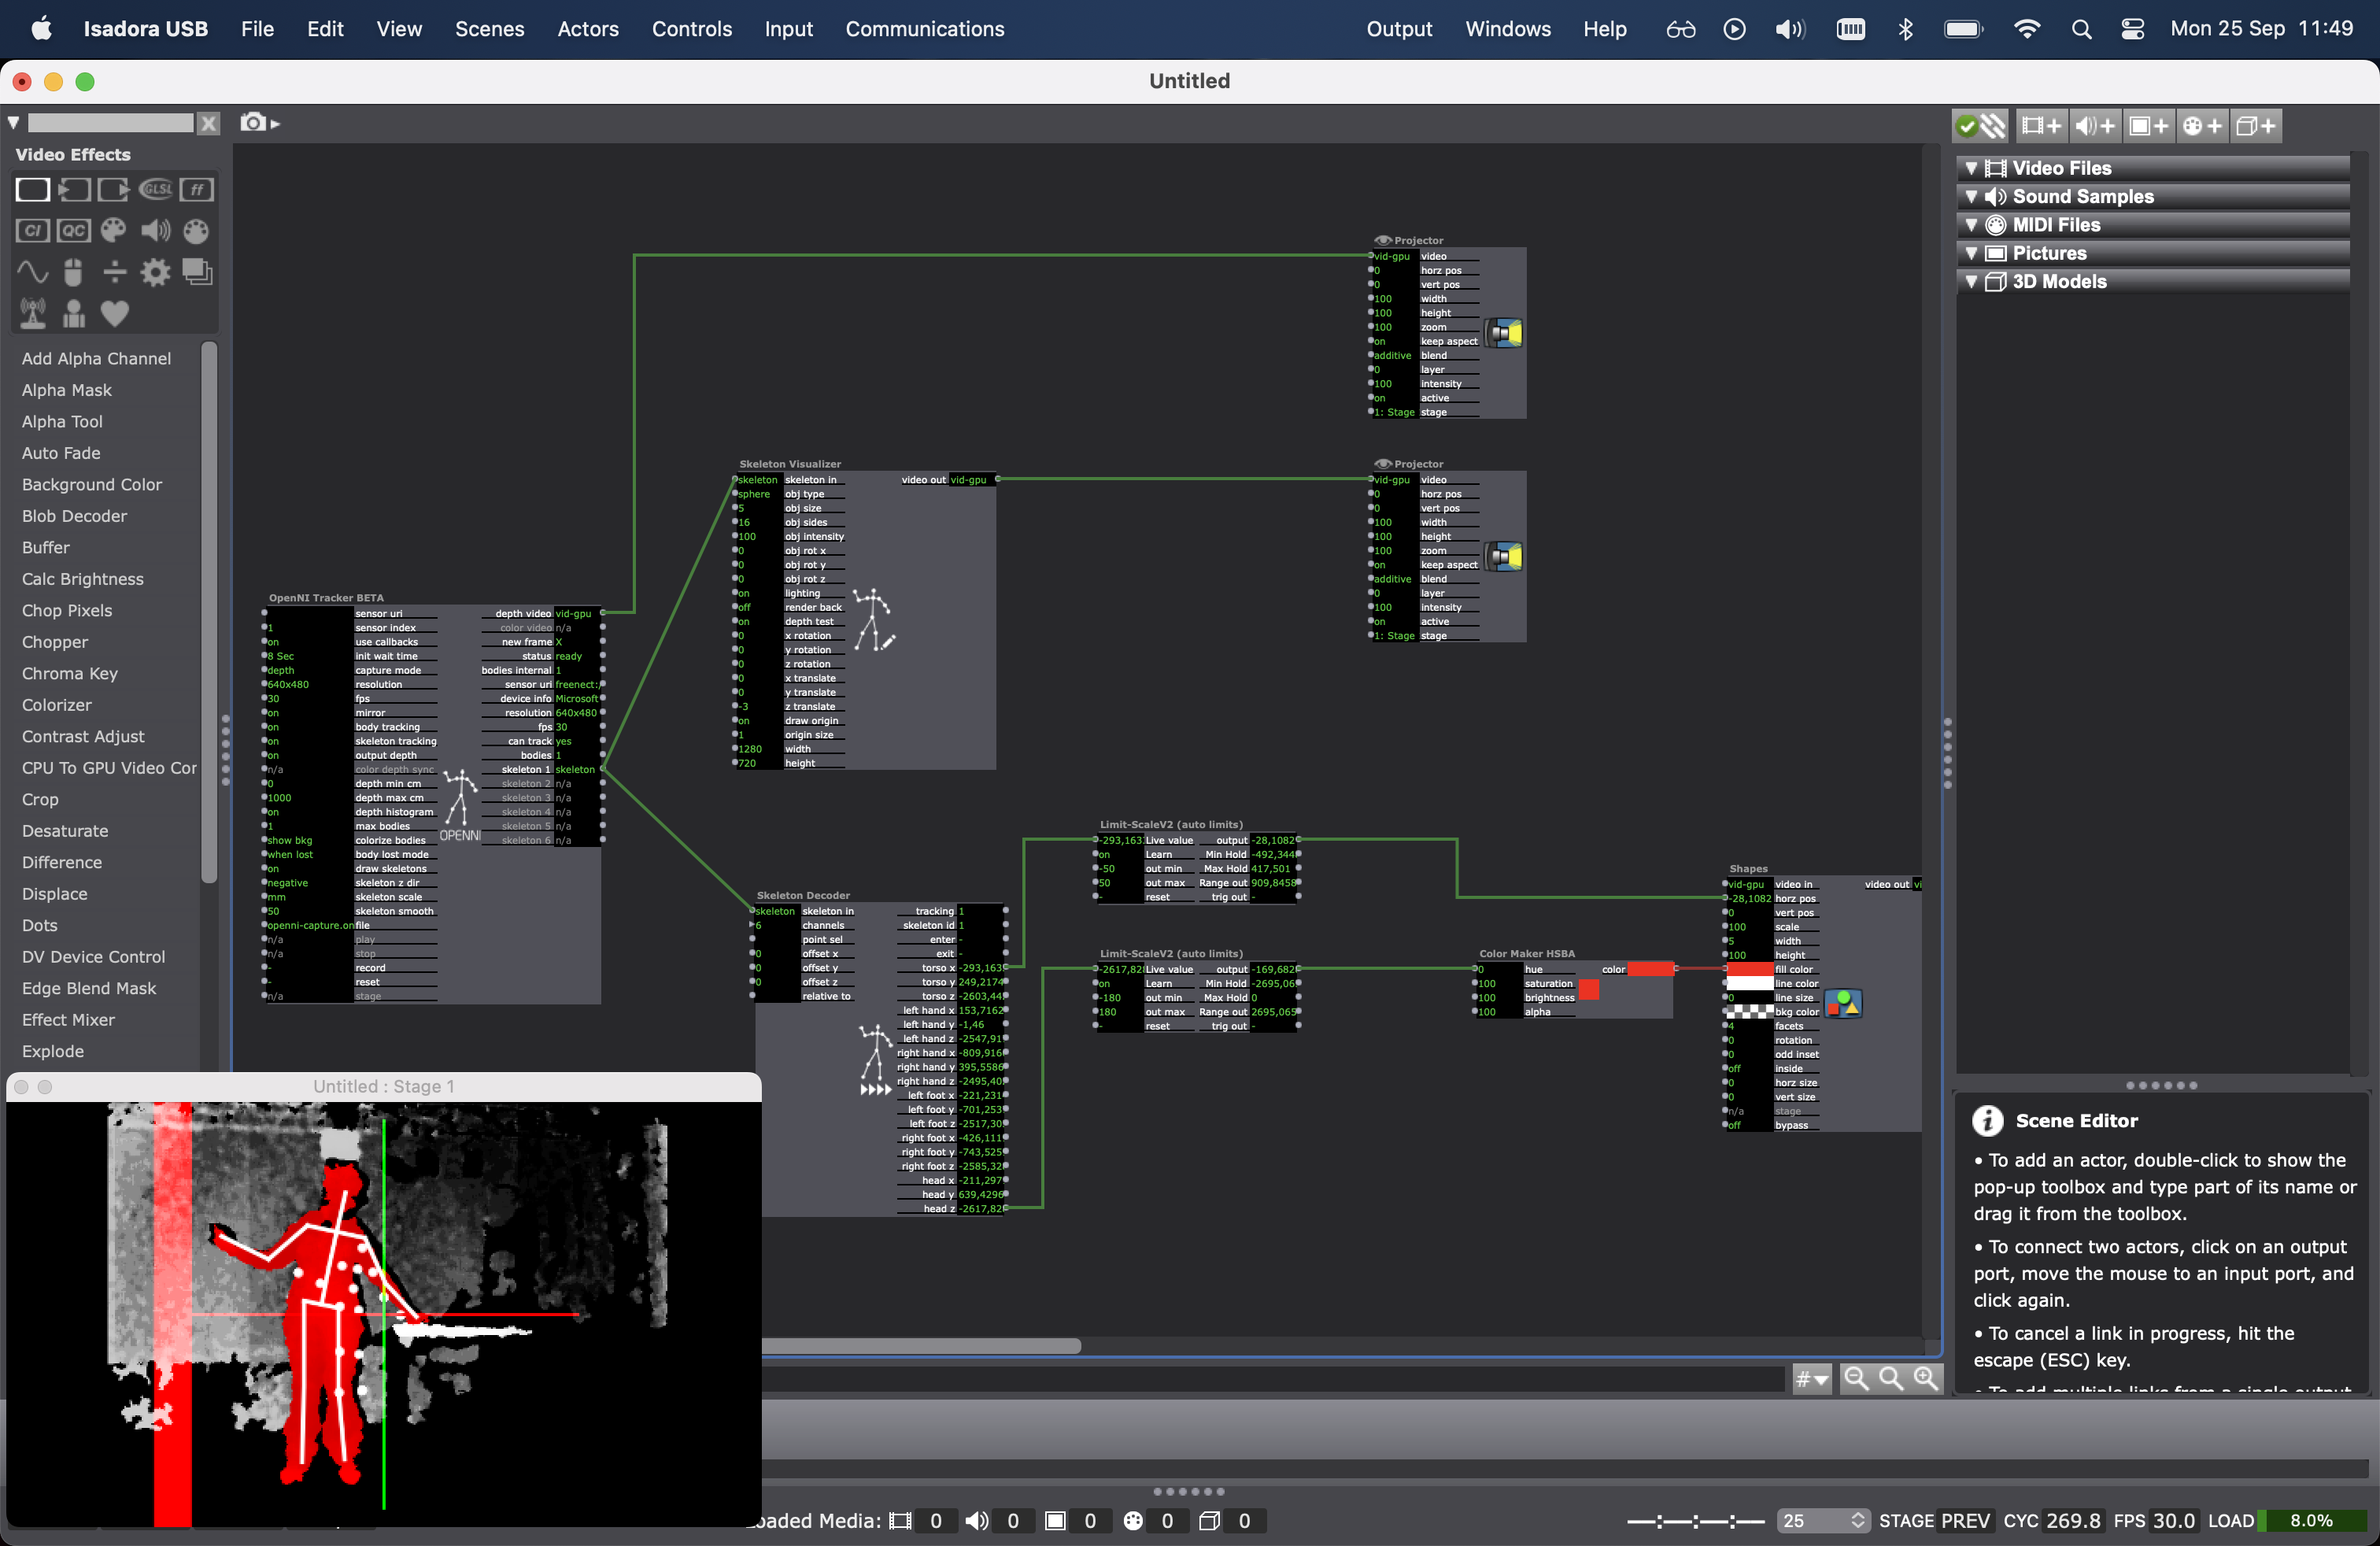
If your Kinect is not recognised by the software, try resetting or deleting the OpenNItracker or even adding it again.
Detailed explanation of the possibilities with Kinect in Isadora can be found here:
https://troikatronix.com/add-ons/tutorial-openni-tracker/
and here:
Issues:
- If you followed all the steps and read the info for your operating system and the Kinect still doesnt work it might be that the issues can be (on PC) that the plugins are installed in the wrong place.
Go to Isadora > help > open plugin folder > TroikaTronix actor Plugins
you should see the plugins here: OpenNI tracker, Skeleton Decoder, Skeleton Visualiser.
If you dont see them check the folder : Plugins. If the are installed in this folder copy them to the directory above (TroikaTronix actor Plugins)
You might need to restart Isadora.
Setup & Lighting
How yous setup your Kinect matters a lot for your performance.
Think about placement, light & what you are wearing.
Read up on those specs here: Setup & lighting tips for kinect